We’ve started using some small Python utility scripts to speed up our work in Blender.
We’ve put them on GitHub with a GPLv3 license: https://github.com/xorgol/e-muse_blender_utility_scripts/
Category: tools
-
Blender utility scripts
-
New mesh reduction tools
Holo Lab released this new Blender add-on that does a pretty job at reducing most photogrammetry models: https://github.com/HoloLabInc/ModerateWeightReductionTools
It does fail on the more topologically challenged ones, but that is to be expected. As an example this 25MB model:
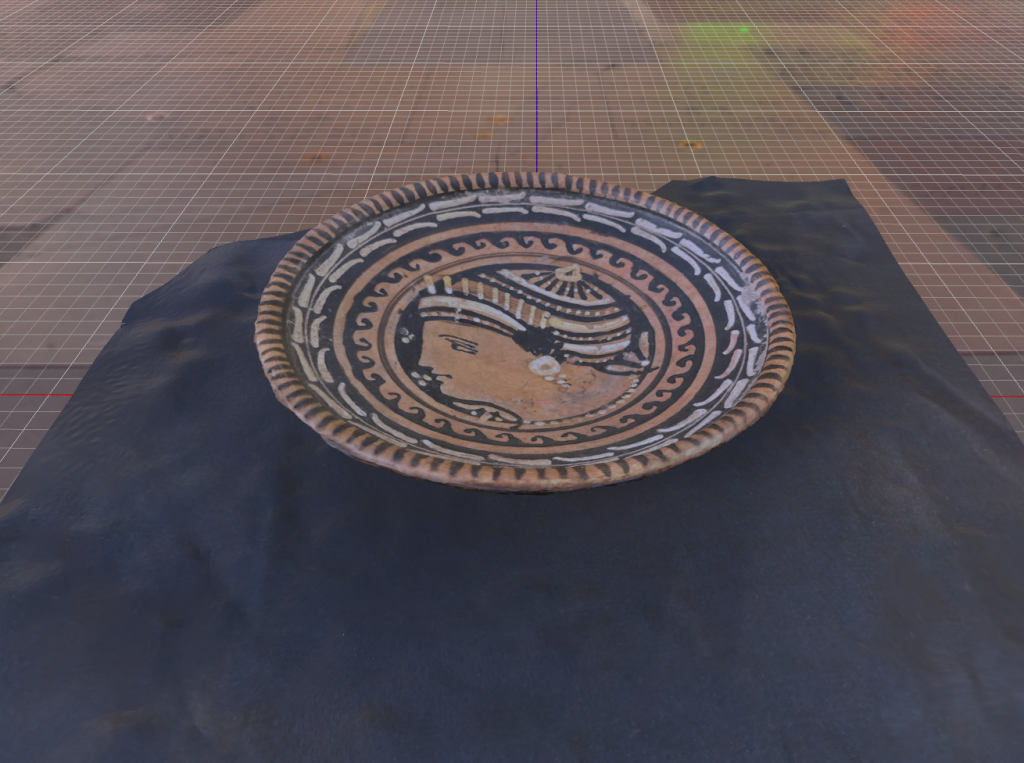
Was reduced to this, which is just 295kB.
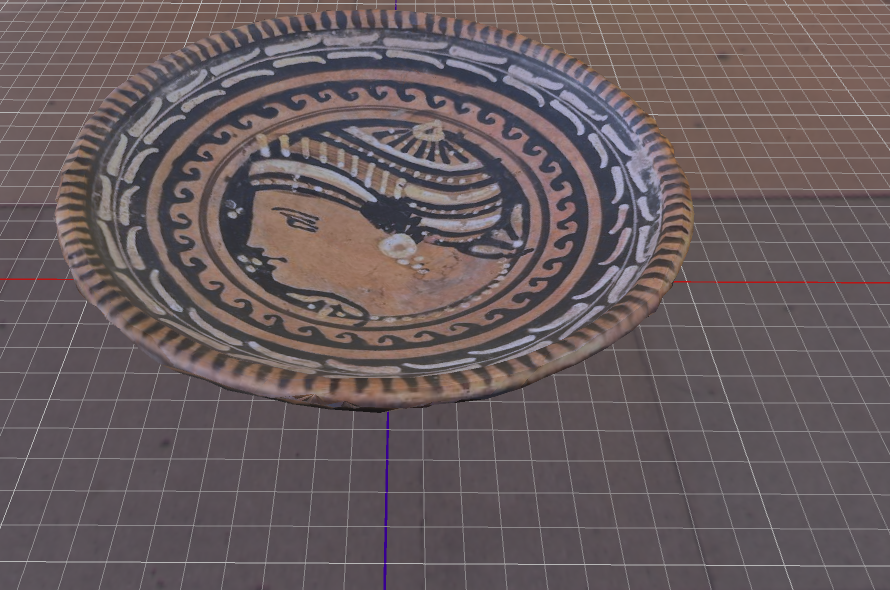
I did remove the black background by hand, though.
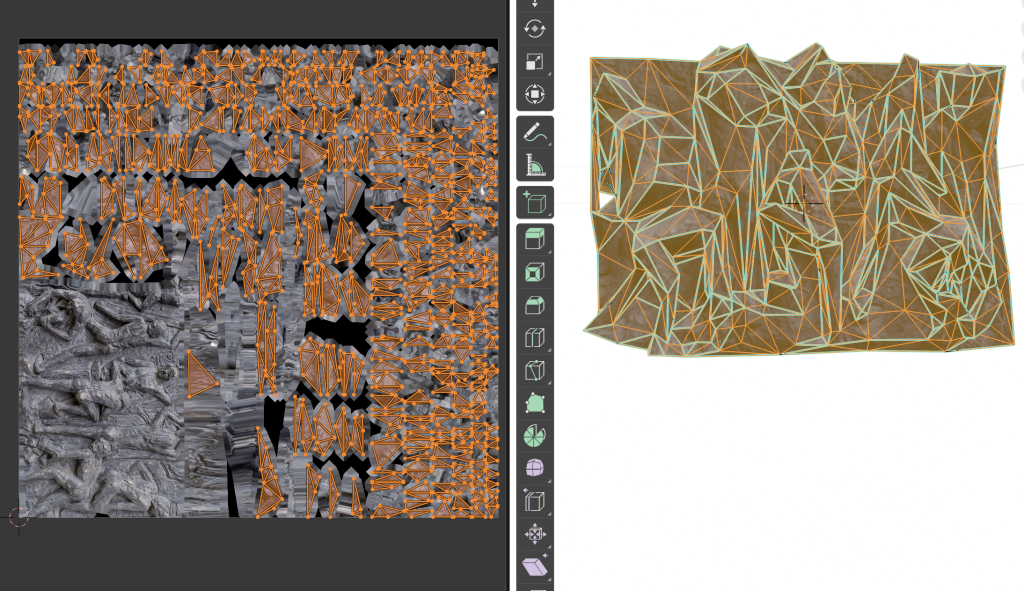
The interesting thing is that it added Sharps to edges automatically, you can see them in cyan.
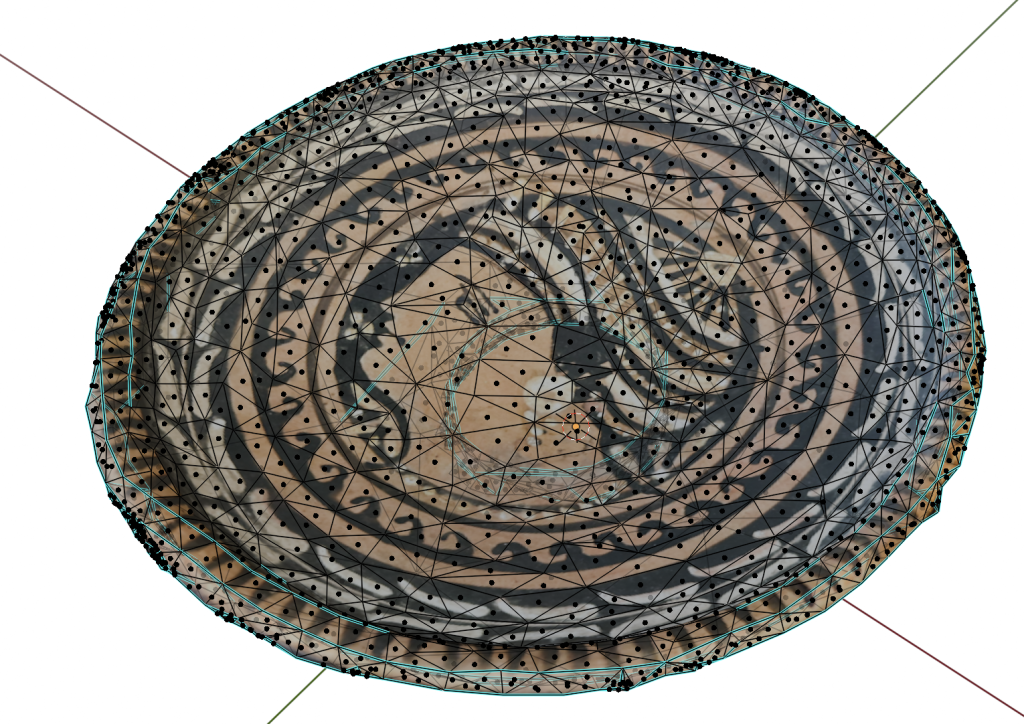
Of course the other interesting announcements in this field were Nvidia’s Meshtron and Microsoft’s Trellis (try it on hugginface), both of which do really interesting mesh generation.
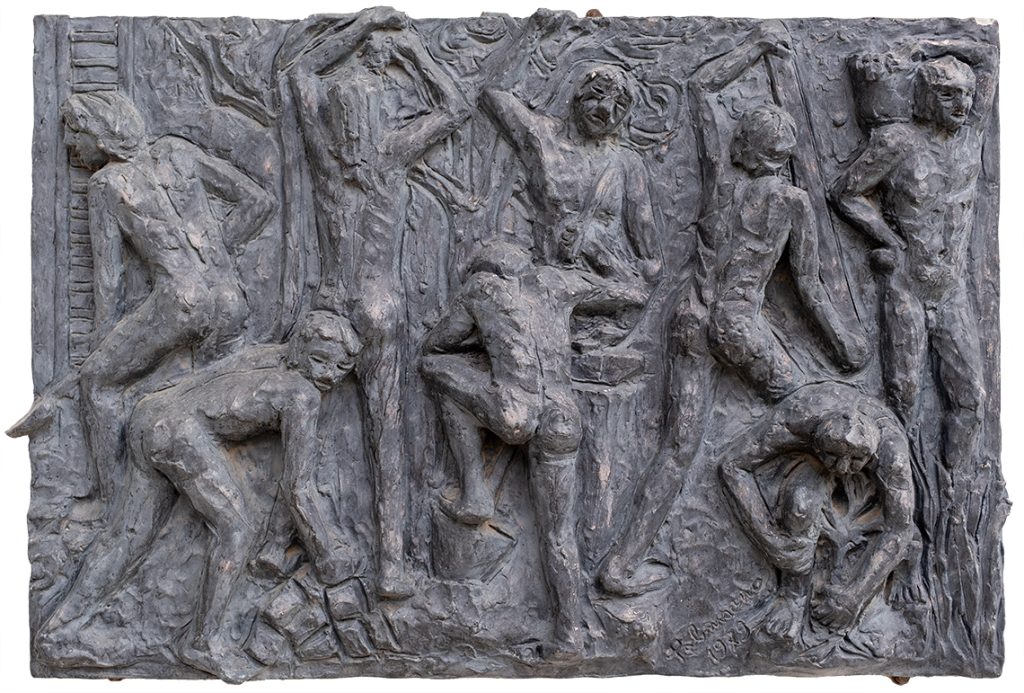
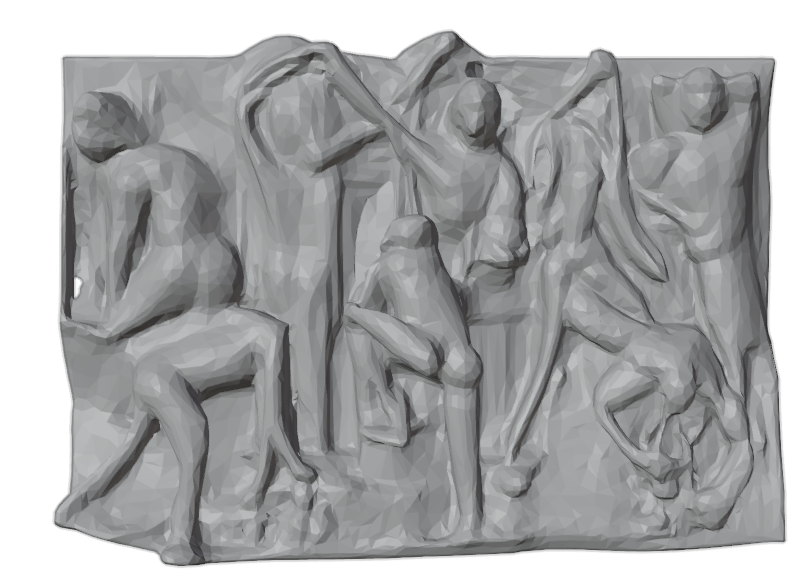
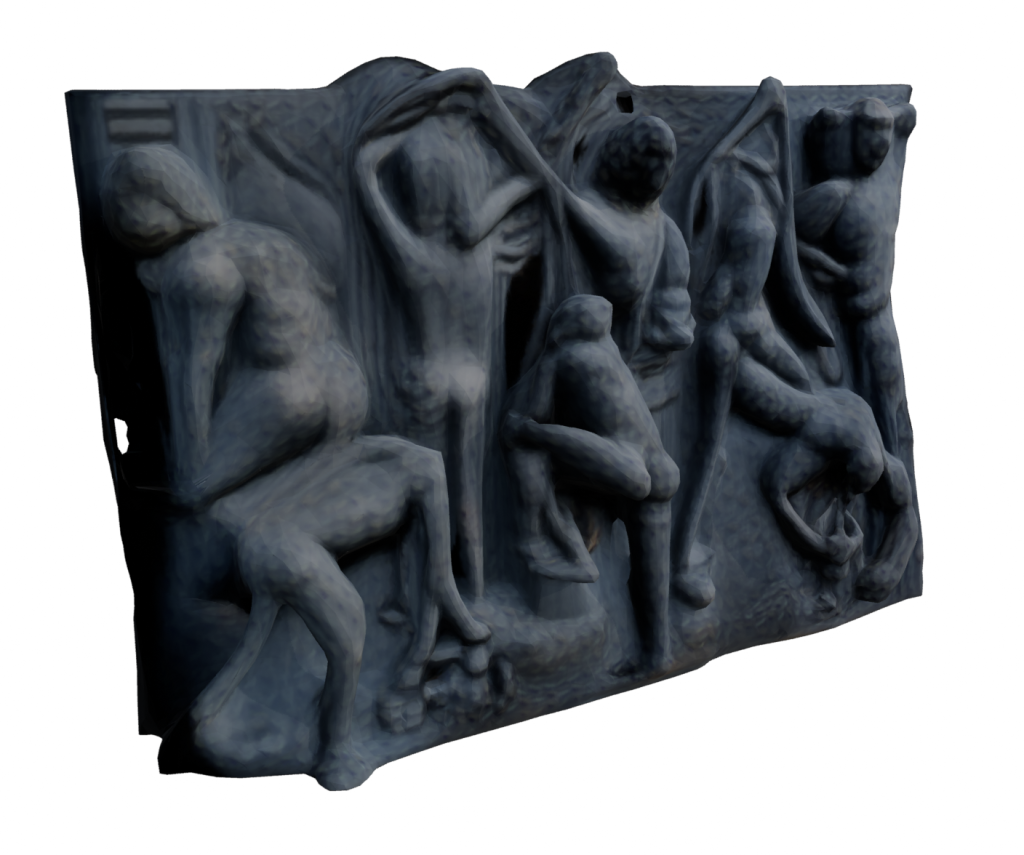
Of course for our requirements we cannot simply throw generative AI at the problem and hope for the best, we need to carefully represent the actual objects. But just as a try, we did try to throw an image of a bas-relief at Trellis. It created a plausible (but incorrect) result with a low-res texture. We tried throwing the original image on it as a texture, and it almost looked like it worked, until we tried moving the point of view.
This is the original photo, it’s Il Lavoro by Pietro Palmisano, from the BCC Arte & Cultura catalogue.
Generated model, with no texture:
With the AI-generated texture
With the original texture applied:
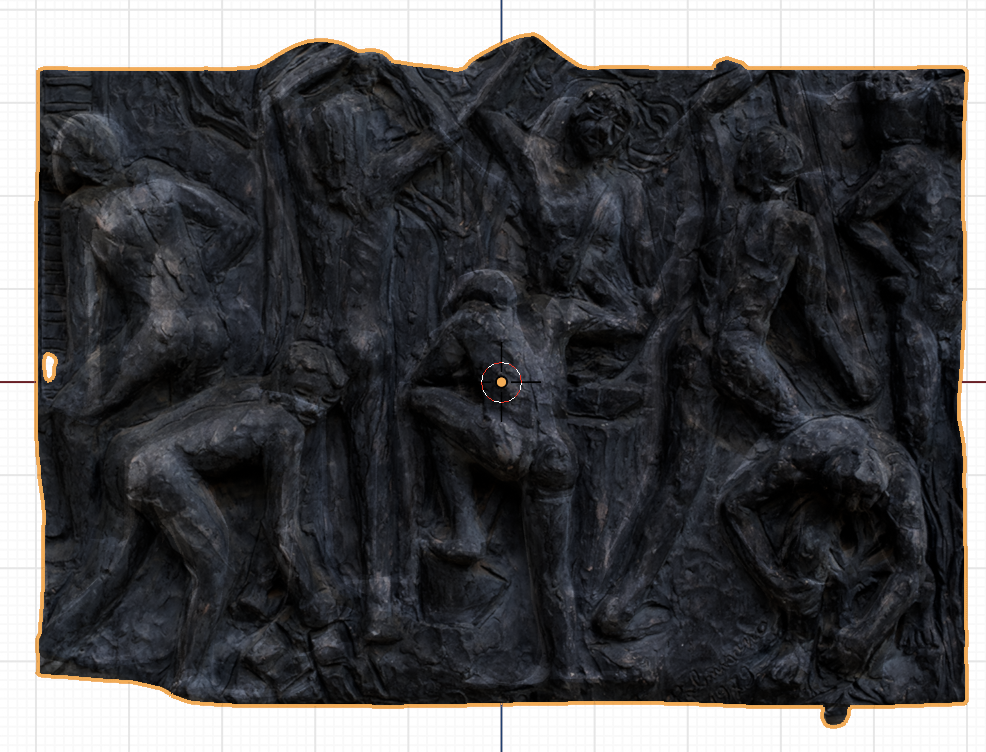
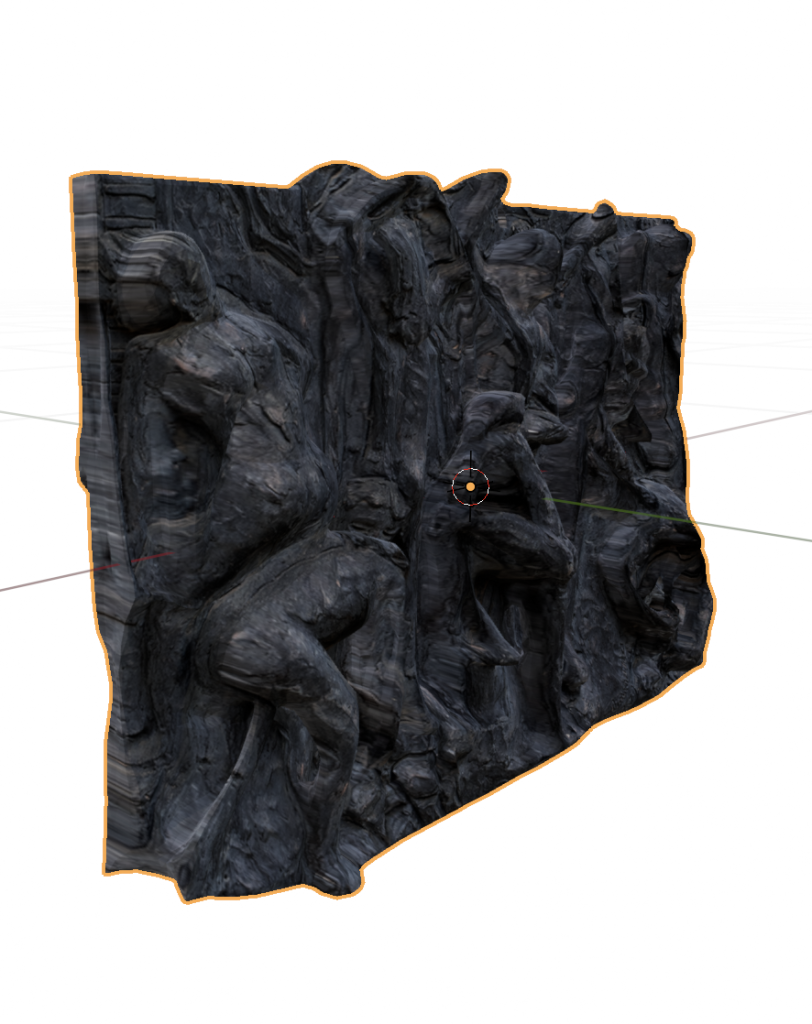
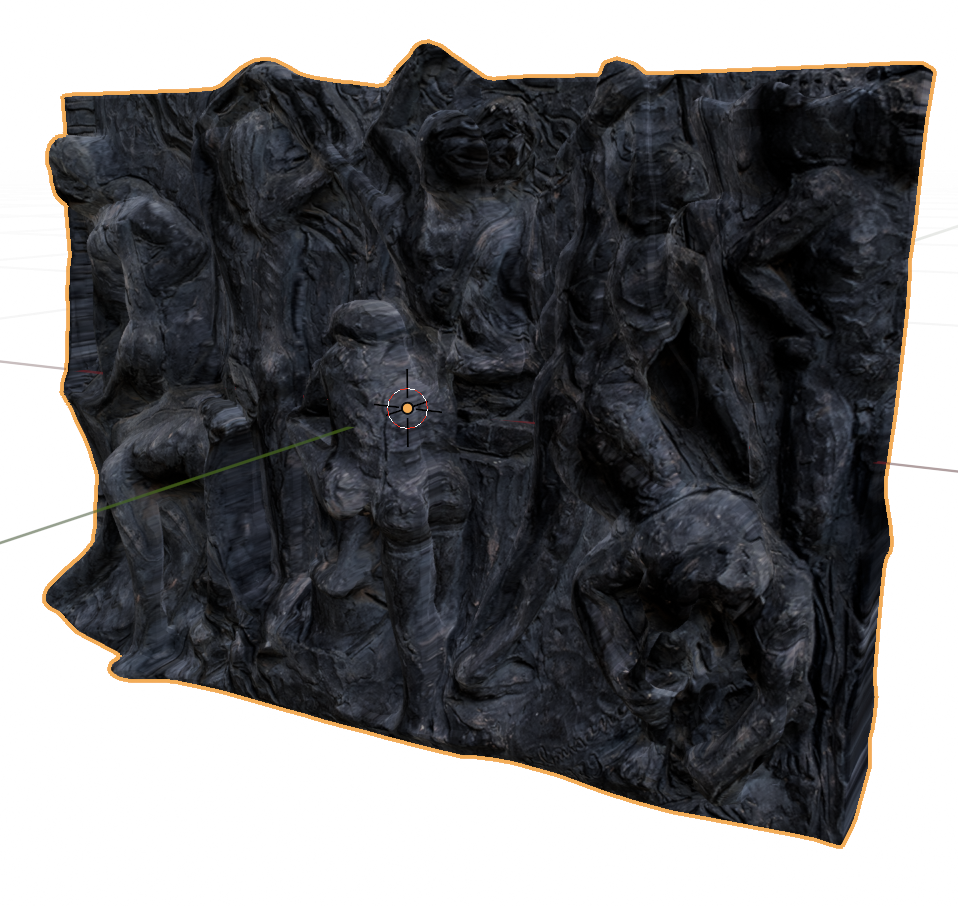
It’s simultaneously very impressive, and not any good. We could try to salvage it by sculpting the most egregious parts, and we could do way better on the texture mapping.
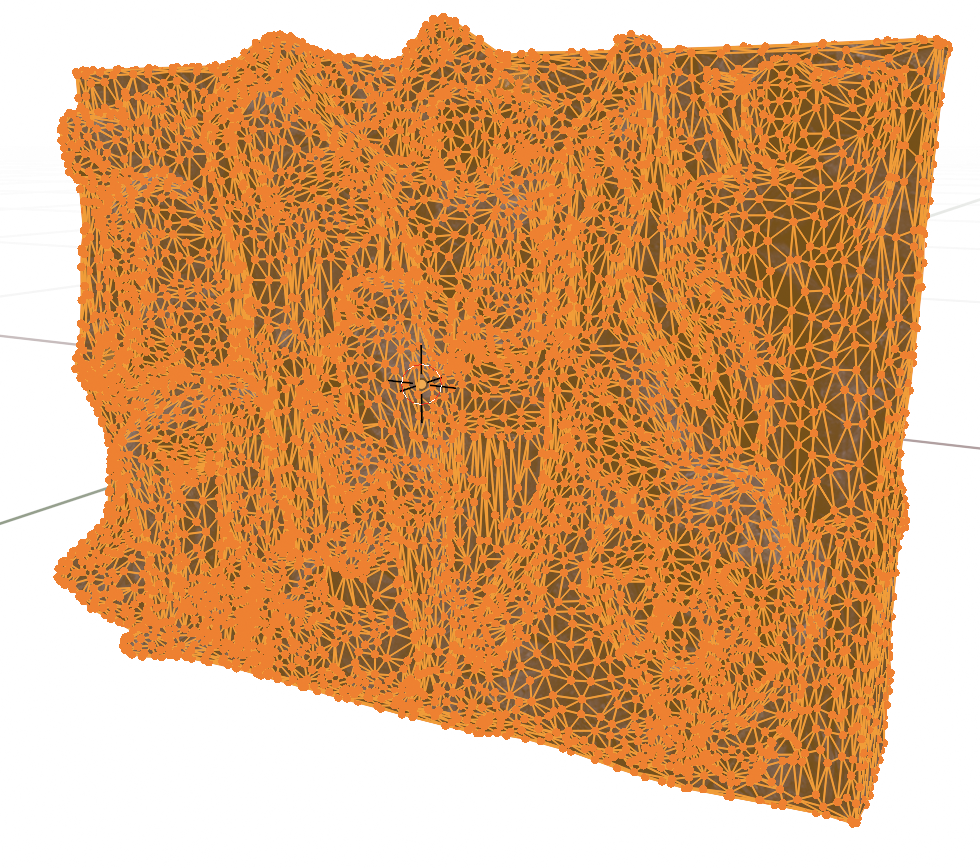
The geometry is really quite dense, we could try combining Trellis with Moderate Weight Reduction Tools.
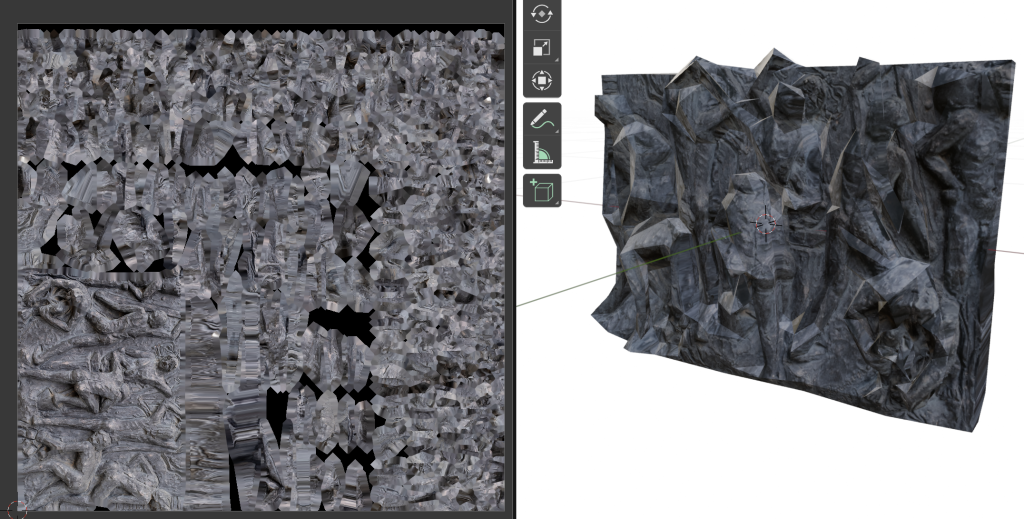
That really broke down. The geometry became visibly spiky, but the texture is just all wrong, it did not expect our “Project from View” trick.
-
Radio Interview, and how to download embedded audio from iOS
On Tuesday (2024-10-29) we were interviewed by Story Time, and we broadcast on Radio Canale Italia yesterday.
The interviewer was truly great, and everyone was simultaneously very friendly and very professional, we’d recommend them to anyone looking to promote their activity.
In about a week we’ll be given the video and we’ll be able to share it with everyone, but in the meantime we wanted to save a copy of the audio, and I’m currently up a mountain, so I had to do it from an iPhone.
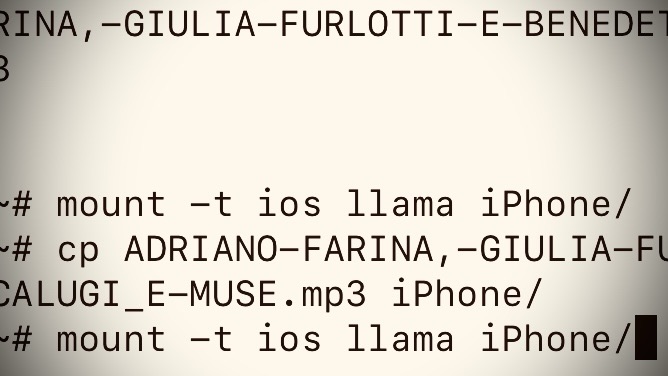
Getting the mp3 url was pretty easy, I just had to go to the website in Safari, open the Web Inspector extension, and it was right there. I could open the mp3 directly in the browser, but while on an actual computer it would have been enough to right click and save it, on iOS I had to get a bit more involved. I used iSH to get a command line, downloaded the mp3 file with wget, and then I had to figure out how to get it out of the iSH sandbox.
It turns out that you can just mount any folder.
I created a download folder with
mkdir Downloads
Then I connected it to the Downloads folder on the iPhone filesystem with
mount -t ios llama Downloads
This opens up a graphical interface that lets you select which folder you wish to mount.
I then simply copied the file to my Downloads with
cp example.mp3 Downloads
I guess the native iOS workflow would have been using Shortcuts, but I’m old.
-
Tech tip: recover from “ERROR MOOV atom not found”
Today we had to give a video presentation for the technically unannounced BCC Arte & Cultura project, and that involved a whole lot of Blender animation renders. One of them, a long one that took hours in Cycles, crashed at the very end. We were exporting in mp4 format, which is easy to import in video editors, but is quite hard to recover if the file is not terminated correctly.
VLC wouldn’t open it, and FFMPEG threw a “ERROR MOOV atom not found” warning, and then was unable to process any data.
With no time to spare for another render pass, we found this forum thread: https://www.videohelp.com/software/recover-mp4-to-h264
It’s a tiny and self-explanatory command-line utility, that saved us and gave us a usable file in seconds.
The only problem is that it’s Windows only.
-
Preparing immersive media for the Festival Day
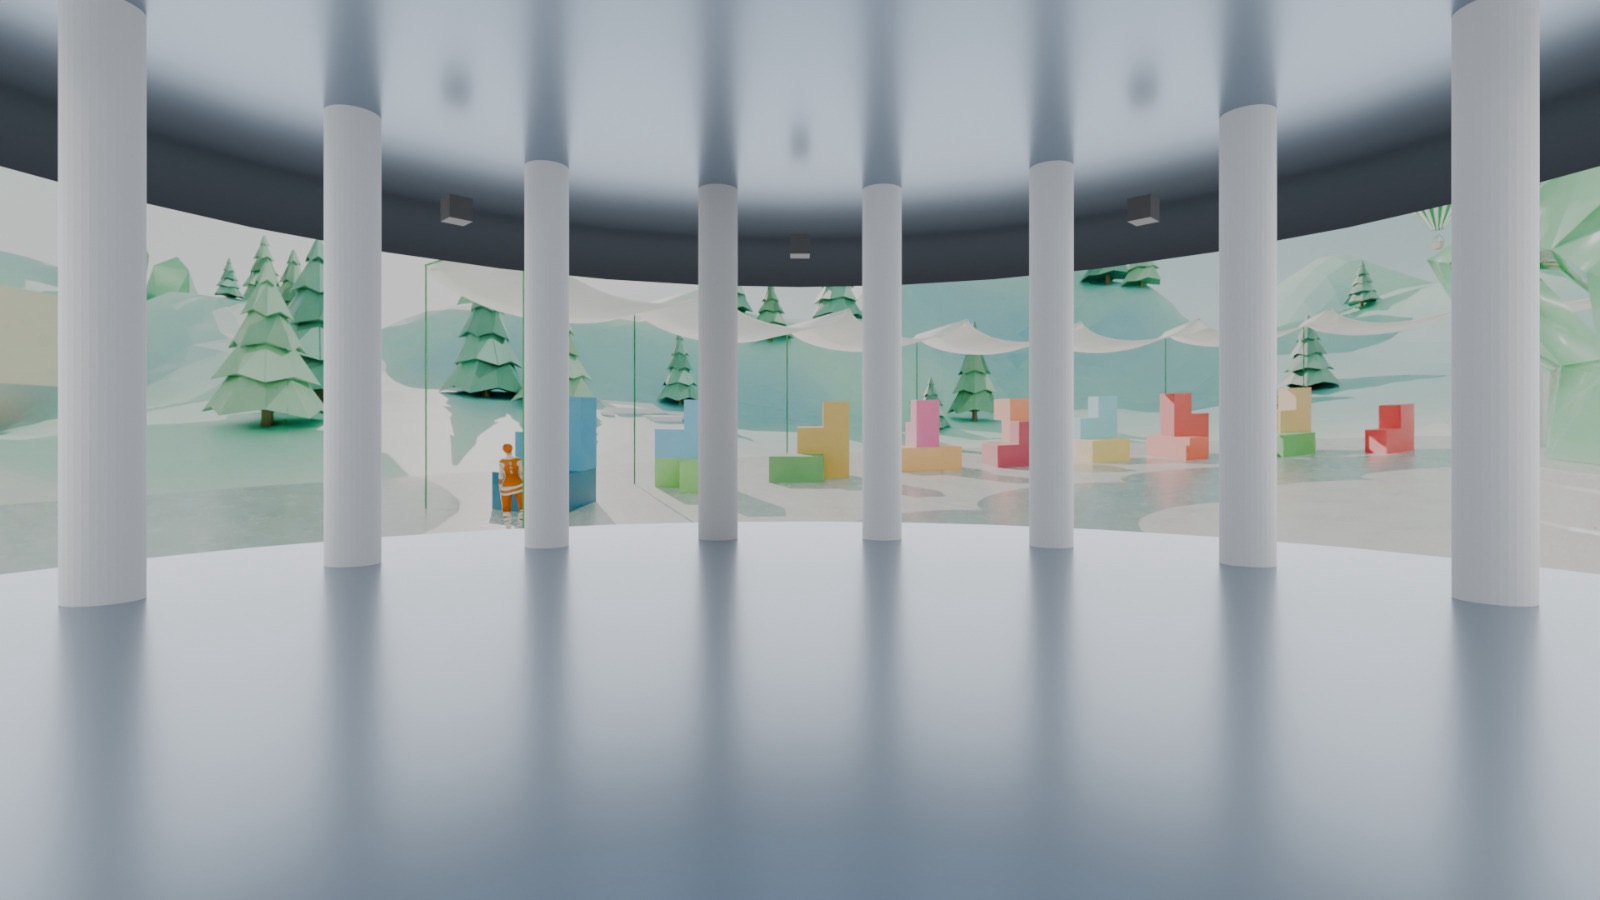
In one week our work on the BCC Innovation Festival will culminate in an hybrid event, whose physical manifestation will be held in the Salone delle Colonne: an impressive looking immersive room in Rome’s EUR district.
We are tasked with producing audiovisual material that shows off our immersive experiences in a context that is still immersive, but not interactive. In practice this means producing 360 videos, which have fewer rendering constraints (they don’t have to be executed in real time on random devices), but in which the visitor is less able to look around and explore.
We’ll make sure to share this video when it is done, but for now I want to share how we managed to preview how the projection was going to look, without going all the way to Rome to try the system out in advance.
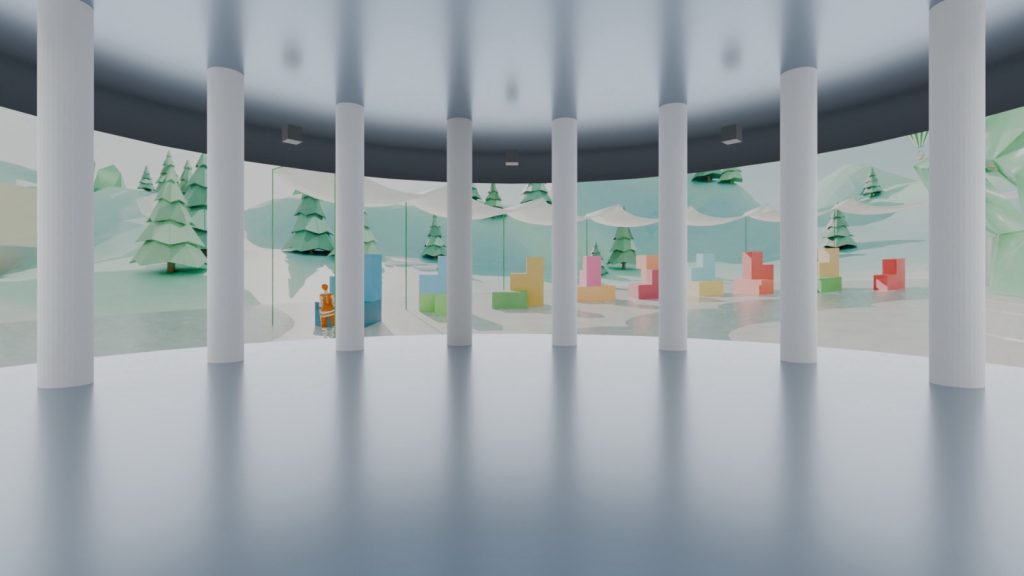
A quick render of the Salone delle Colonne First of all we took the floor map of the space, which was available as a PDF on the venue’s website, we imported into Blender and we modelled a very simple mockup, using just cylinders for the walls and columns, and planes for the ceiling and floor.
We also put in cubes to represent the positions of video projectors, but we didn’t bother to scale them correctly. We also didn’t model the sort of “steps” with which the ceiling lowers towards the sides of the room, as they don’t interact with the projection geometry.
So far this was all straightforward modelling, the only somewhat non-obvious thing we did was mapping the 360 video onto the screen.
We added a new material on the walls cylinder, with an Image texture obtained with an equirectangular camera in our Innovation World Blender scene. (Note: equirectangular cameras only seem to work in Cycles)
Going into the UV Editing screen in Blender we put a seam on a vertical edge of the screen, and we did an UV > Unwrap. Then we selected all faces, and scaled them on the UV side until the seam matched perfectly. We can then change the center of the projection by moving the UV faces on the X and Y axes.
We put the resulting Blender file and a GLB on our site, and we also stuck it on Sketchfab for ease of use. We should do a three.js version in which users can load their own files and play around with the projection parameters.
Geometrically the problem is that the equirectangular video we make in Blender goes from +90 to -90 degrees on the vertical axis, while in the Salone delle Colonne there are something like 29 degrees of vertical elevations, if we look from the center of the room. Actually considering a standing spectator it’s something like +18 to -9 degrees.
This is of course assuming that the projection has been setup correctly in the room itself. I think ideally the venue should provide examples files, but after all it is a very new installation.
Similarly the projectors themselves are very advanced, they have an automatic edge and overlap system that we’re very curious to see in action, but it is not quite clear what the logical resolution of the system is.
Very interesting stuff!
Edit: I’ve found this article with more technical information on the room’s video system: https://www.sistemi-integrati.net/proiezione-immersiva-di-grande-impatto-nel-salone-delle-colonne-di-roma/
Edit 2: brief video render
-
TIL: manually set object origin in Blender
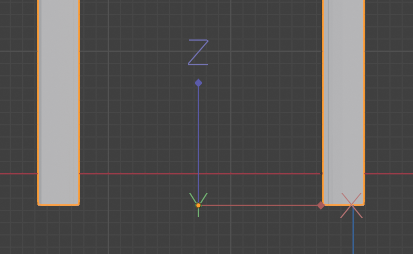
This one is pretty basic: in order to change the origin of an object you can right click and choose one of the options:

Or you can set it manually, just go into Edit Mode, then at the top right of the viewfinder go to Options, Transform, Affect Only Origins.
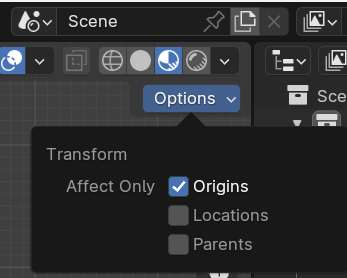
This allows you to move the origin to wherever you want, without affecting the object. Dont’ forget to apply transforms (ctrl+A) when you’re playing around with this stuff.
-
TIL: multiple selection modes in Blender
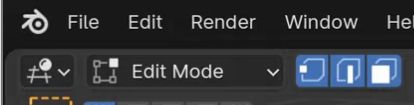
When in Edit Mode, you can switch the selection mode between Vertex, Edge and Face, using the icons right next to the drop down menu from which you can switch to Object Mode. You can also use the 1, 2, 3 keys as a shortcut.
What I just learned is that if you Shift+click on the selection modes you can activate more than one at a time, it looks like this:
You can then click on whatever mesh element to select it.
-
TIL: “fix” Blender zoom
With the default Blender settings it is quite common to get into situation where you just can’t get close enough to your object.
There are two tricks to fixing it. The first is to use the Shift+C shortcut, to reset.
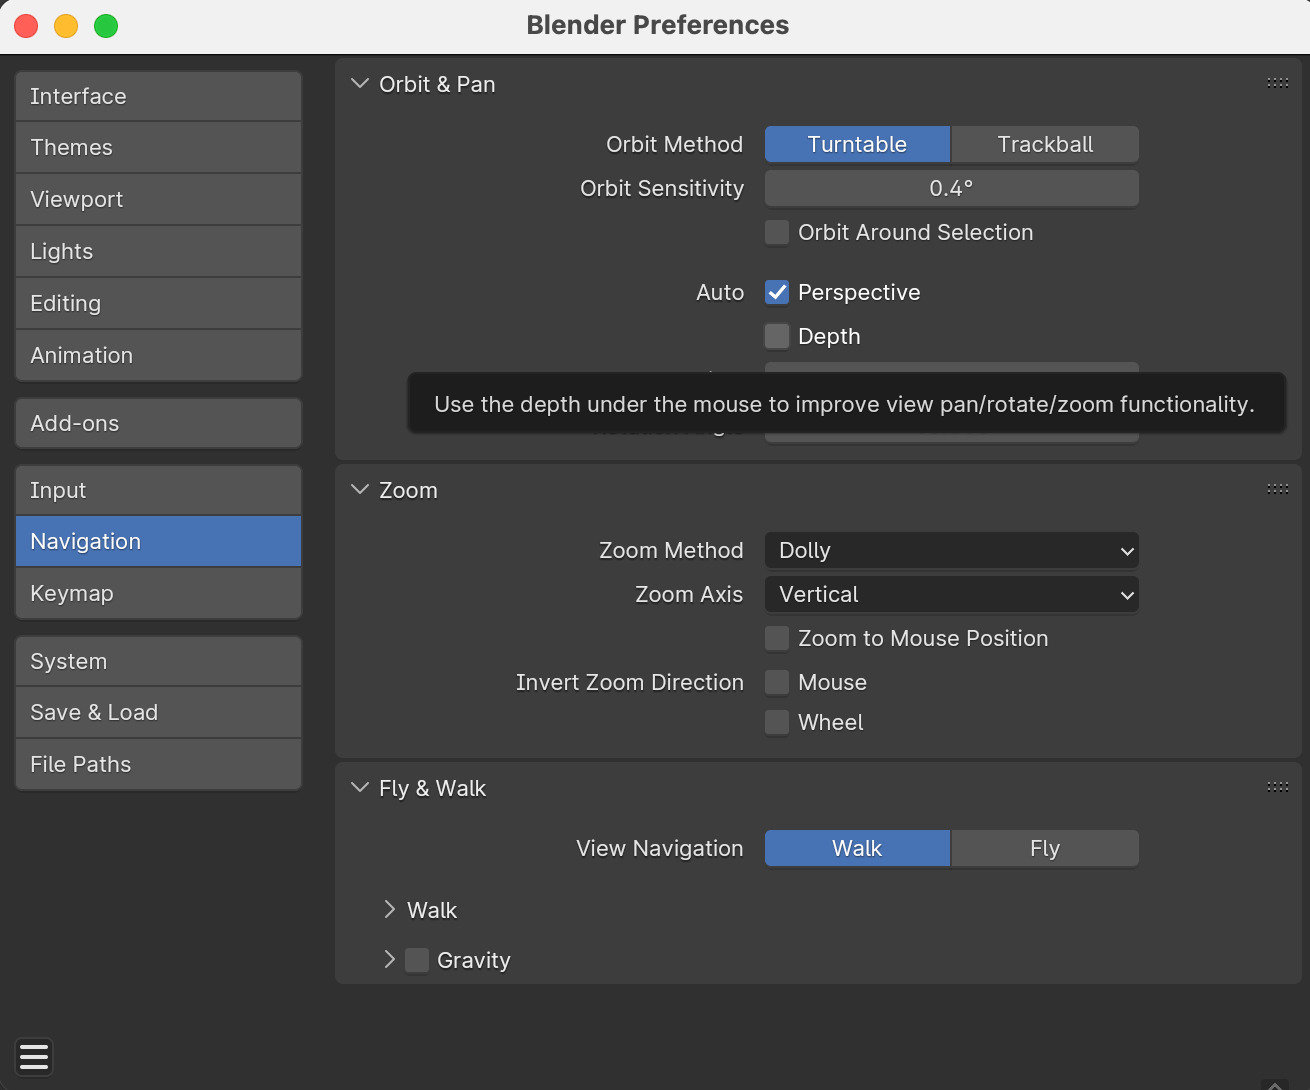
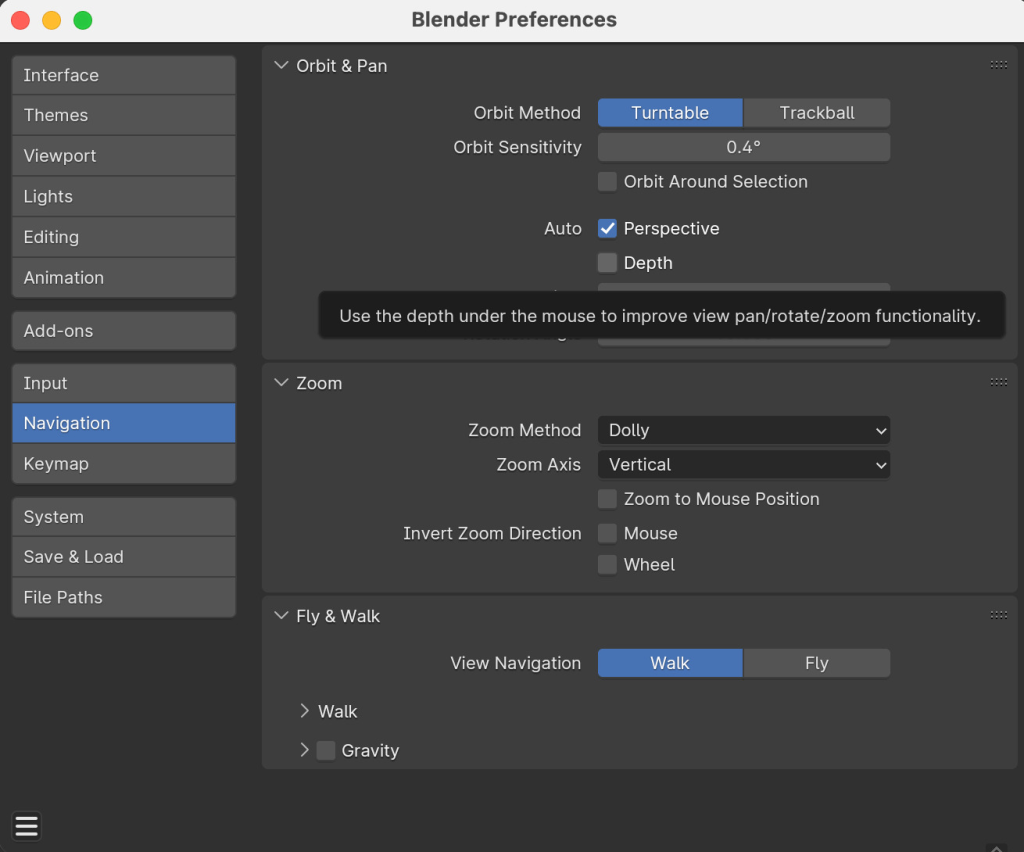
The second is to enable Auto Depth, under Edit > Preferences > Navigation, as shown in the picture
-
Local AI Linkpost
Links to models that you can run yourself. They call them Open Source, which is not exactly accurate, their licenses are more restrictive, but in practice you can used them, even for commercial applications, and you can poke around them quite a bit.
- Code Llama 70B, download, the new version for Meta’s code-generation Large Language Model. Here it is on huggingface.
- RWKV Eagle 7B, the most interesting part is that architecturally it is not transformer-based, but it should be more energy-efficient.
We should probably write a tutorial on how to run these models locally, and on how they can be used productively. The latter is an open question, it is very easy to waste time, and these things tend to be power hungry.
-
TIL: video editing in Blender
As a company we are deeply committed to Open Source and Free Software. For video processing we do use a whole lot of ffmpeg, but for video editing we tend to use proprietary solutions like DaVinci Resolve and FinalCut Pro rather than Kdenlive.
However, we’re already working on Blender most of the time, so why not use that? After all reducing dependencies is generally a benefit to any workflow.
Here we are going to share just a few tips for users not already familiar with Blender. It is surprisingly internally self-consistent, for something that can do so many different things.
When opening Blender we can create select the Video Editing layout from the splash screen, we get this layout:
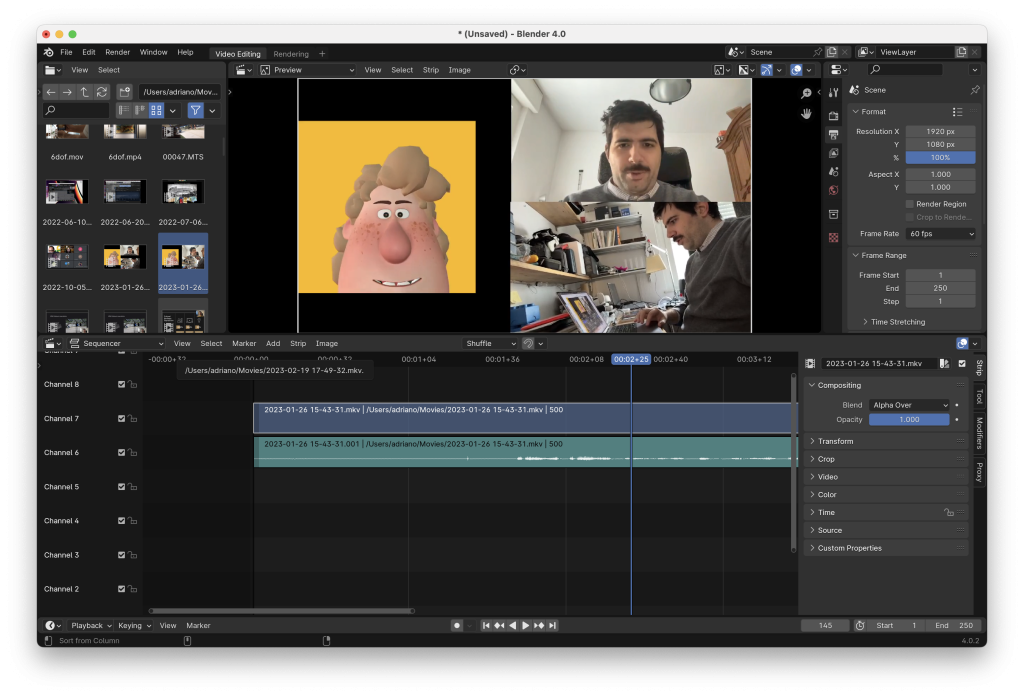
This is basically the same as any other non-linear video editor: we select files in the top right, we drag into tracks below, we see the result at the top in the center. When we drag videos onto the timeline Proxy Media is automatically generated.

There are just a couple of tricks to get you started: use Blender keyboard shortcuts, like G to move objects, X to delete them. A video-specific one is Shift+Space+K to select the Blade tool, Shift+Space+W for the select tool.
The Blade tool is used to split clips under the cursor.
To make it usable you should also enable Waveform Display for all audio tracks. It’s at the bottom of the video sequencer View menu, which has this icon:

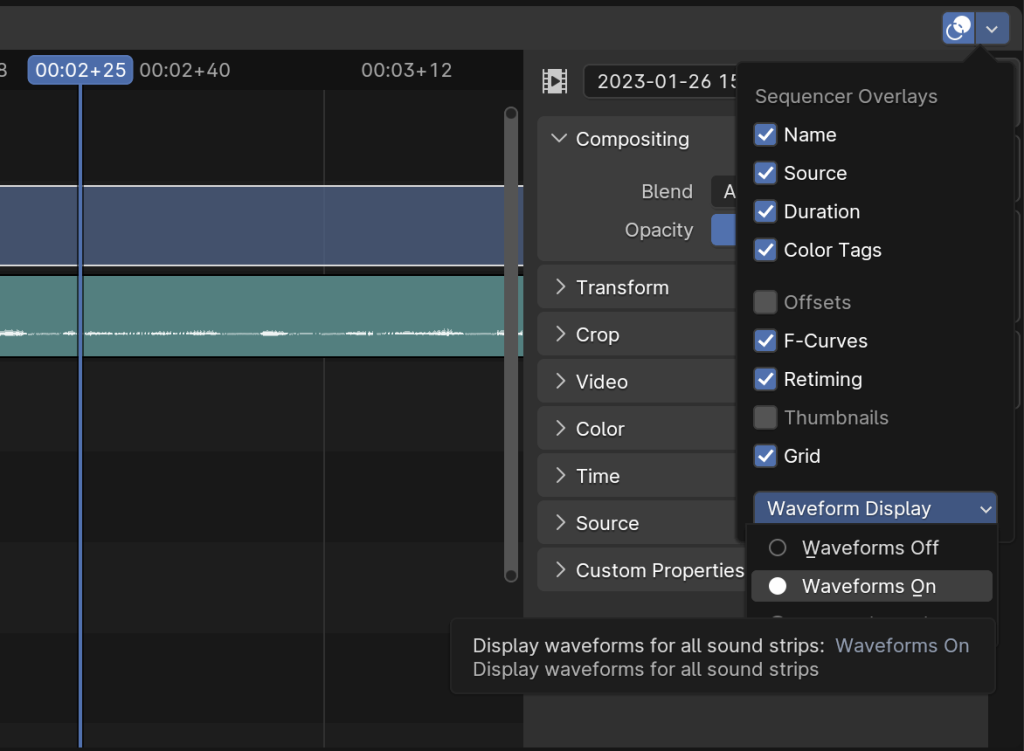
Here it is with waveform display off:
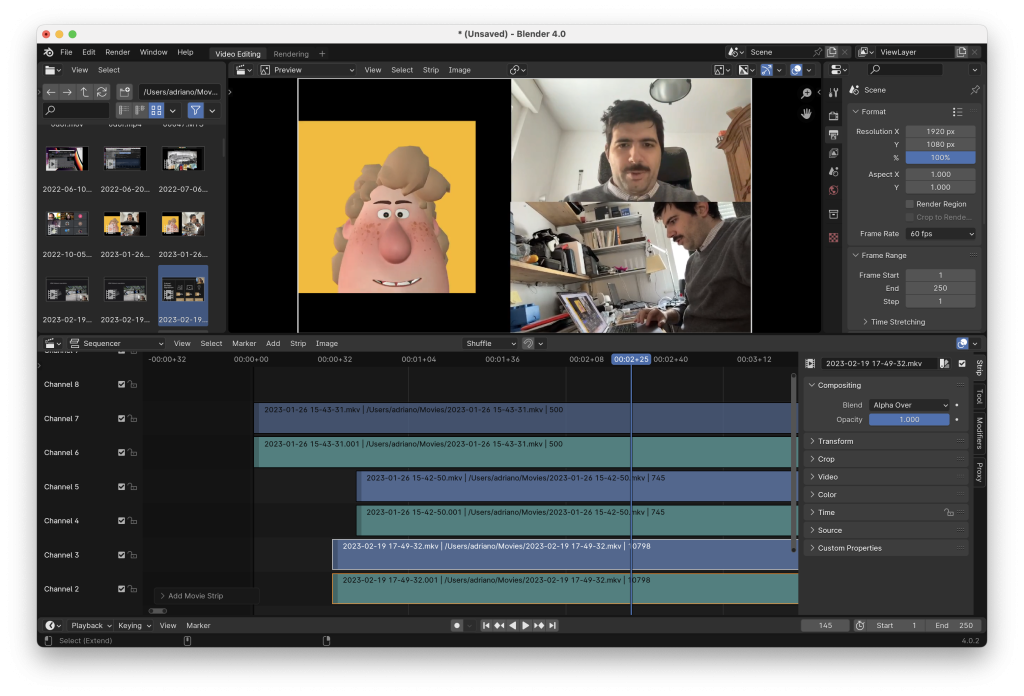
And on:
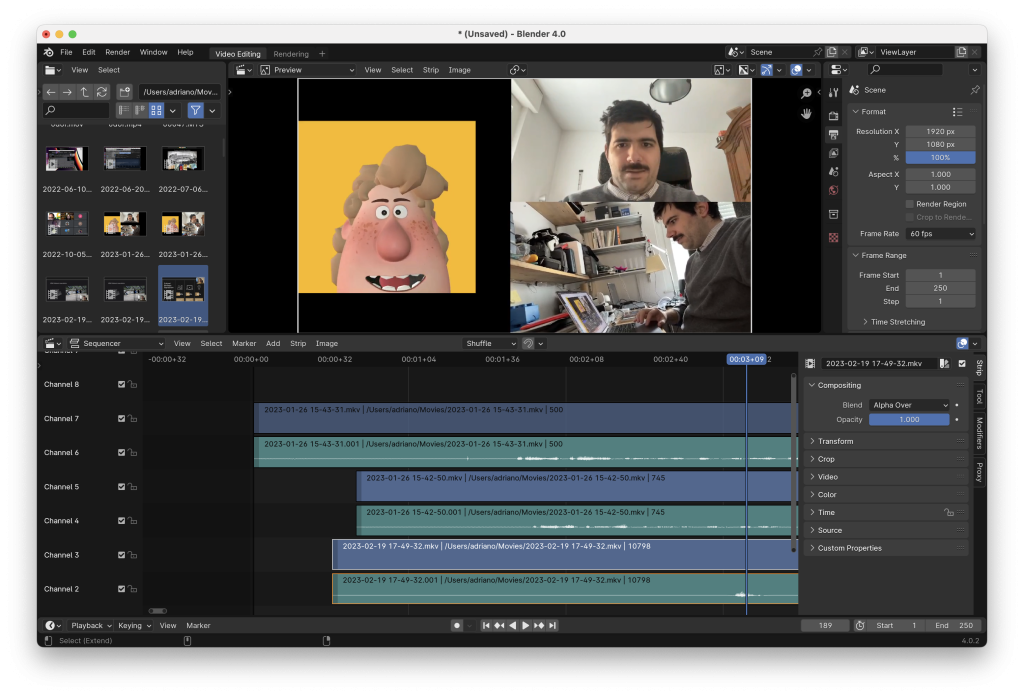
That makes it much easier to use.
You can pick you video’s resolution and frame rate in the Scene inspector in the top right, as well as the output file location, container and codec.
In order to render just press Shift+F12 (Command + F12 on Mac), or go to Render > Render Animation in the top menu.