As a company we are deeply committed to Open Source and Free Software. For video processing we do use a whole lot of ffmpeg, but for video editing we tend to use proprietary solutions like DaVinci Resolve and FinalCut Pro rather than Kdenlive.
However, we’re already working on Blender most of the time, so why not use that? After all reducing dependencies is generally a benefit to any workflow.
Here we are going to share just a few tips for users not already familiar with Blender. It is surprisingly internally self-consistent, for something that can do so many different things.
When opening Blender we can create select the Video Editing layout from the splash screen, we get this layout:
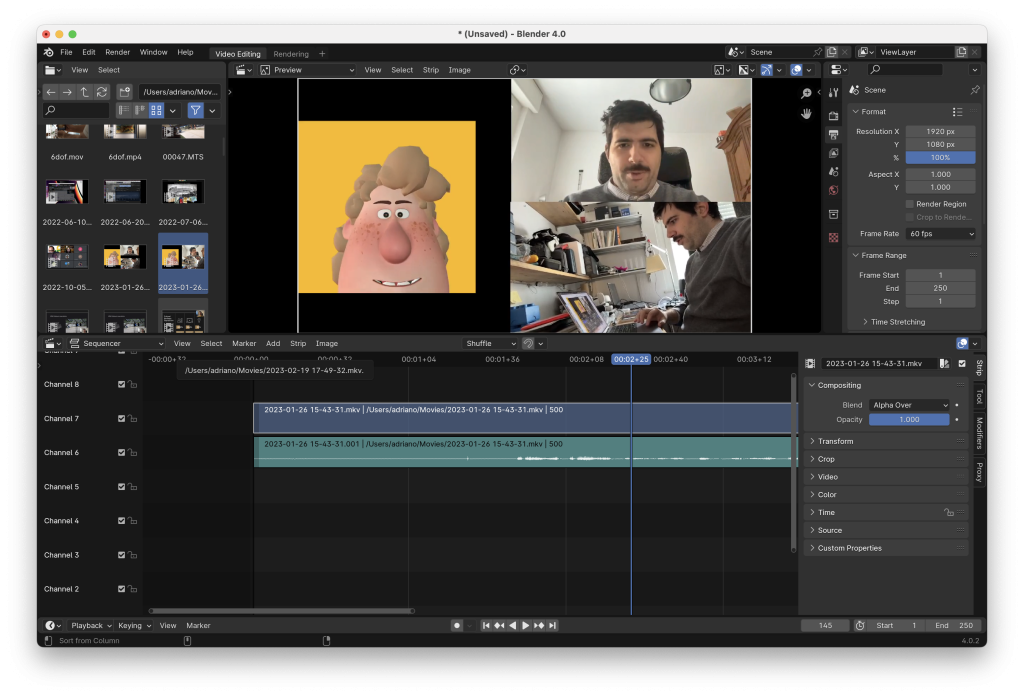
This is basically the same as any other non-linear video editor: we select files in the top right, we drag into tracks below, we see the result at the top in the center. When we drag videos onto the timeline Proxy Media is automatically generated.

There are just a couple of tricks to get you started: use Blender keyboard shortcuts, like G to move objects, X to delete them. A video-specific one is Shift+Space+K to select the Blade tool, Shift+Space+W for the select tool.
The Blade tool is used to split clips under the cursor.
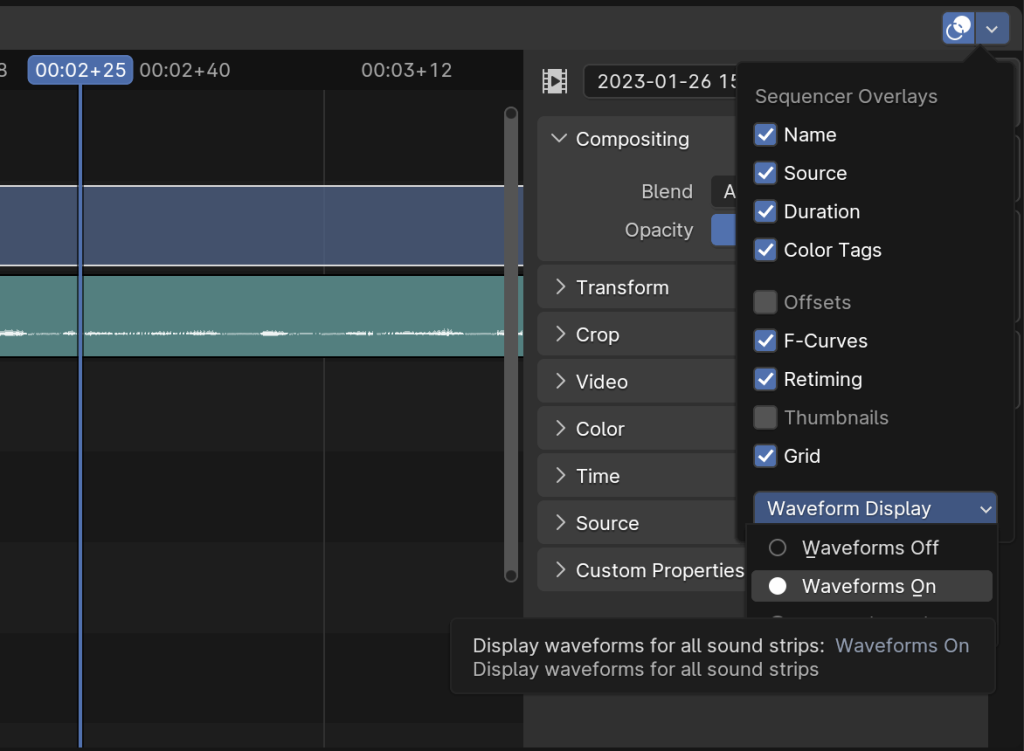
To make it usable you should also enable Waveform Display for all audio tracks. It’s at the bottom of the video sequencer View menu, which has this icon:

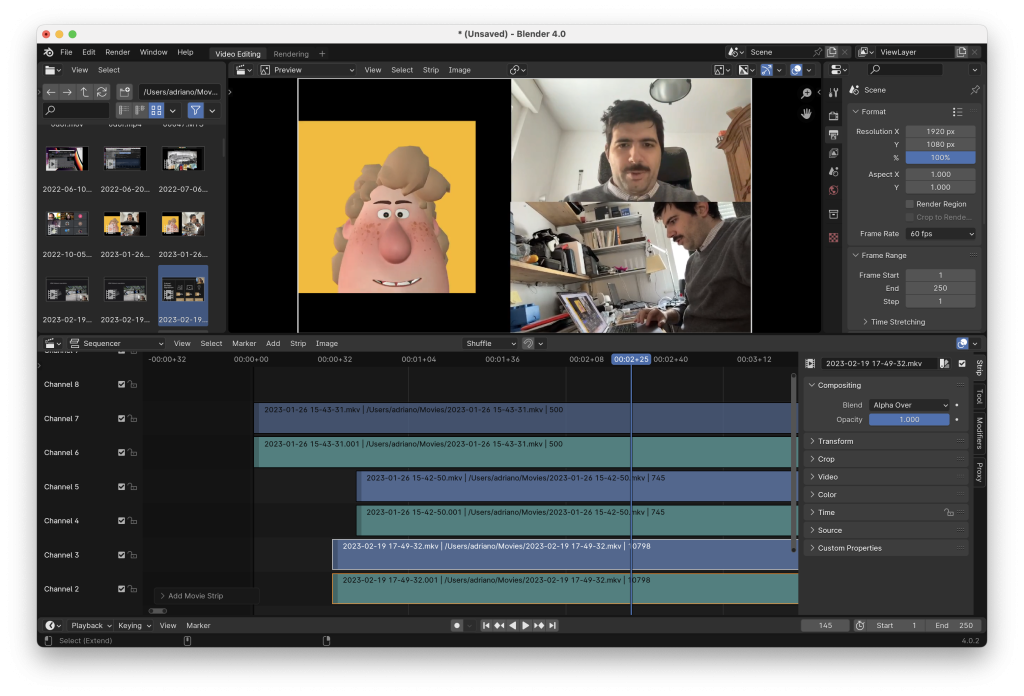
Here it is with waveform display off:
And on:
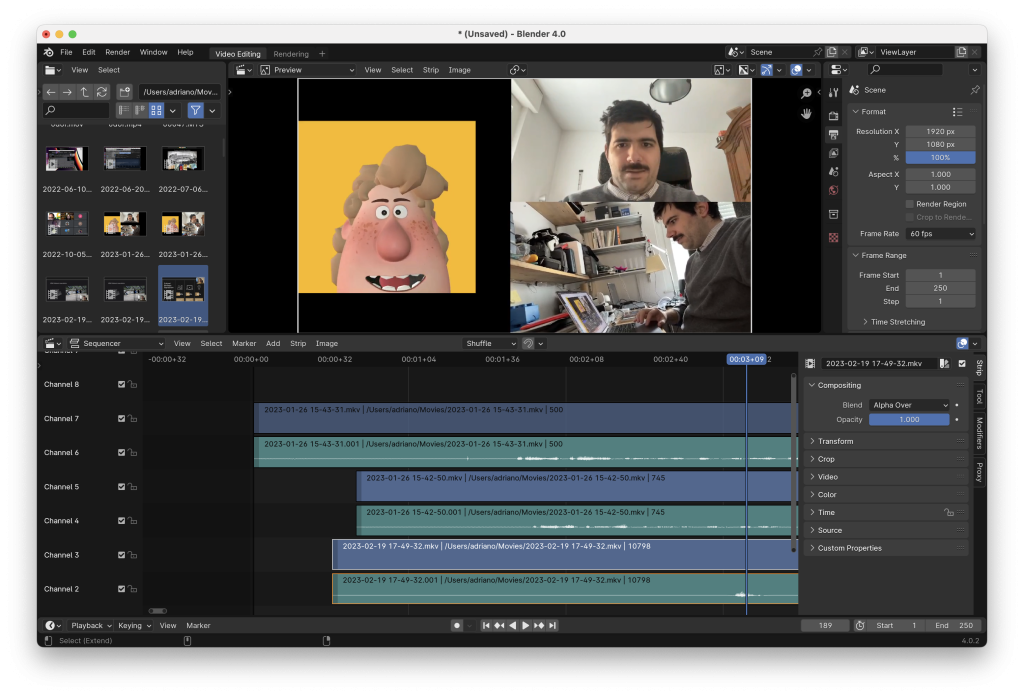
That makes it much easier to use.
You can pick you video’s resolution and frame rate in the Scene inspector in the top right, as well as the output file location, container and codec.
In order to render just press Shift+F12 (Command + F12 on Mac), or go to Render > Render Animation in the top menu.