Tag: TIL

  • New mesh reduction tools

    Holo Lab released this new Blender add-on that does a pretty job at reducing most photogrammetry models: https://github.com/HoloLabInc/ModerateWeightReductionTools

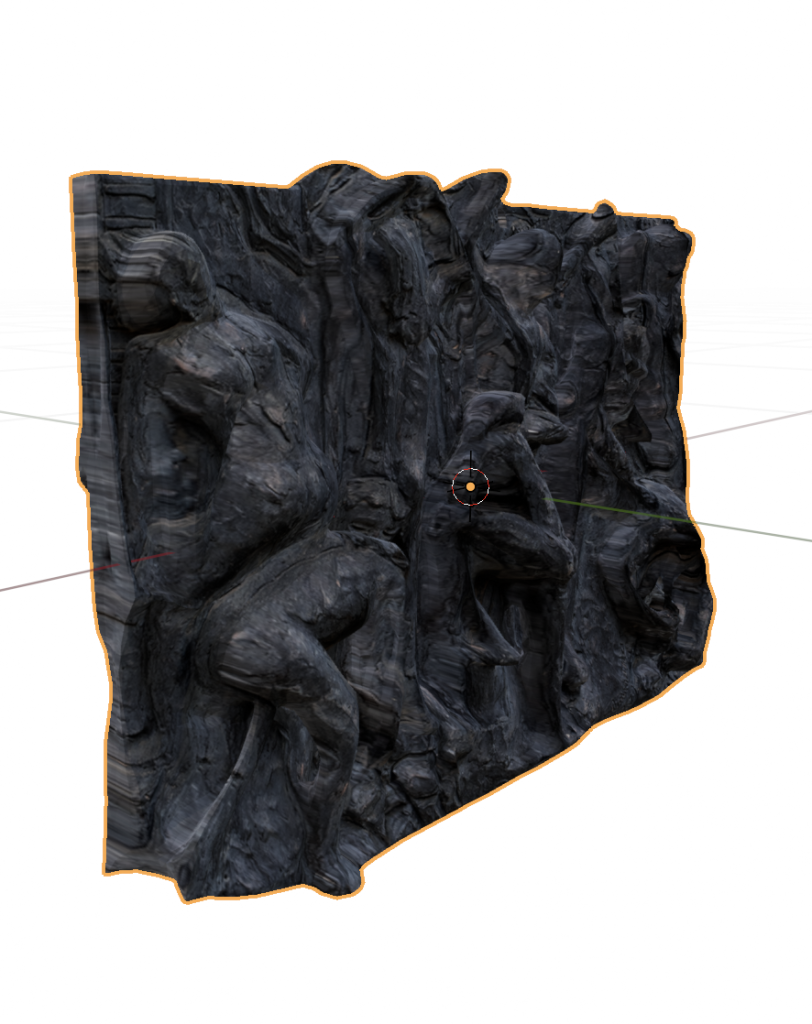
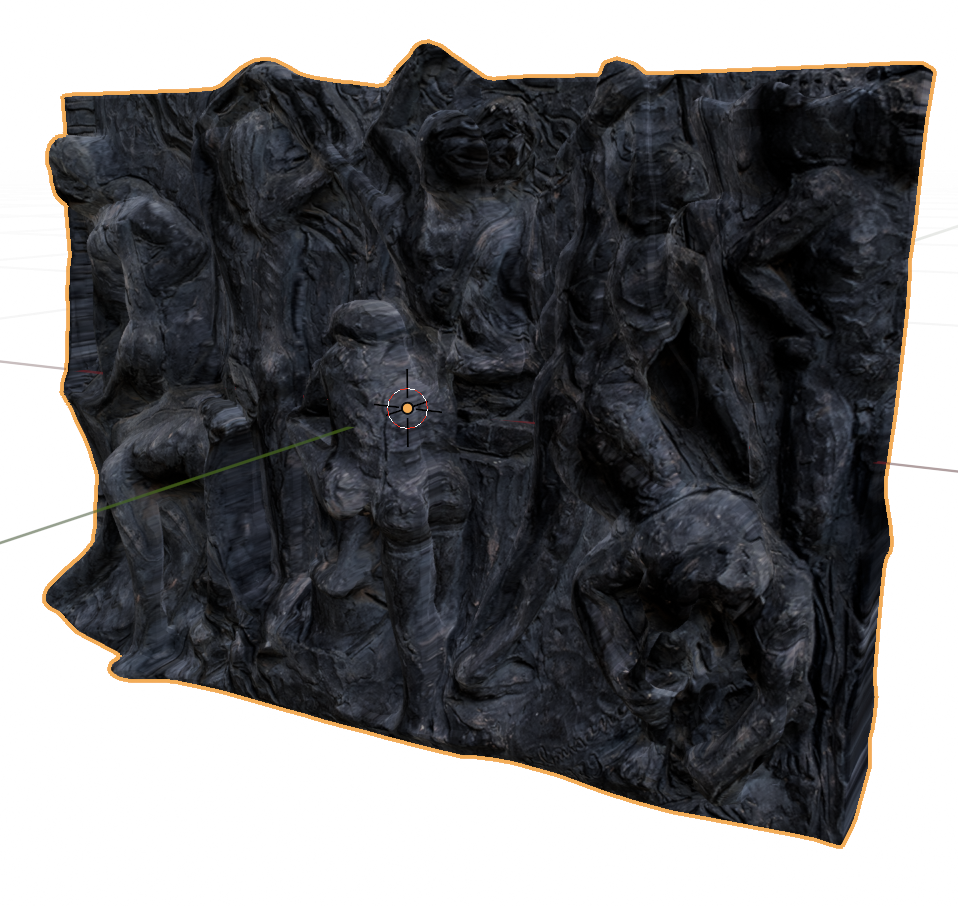
    It does fail on the more topologically challenged ones, but that is to be expected. As an example this 25MB model:
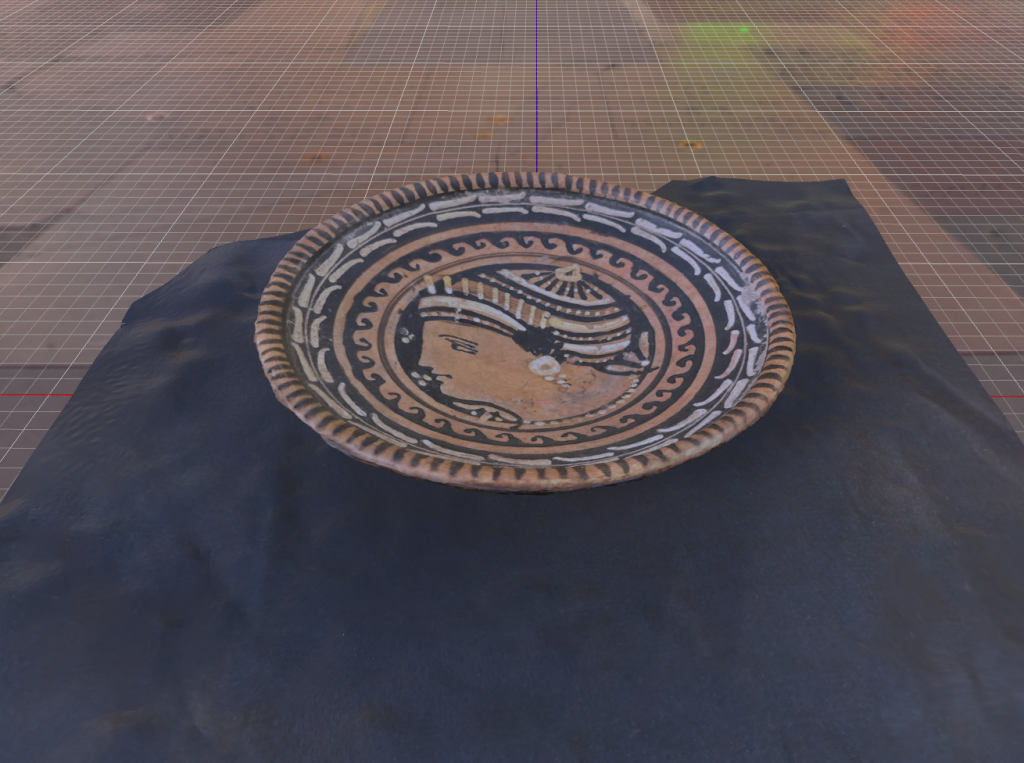
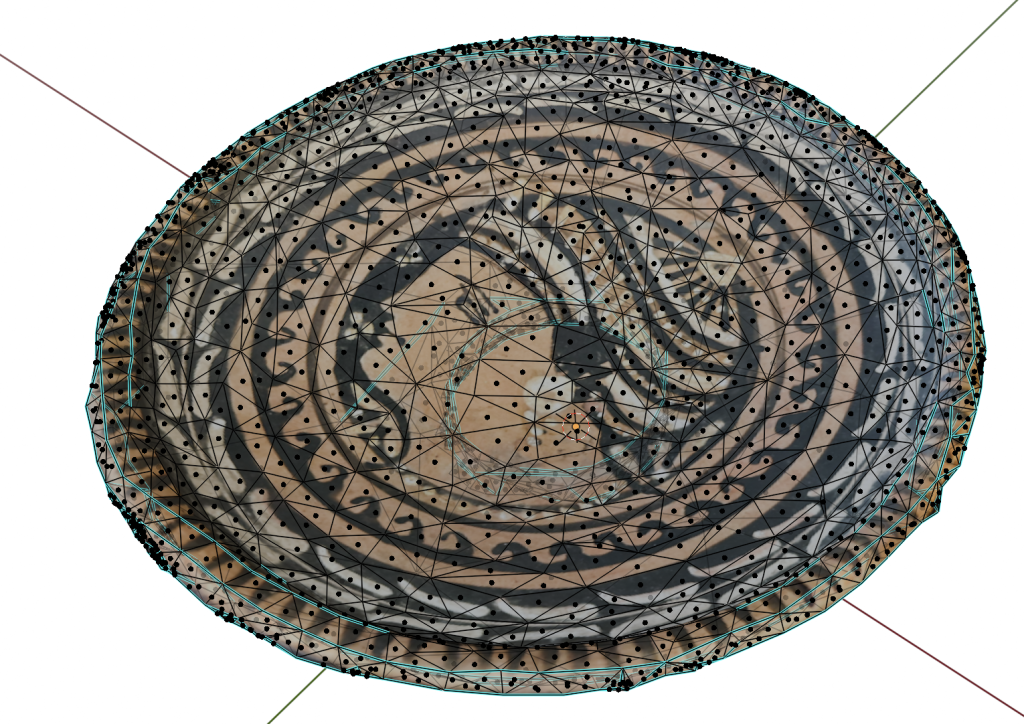
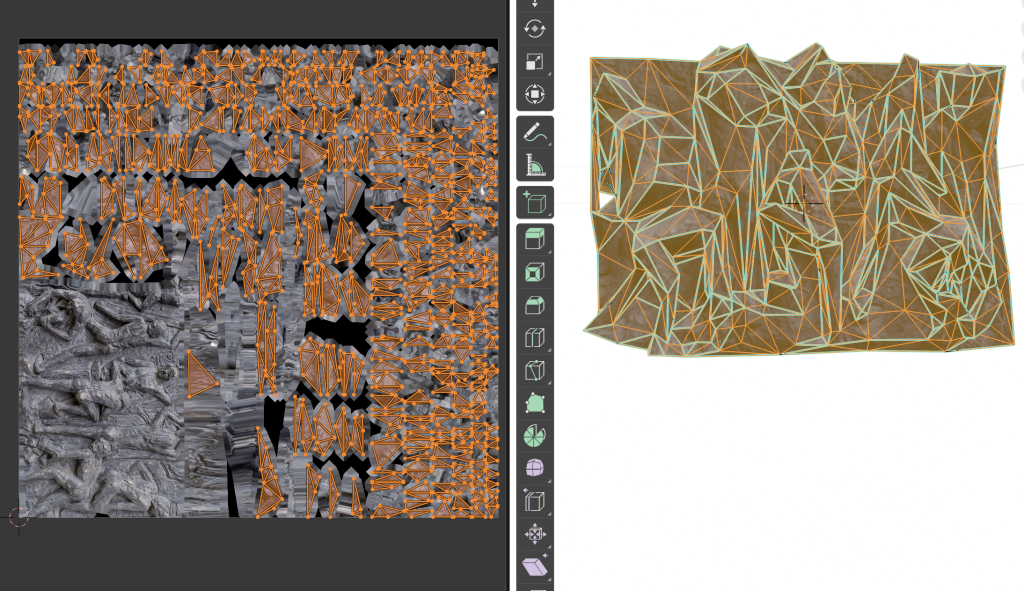
    Was reduced to this, which is just 295kB.
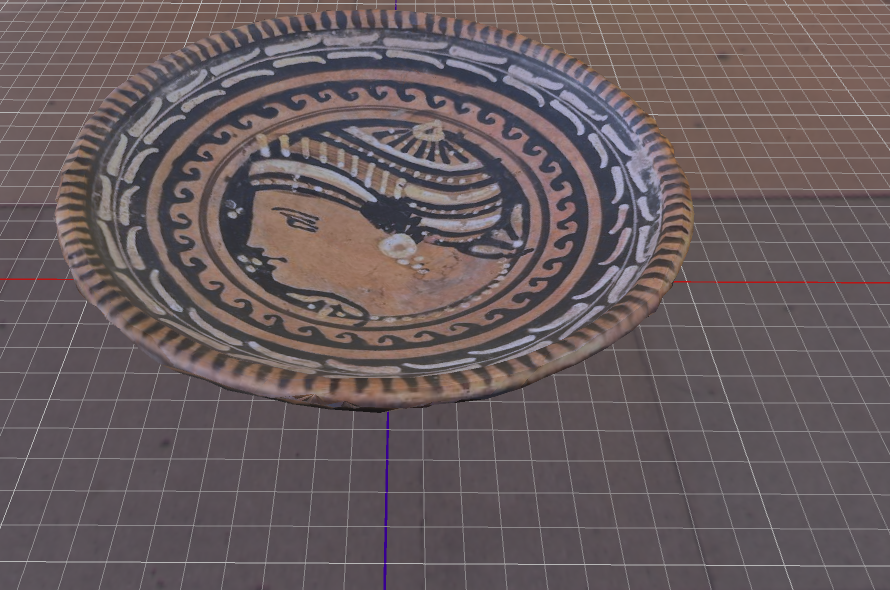
    I did remove the black background by hand, though.

    The interesting thing is that it added Sharps to edges automatically, you can see them in cyan.
    Of course the other interesting announcements in this field were Nvidia’s Meshtron and Microsoft’s Trellis (try it on hugginface), both of which do really interesting mesh generation.

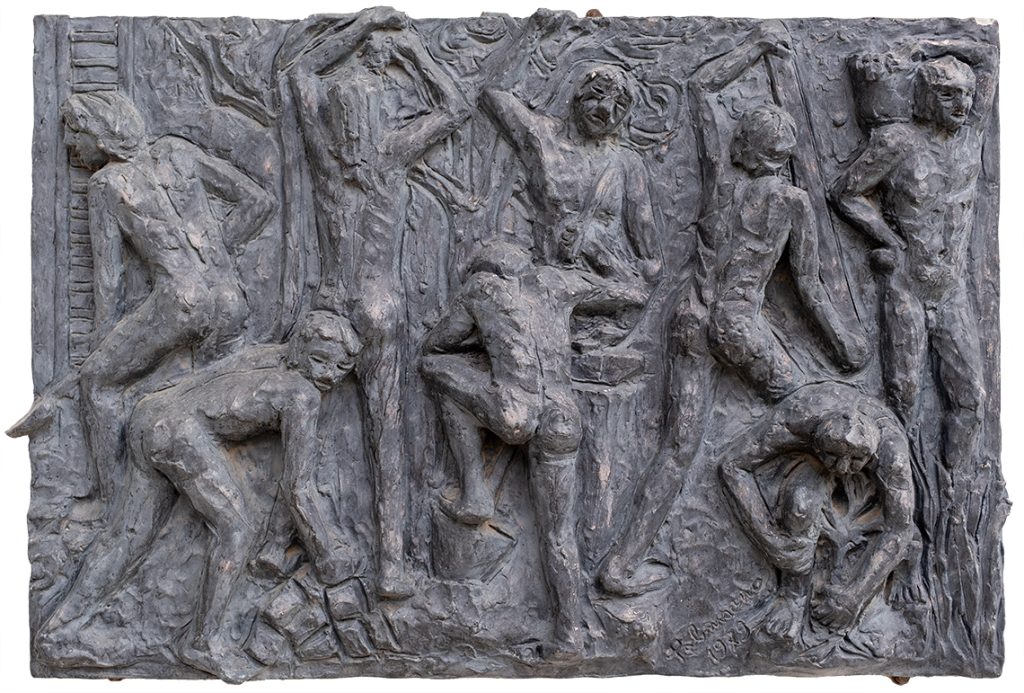
    Of course for our requirements we cannot simply throw generative AI at the problem and hope for the best, we need to carefully represent the actual objects. But just as a try, we did try to throw an image of a bas-relief at Trellis. It created a plausible (but incorrect) result with a low-res texture. We tried throwing the original image on it as a texture, and it almost looked like it worked, until we tried moving the point of view.

    This is the original photo, it’s Il Lavoro by Pietro Palmisano, from the BCC Arte & Cultura catalogue.
    Generated model, with no texture:
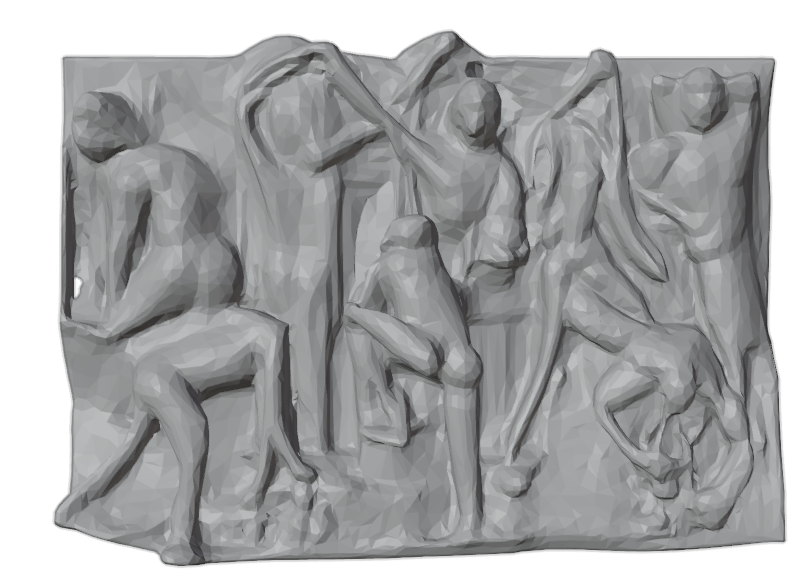
    With the AI-generated texture
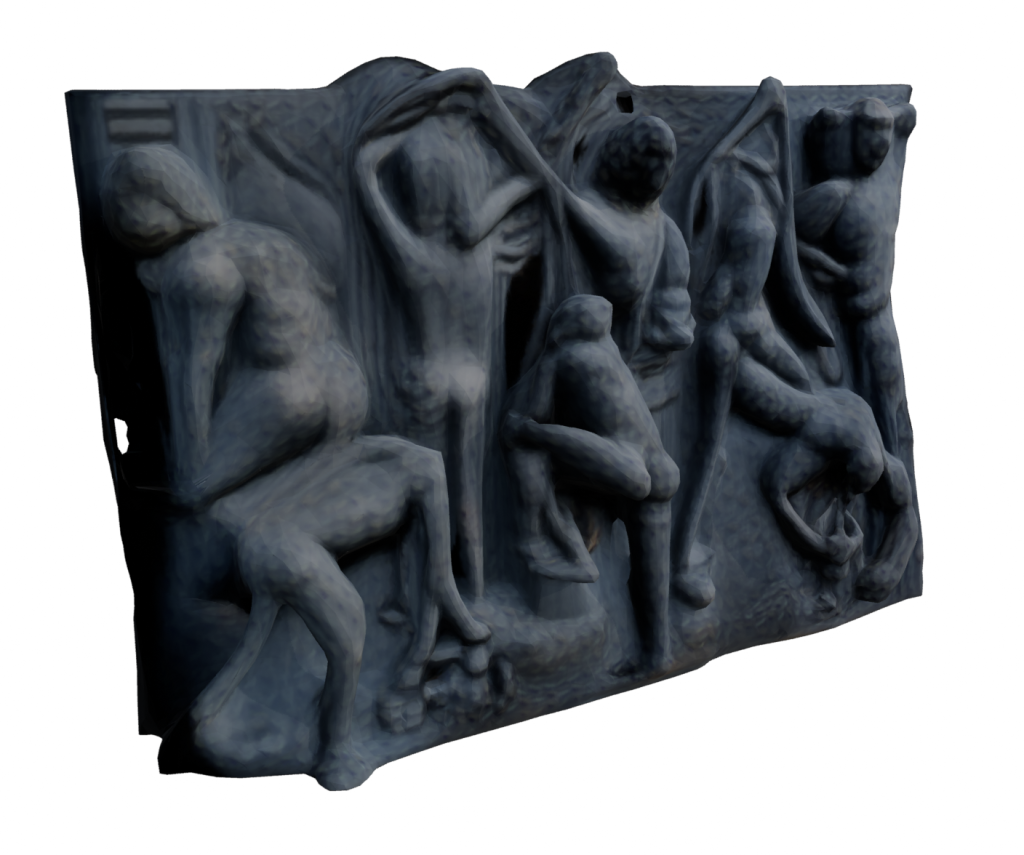
    With the original texture applied:
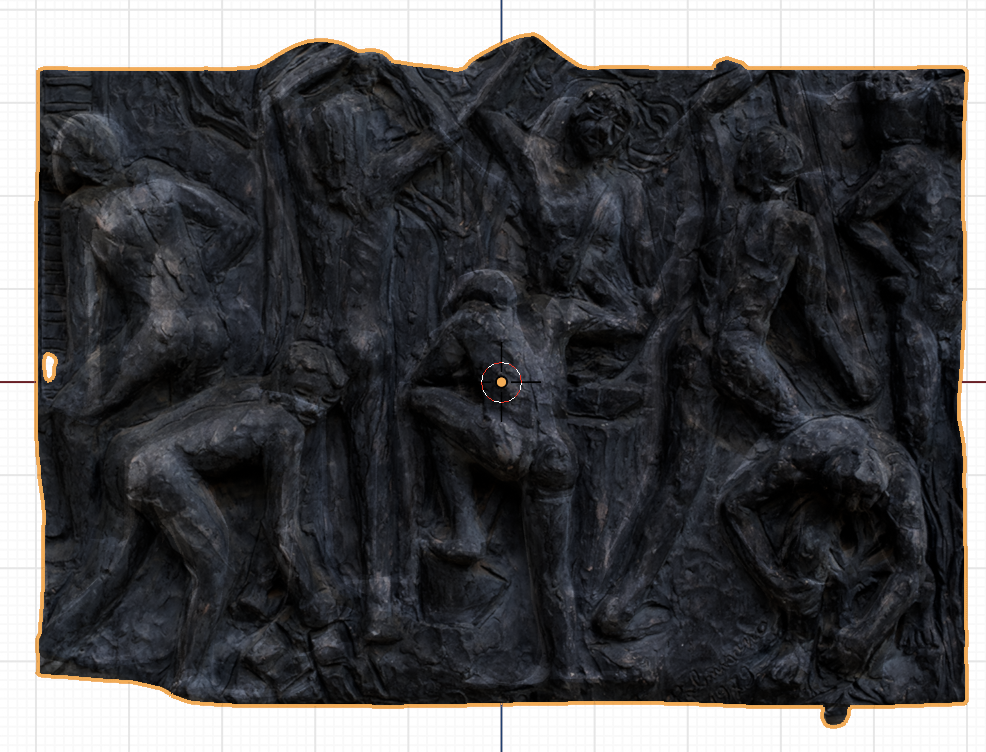
    It’s simultaneously very impressive, and not any good. We could try to salvage it by sculpting the most egregious parts, and we could do way better on the texture mapping.
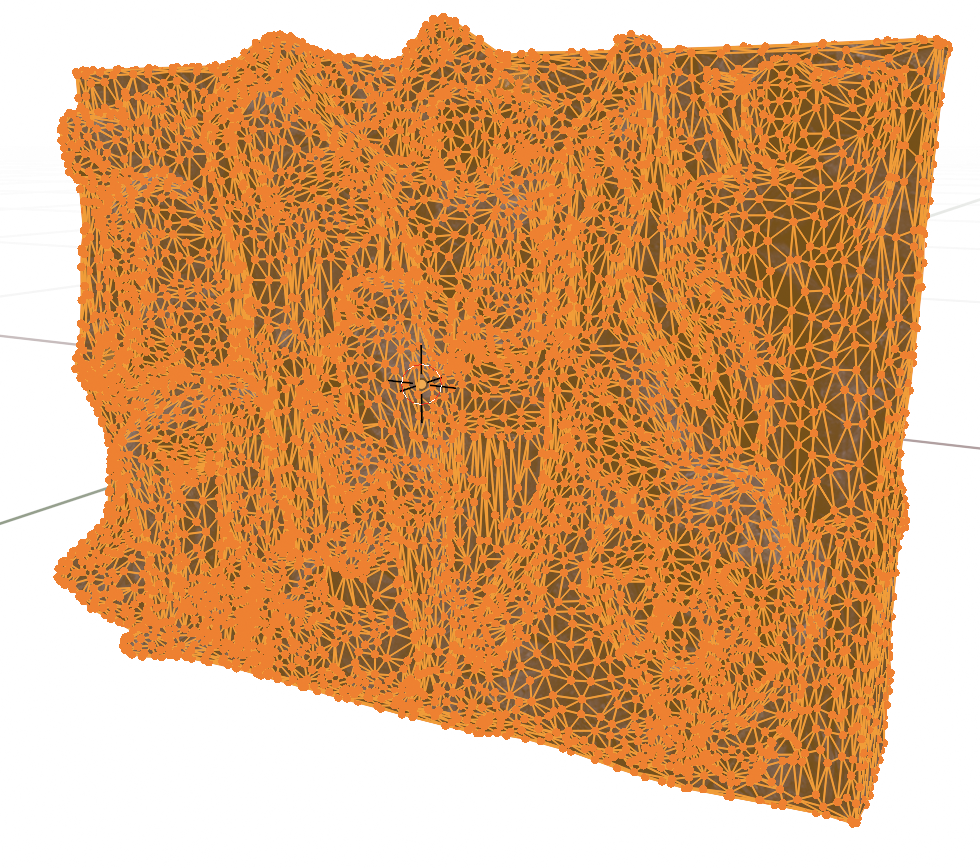
    The geometry is really quite dense, we could try combining Trellis with Moderate Weight Reduction Tools.
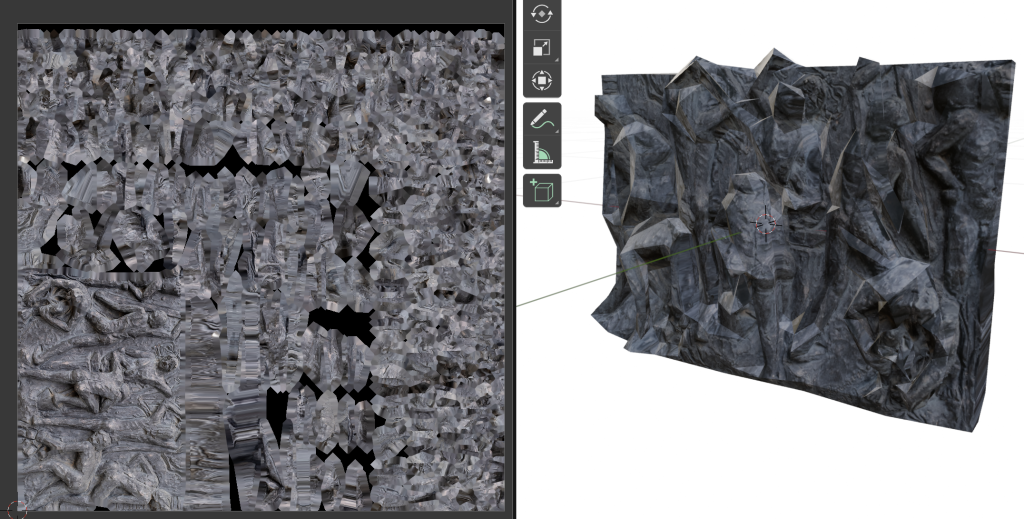
    That really broke down. The geometry became visibly spiky, but the texture is just all wrong, it did not expect our “Project from View” trick.
  • Tip: use Tree to generate HTML directory listings

    Part of our job in the BCC Arte & Cultura project is to provide the “high fidelity” visualizations for each artwork. For some that means one of our 3D scans, for others it’s simply a zoomable interface. Our clients are making a “standard” website and simply linking to our server for the high fidelity version. We are not done processing all the artworks, but we can provide the URL in advance, they are all ordered by a bank/author-title schema. I wrote a script for creating the folder structure, but then I wanted to provide a single page listing all the URLs to our clients.

    With a bit of research I found out a oneliner using the tree command.

    You can try the result on https://e-muse.it/bccaec

    “opere” is just the relative path between the location where I’m running the command and the directory structure I wanted to transverse.

    tree opere -d -H "https://e-muse.it/bccaec" > index.html
  • TIL-post: point cloud processing

    We’re working on a small archeo-acoustics project, whose starting point is a LiDAR-obtained point cloud in LAS format. This is the first time we’ve worked with this kind of data, so I’m writing down the data processing steps.

    There is a complete tutorial on handling point clouds in Blender by Florent Poux: https://youtu.be/DCkFhHNeSc0

    In order to visualize the data, my first attempt was using Blender, with this plugin: https://github.com/nittanygeek/LiDAR-Importer

    You only need to pay a bit of attention about the Python path while installing it, especially if you have multiple versions installed, but the provided instructions are perfect. We were able to see points in Blender, and to get a general idea for the shape of the cave, but getting from there to an actual mesh is non-trivial.

    Instead, we found a short tutorial for doing the same thing using CloudCompare.

    As a super short summary: open your point cloud in CloudCompare, select it, convert it to a mesh by going to Plugins>PoissonRecon. You can also choose between the color actually captured for each point, or this density heatmap: red is maximum information density, blue is the minimum.

    In the next steps we’ll need to convert the mesh to quads (using Blender), import the model into Ramsete, then assign materials to each face and run the simulation. In order to properly calibrate the model we’ll need to know the specifics of each material, or ideally even perform actual acoustics measurements, like we did for the Tindari paper.

  • TIL: minimal PWA setup

    TIL: minimal PWA setup

    Our webdev approach tends towards the minimal, we’re allergic to leaky abstractions. Even using WordPress for this blog is mostly motivated by learning more about such a popular system, for everything else we use good old HTML + CSS + JS, served by a good old Apache web server.

    PWAs (Progressive Web Apps) are websites which can be installed on a user’s device, and that can even be listed in app stores. Our research indicates that a certain percentage of users search their app stores before searching on the web. This is honestly hard to comprehend, but that does not mean that we don’t want to serve those users. Most people building PWAs use JavaScript frameworks, like React, Vue, Angular, Flutter, and just so many others.

    We’re deeply suspicious of those framework. It is certainly possible to use them well, but the examples of their misuse, and of people learning them before learning actual web development, and consequently perpetuating terrible, unaccessible, practices, are just too widespread to ignore.

    Luckily, we don’t have to get our hands dirty to get the benefits of PWAs, we just need to add a manifest and a service worker. We don’t even need to actually write them ourselves! We can just install PWABuilder Studio for Visual Studio code, open the folder for our web app, and run a couple of commands.

    Specifically, press Ctrl+Shift+P to open the command Palette, write PWA to find the relevant commands, and then run PWA Builder Studio: Generate Web Manifest. This will generate a manifest.json file, in which you’ll have to specify your app name, canonical URL, icon, and so on.

    Then run PWA Builder Studio: Generate Service Worker to enable offline functionality.

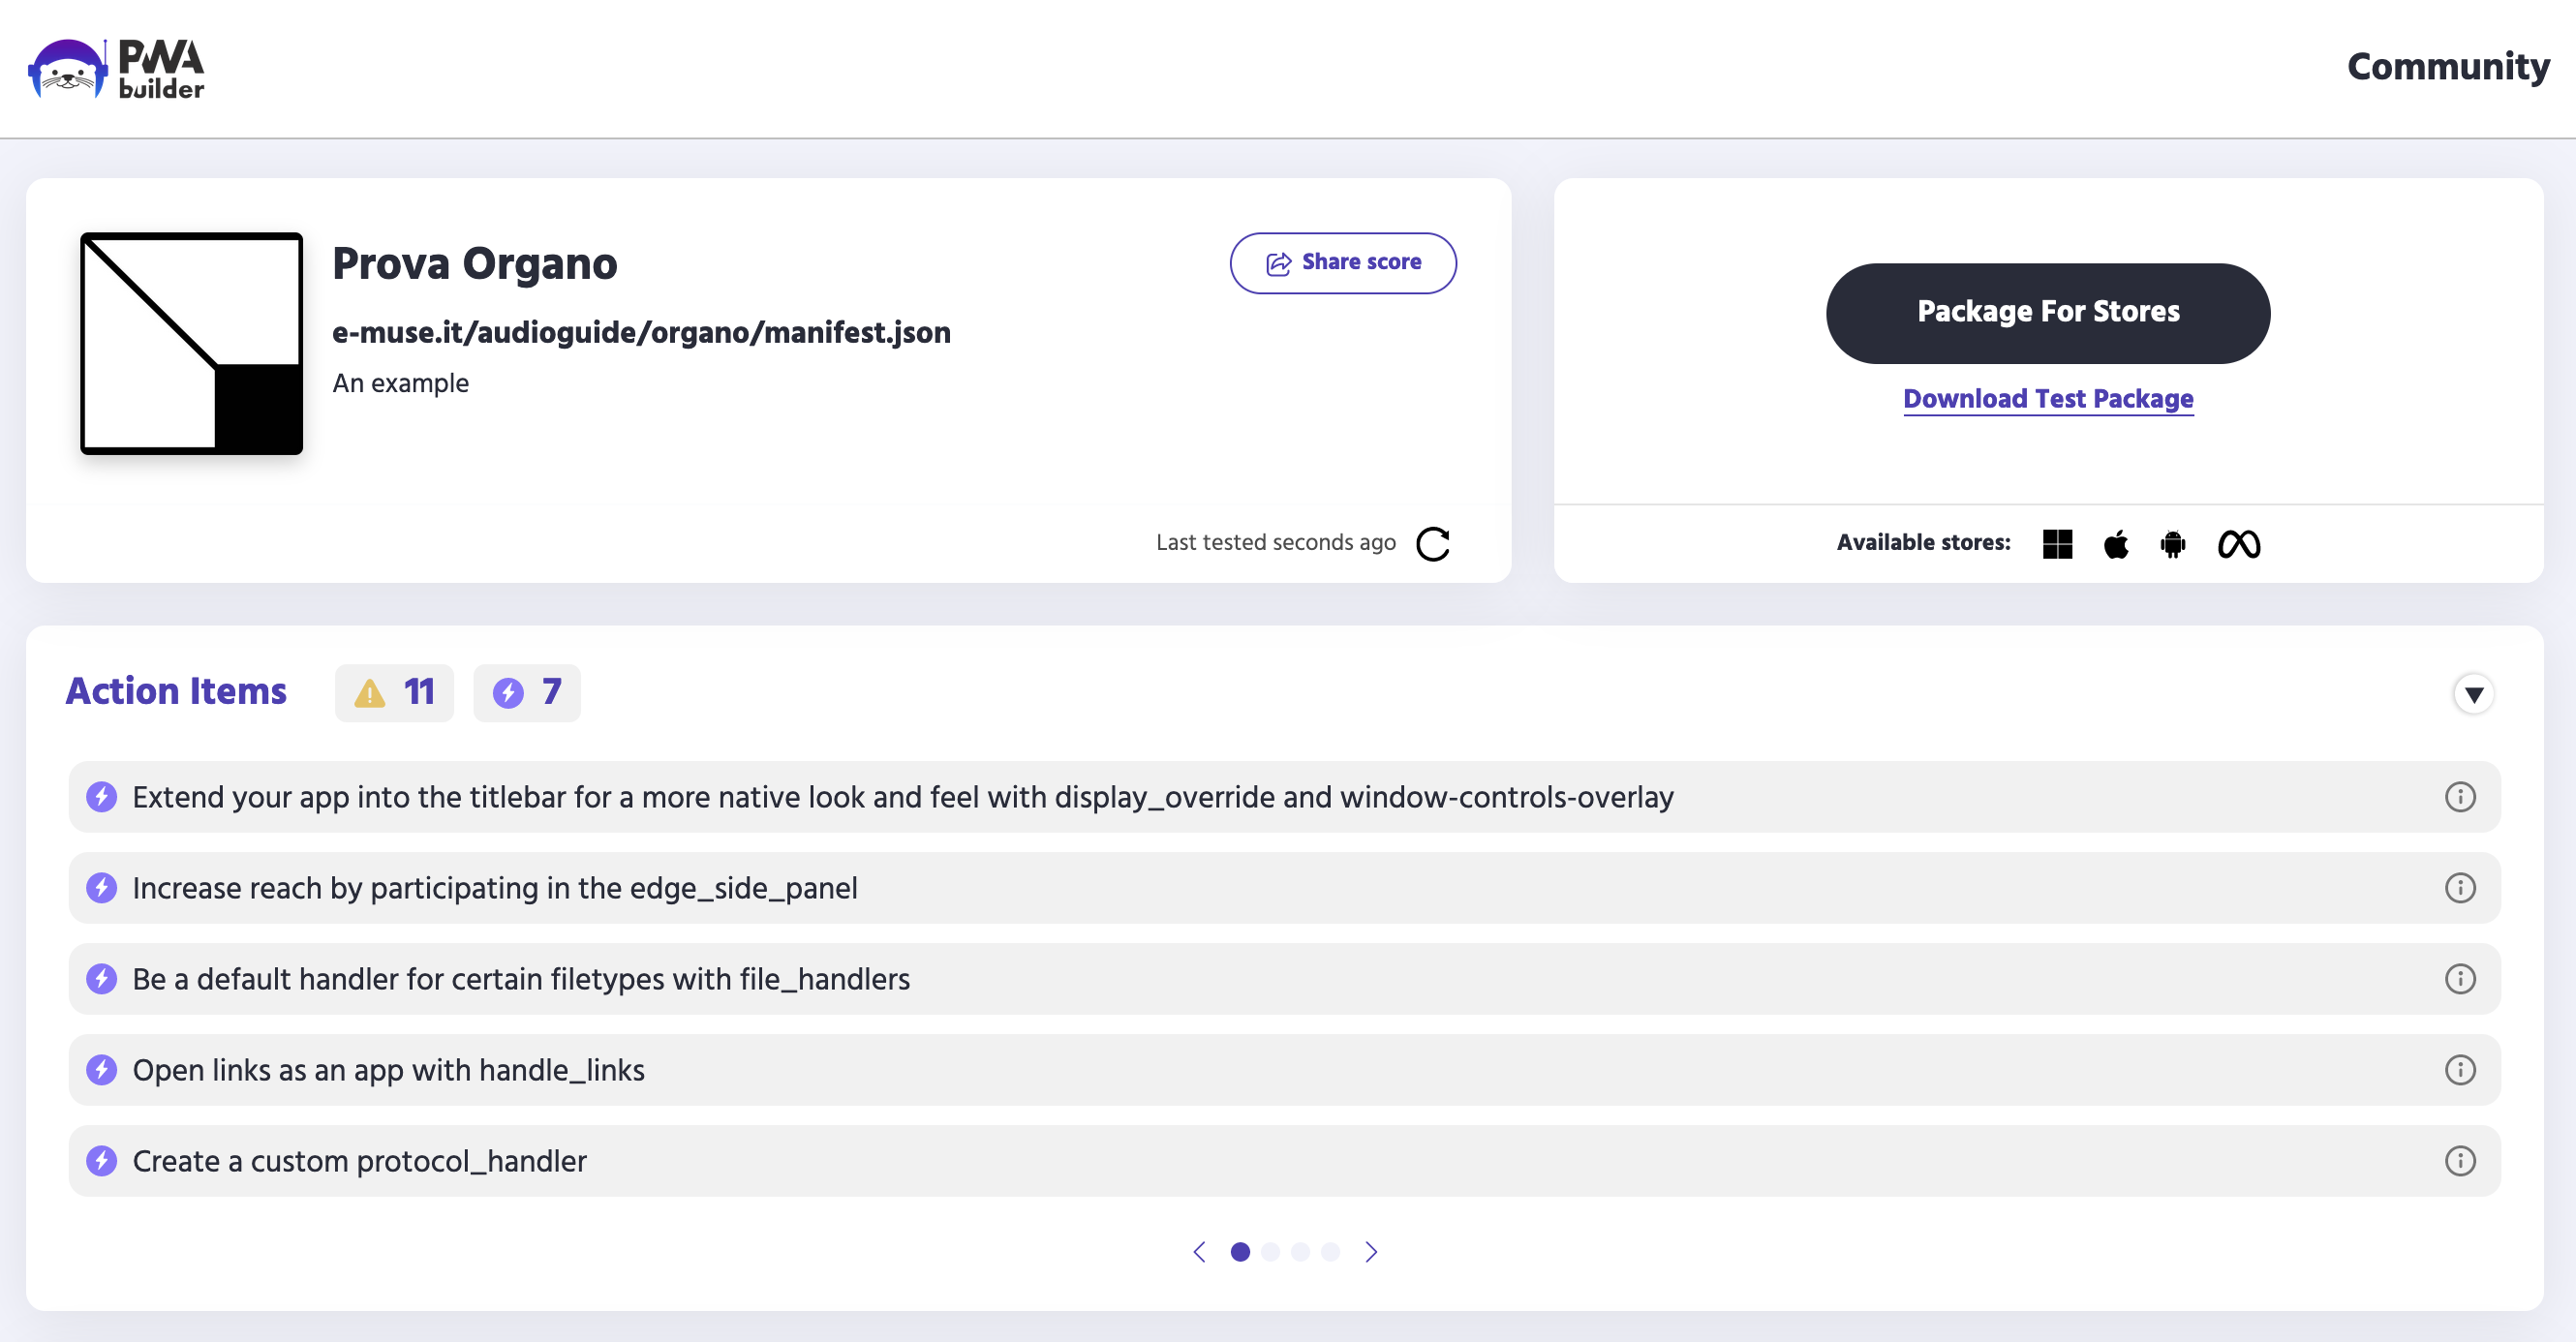
    You can test your results as soon as you’ve uploaded your files to a web server of your choice, we tried with the demo of an audio-guide product that we’re building. If you insert the URL of your web app into the PWABuilder homepage you can obtain a report card, and you can download packages that can be submitted to the main app stores (Windows, Android, iOS, Meta Quest).

    And that’s it, the only question is how to communicate the new functionality to your users. Let us know if you have suggestions on that front 😀

  • TIL: manually set object origin in Blender

    TIL: manually set object origin in Blender

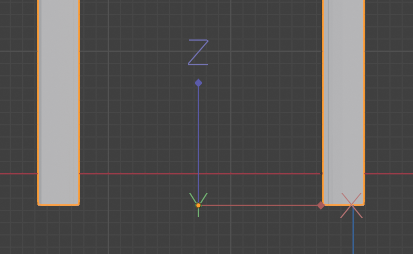
    This one is pretty basic: in order to change the origin of an object you can right click and choose one of the options:

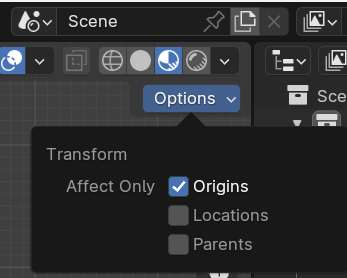
    Or you can set it manually, just go into Edit Mode, then at the top right of the viewfinder go to Options, Transform, Affect Only Origins.

    This allows you to move the origin to wherever you want, without affecting the object. Dont’ forget to apply transforms (ctrl+A) when you’re playing around with this stuff.

  • TIL: multiple selection modes in Blender

    TIL: multiple selection modes in Blender

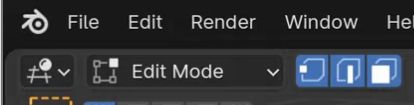
    When in Edit Mode, you can switch the selection mode between Vertex, Edge and Face, using the icons right next to the drop down menu from which you can switch to Object Mode. You can also use the 1, 2, 3 keys as a shortcut.

    What I just learned is that if you Shift+click on the selection modes you can activate more than one at a time, it looks like this:

    You can then click on whatever mesh element to select it.

  • TIL: “fix” Blender zoom

    TIL: “fix” Blender zoom

    With the default Blender settings it is quite common to get into situation where you just can’t get close enough to your object.

    There are two tricks to fixing it. The first is to use the Shift+C shortcut, to reset.

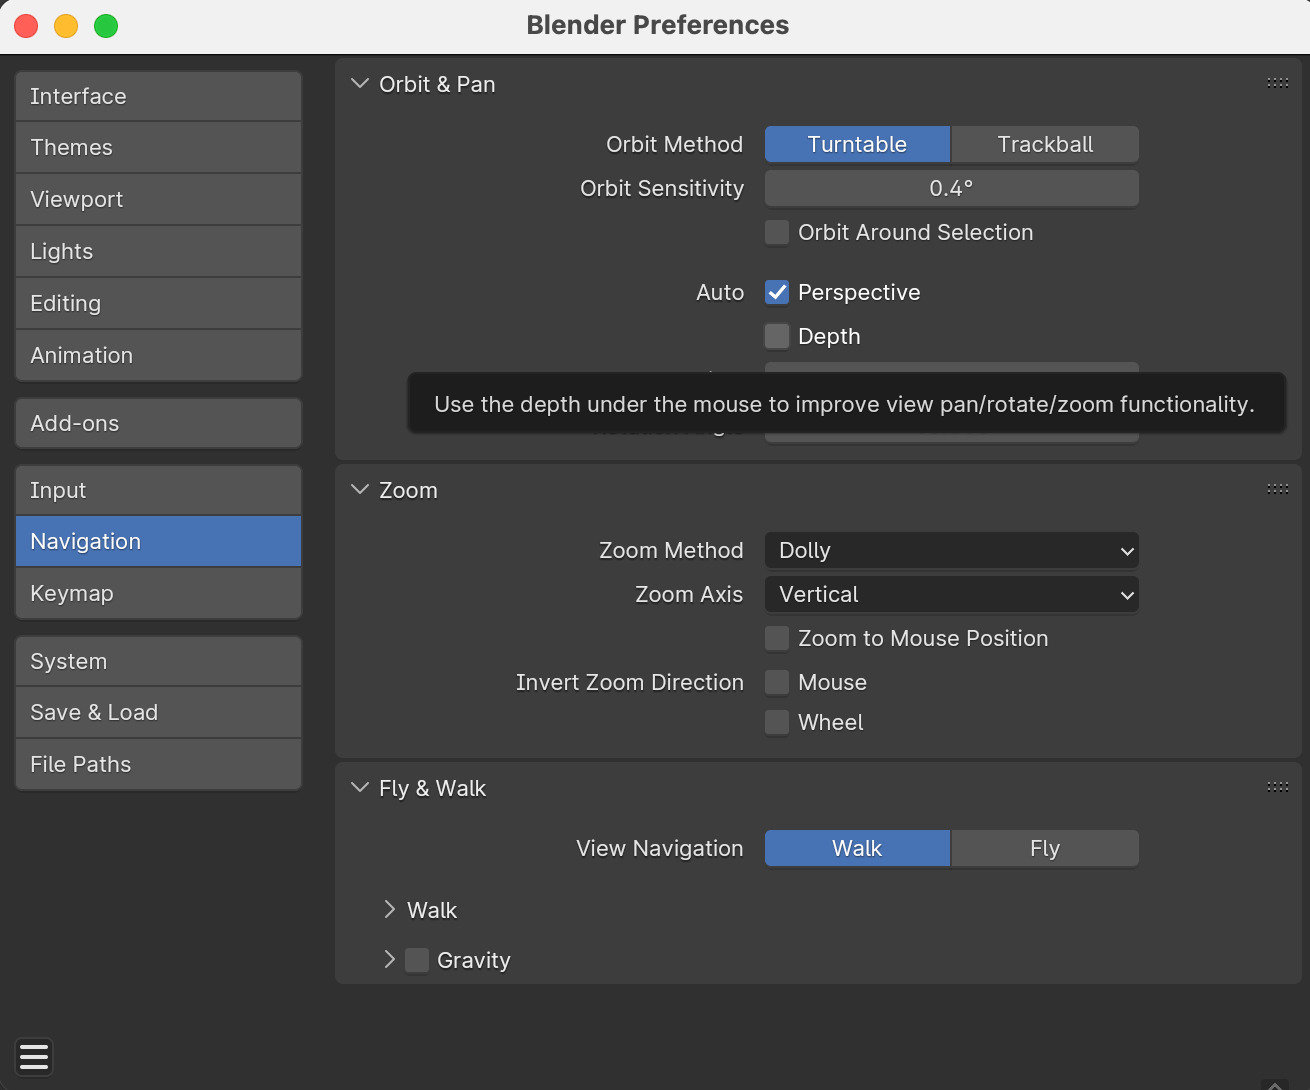
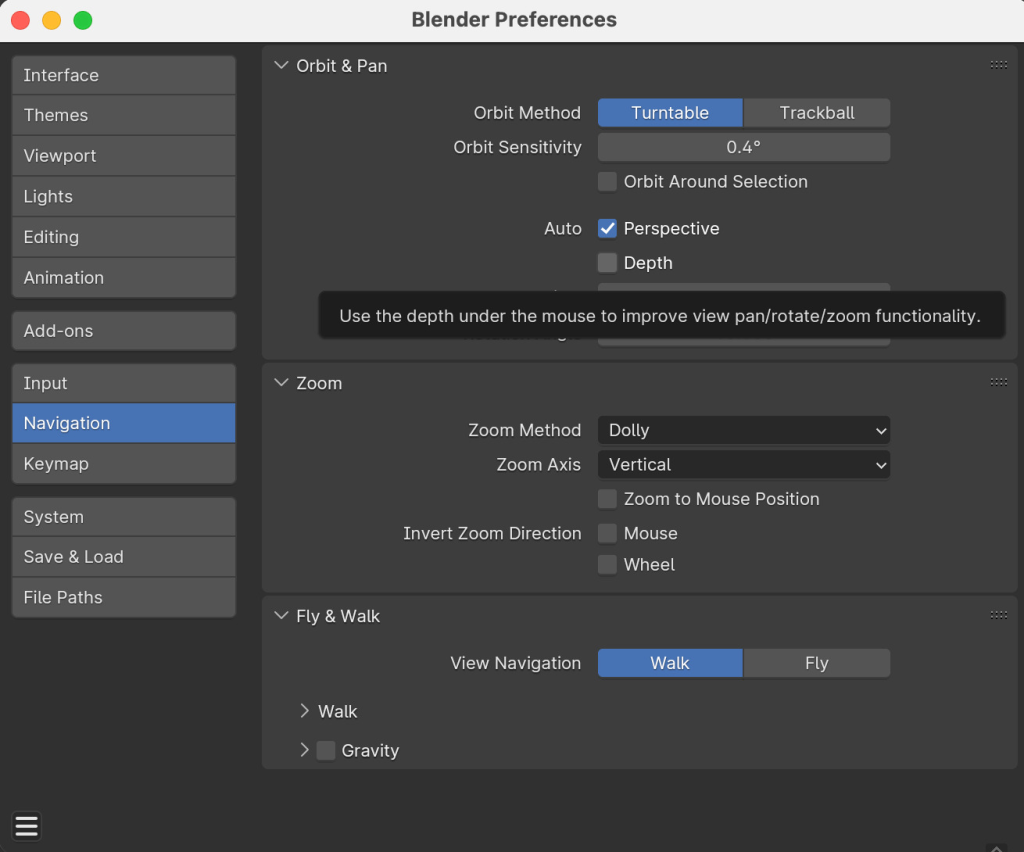
    The second is to enable Auto Depth, under Edit > Preferences > Navigation, as shown in the picture

  • TIL: a dive into web components

    Here at E-MUSE we favour sticking to HTML until we absolutely need CSS, and sticking sto CSS until we absolutely need JS, and sticking to client-side framework-less JS until we absolutely need to. Related to this, here is a tiny TIL: Offloading Javascript with Custom Properties, on the interaction between JavaScript and custom CSS properties.

    Web components allow for the richness of JS frameworks, while maintaining the clean semantics of HTML.

    Let’s start from the MDN explainer: https://developer.mozilla.org/en-US/docs/Web/API/Web_components/Using_custom_elements

    And here are a few recent blog posts and resources on web components:

  • Linkpost: webdev edition

    A couple of useful links from and about the web

    1. The best CSS Grid tutorial, from cssprinciples.com. We love interactivity embedded into good old textual pages.
    2. HTML self-awareness from Cassidoo. A neat trick for those among us who don’t use JS frameworks.
    3. Val Town allows you to run functions, schedule them, and build APIs using TypeScript. There is also a community sharing ready-made functions. The e-mail logging function is great for monitoring client-side-only sites.
  • TIL: video editing in Blender

    As a company we are deeply committed to Open Source and Free Software. For video processing we do use a whole lot of ffmpeg, but for video editing we tend to use proprietary solutions like DaVinci Resolve and FinalCut Pro rather than Kdenlive.

    However, we’re already working on Blender most of the time, so why not use that? After all reducing dependencies is generally a benefit to any workflow.

    Here we are going to share just a few tips for users not already familiar with Blender. It is surprisingly internally self-consistent, for something that can do so many different things.

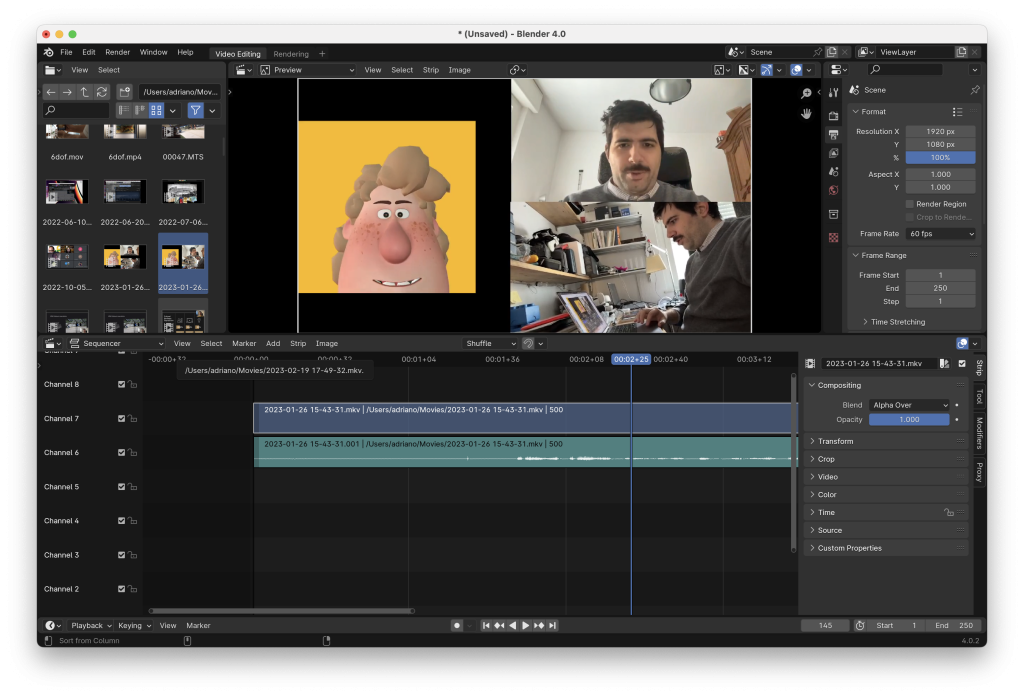
    When opening Blender we can create select the Video Editing layout from the splash screen, we get this layout:

    This is basically the same as any other non-linear video editor: we select files in the top right, we drag into tracks below, we see the result at the top in the center. When we drag videos onto the timeline Proxy Media is automatically generated.

    There are just a couple of tricks to get you started: use Blender keyboard shortcuts, like G to move objects, X to delete them. A video-specific one is Shift+Space+K to select the Blade tool, Shift+Space+W for the select tool.

    The Blade tool is used to split clips under the cursor.

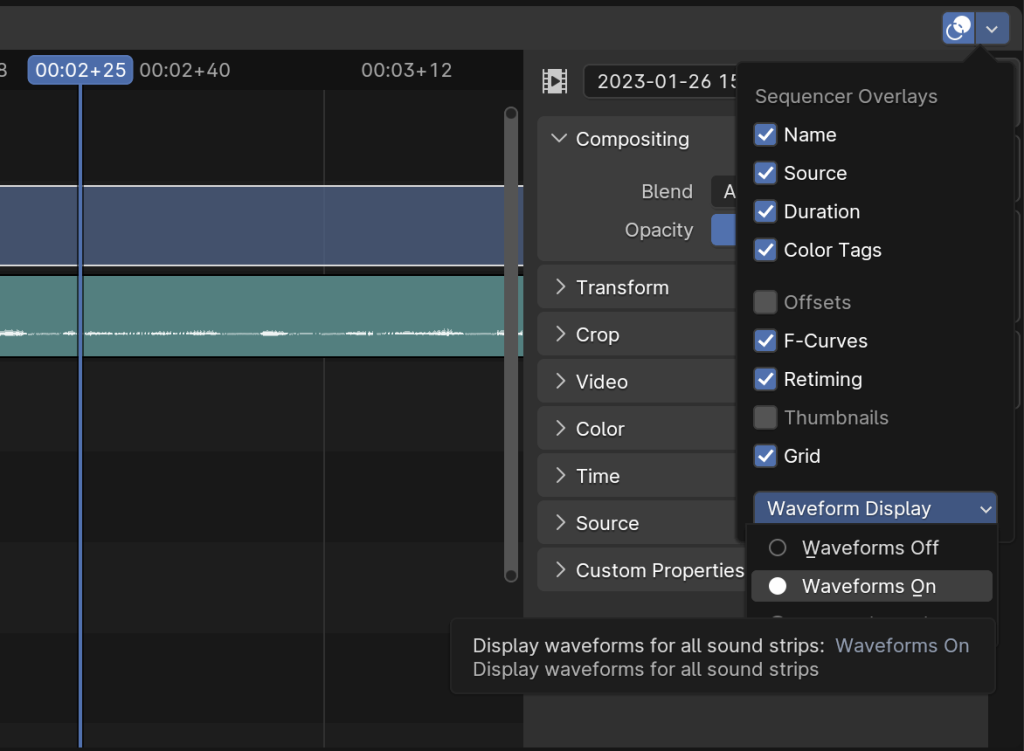
    To make it usable you should also enable Waveform Display for all audio tracks. It’s at the bottom of the video sequencer View menu, which has this icon:

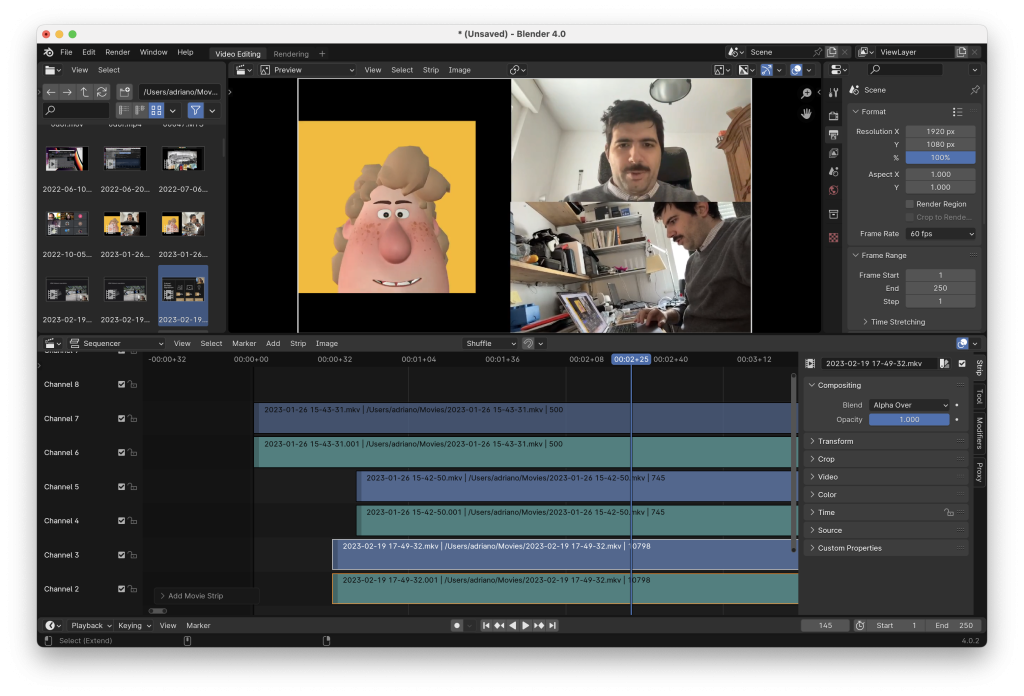
    Here it is with waveform display off:

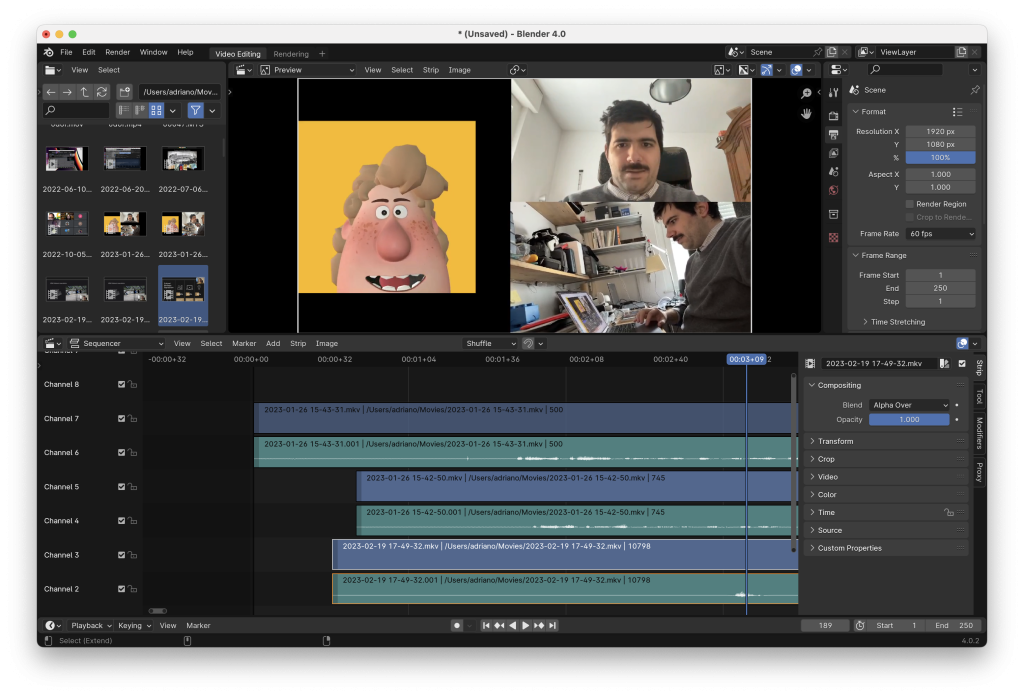
    And on:

    That makes it much easier to use.

    You can pick you video’s resolution and frame rate in the Scene inspector in the top right, as well as the output file location, container and codec.

    In order to render just press Shift+F12 (Command + F12 on Mac), or go to Render > Render Animation in the top menu.