We’ve started using some small Python utility scripts to speed up our work in Blender.
We’ve put them on GitHub with a GPLv3 license: https://github.com/xorgol/e-muse_blender_utility_scripts/
Tag: blender
-
Blender utility scripts
-
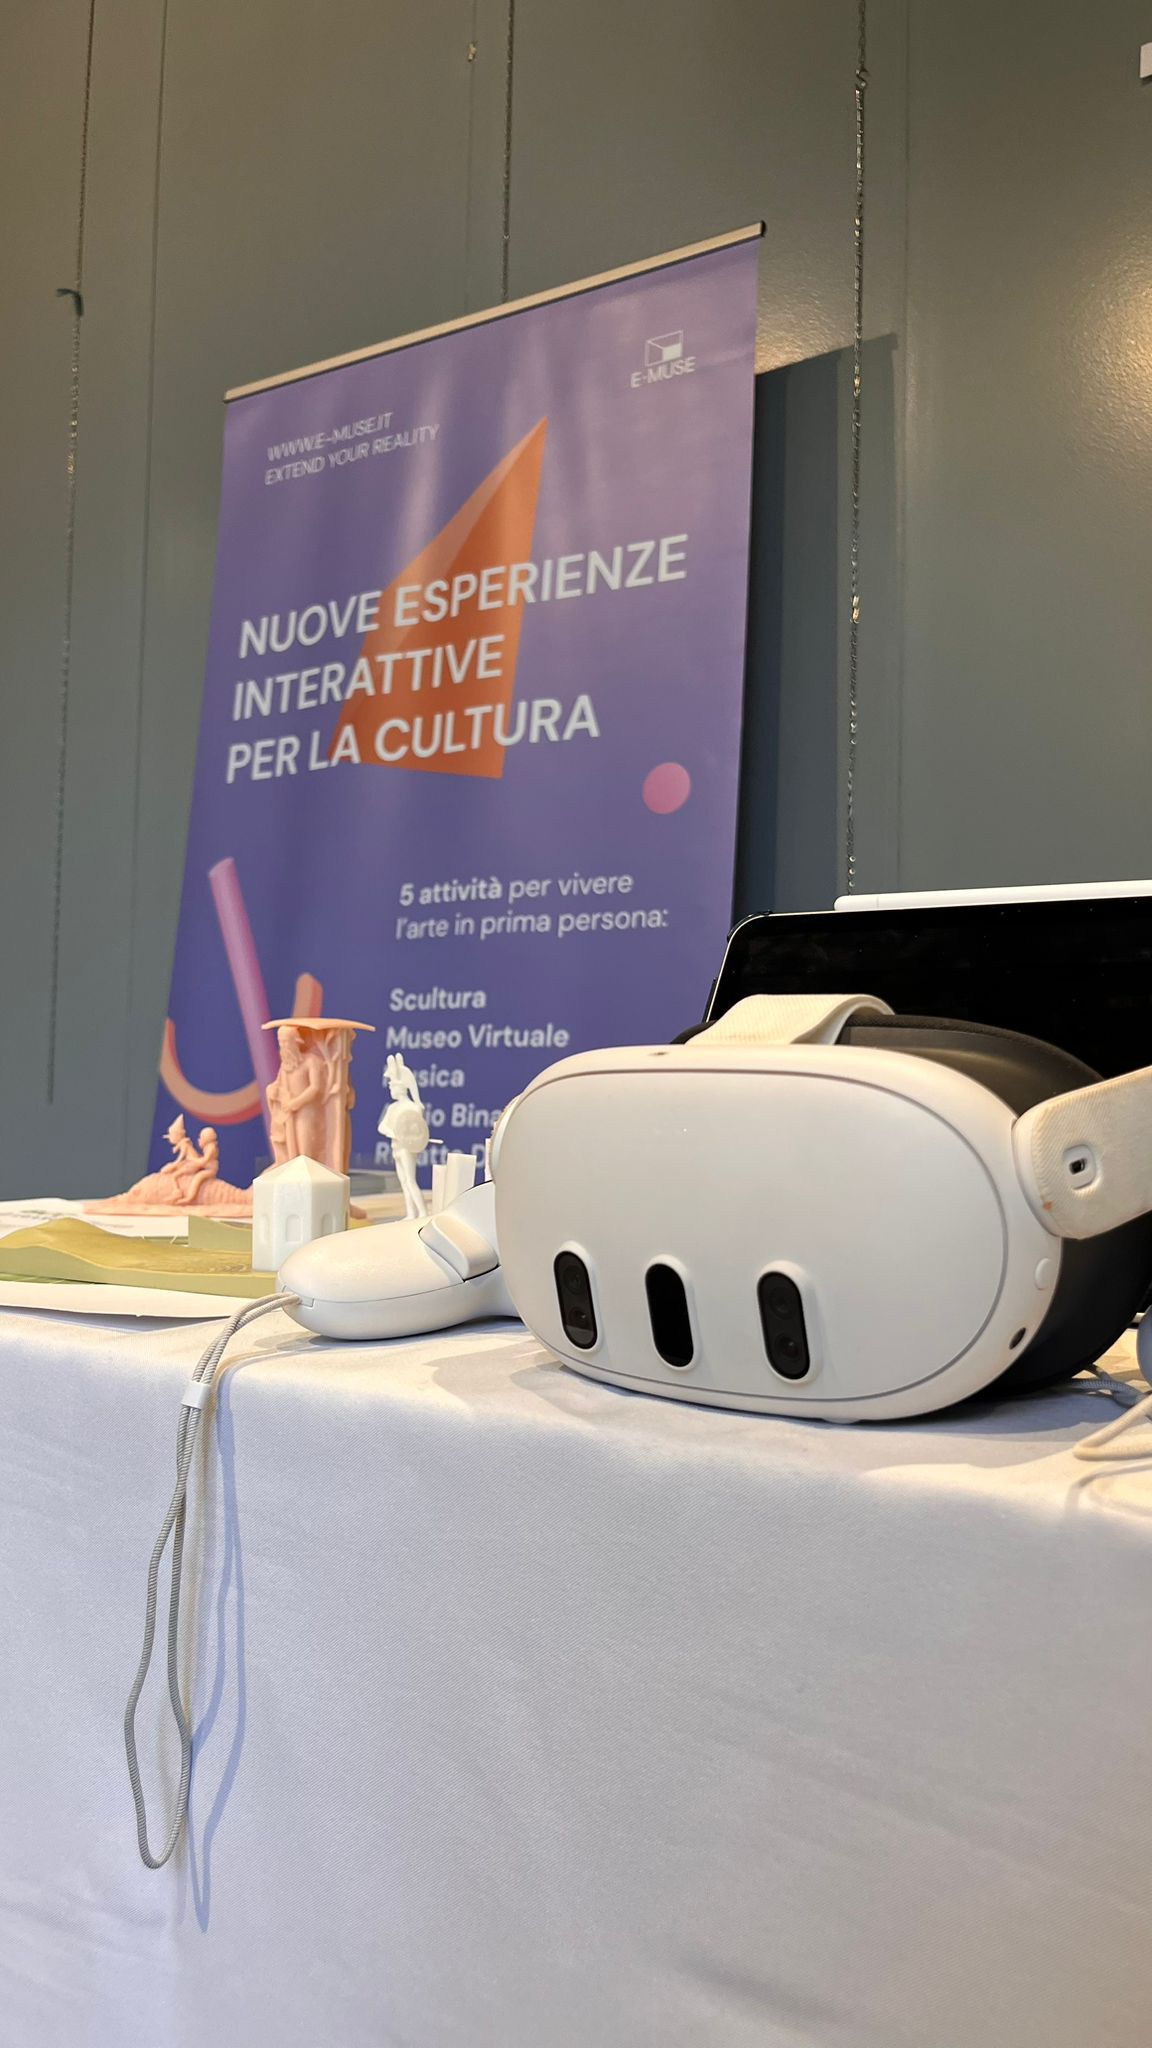
Smart Expo – Rho – 2025-09-27
We were invited to set up a stand in this fair about digital innovation, organised by https://www.feel.community/
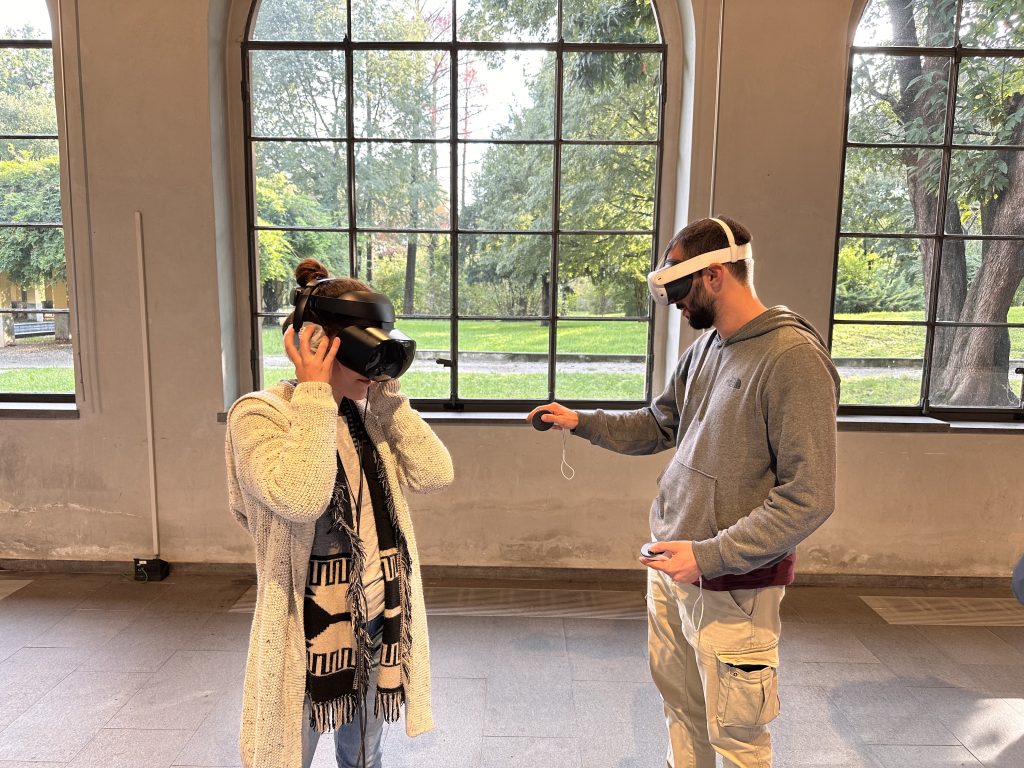
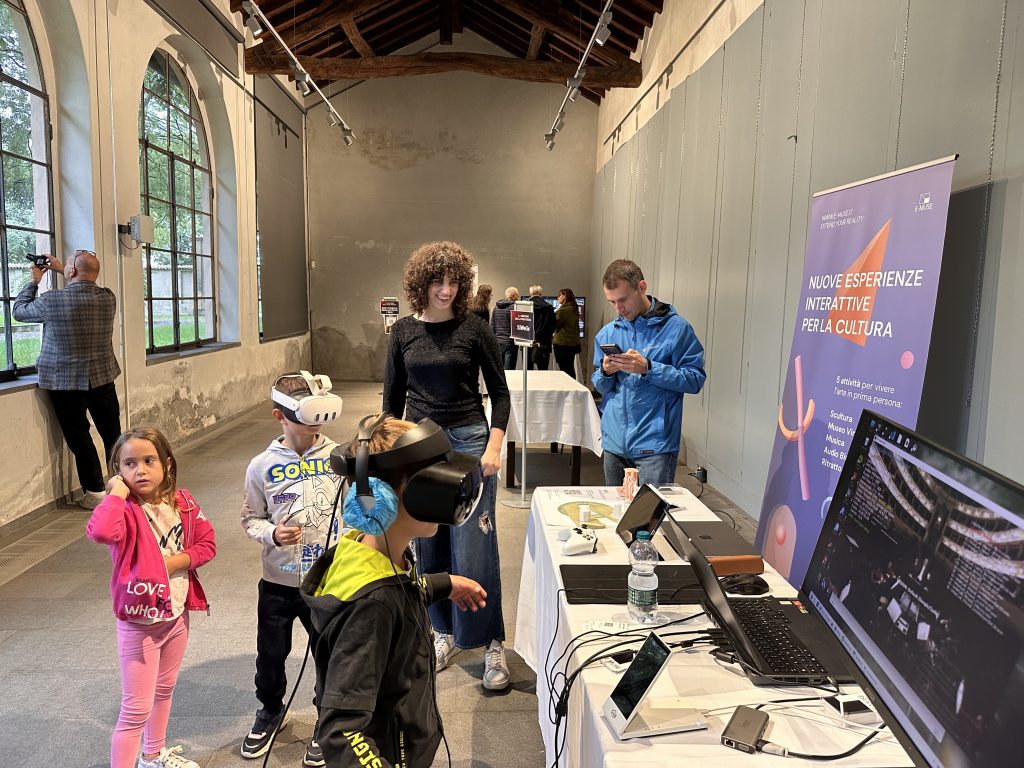
As is often the case, kids where the ones most interested in VR.
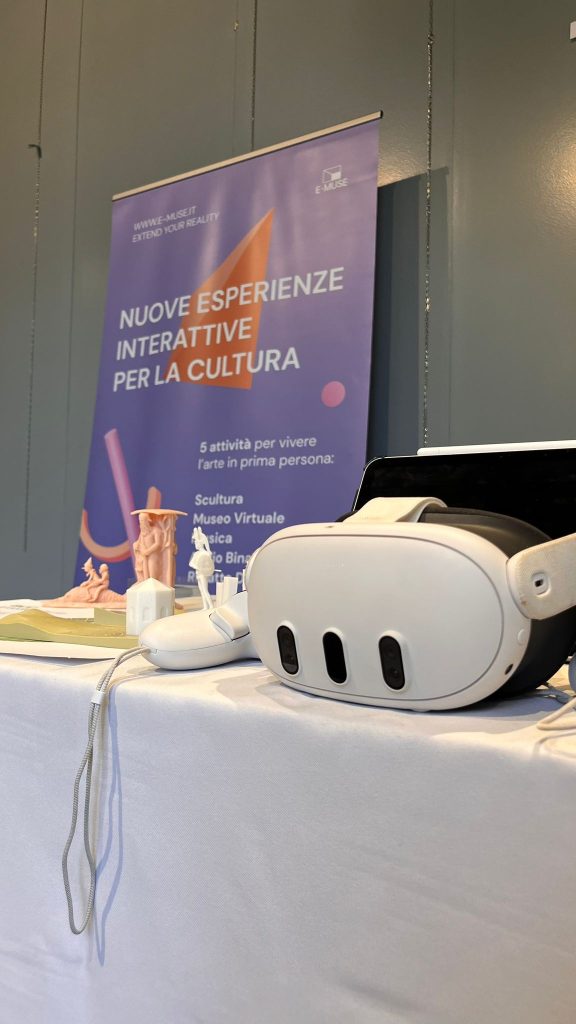
For the occasion, we came up with an interactive way of showing our BCC Arte & Cultura 3D Gallery, by 3D-printing the terrain and pavilions, and sticking QR codes on the parts.
-
In-person demo at Casa nel Parco
We’ve been part of Officine On Off since October 2024, and last week we participated in their annual festival. There were games, music, and plenty of community feeling.
We wanted to bring our A-game, so we even bought a roll-up, which sadly didn’t arrive in time due to a strike.
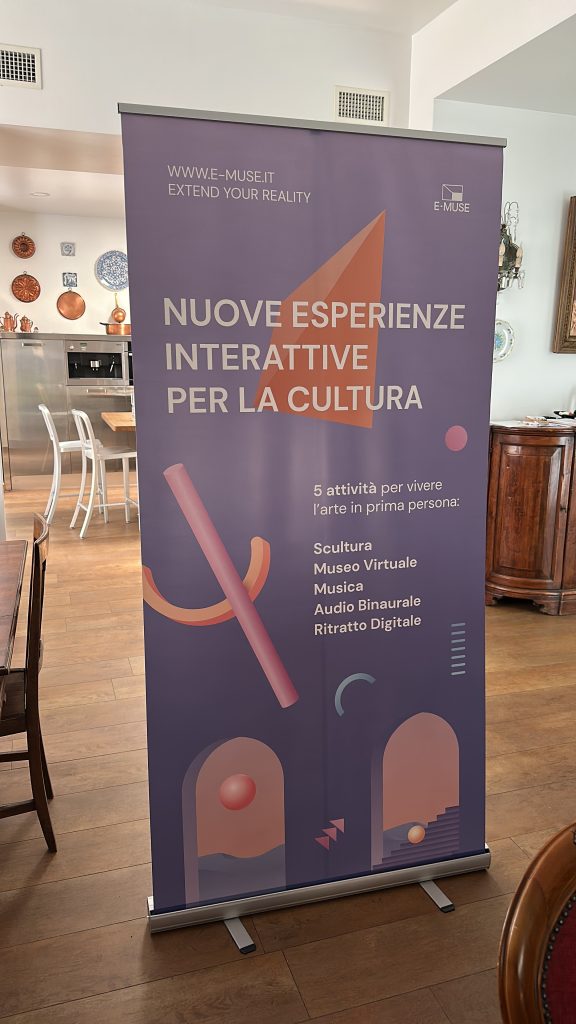
We had:
- 3D prints of statues that we had previously digitised, thanks to our dear friend Bonach
- A glassless volumetric screen showing models and photos
- A binaural audio guide for one of the 3D printed statues (written by Maura Rossi, with the voice of Chiara Gandini)
- An Unreal Engine audio-visual simulation of Piazzale San Francesco in Parma, using data I obtained for Progetto Agorà
- A local version of our Tempietto demo (web version with joystick controls or scrolling along a path), made in Unity, running on a Meta Quest 3, and featuring both the photogrammetry of Antelami’s Winter and the previously mentioned audioguide
- 360° videos with Ambisonics audio, also running on the Meta Quest 3, mainly from the Verdi 360° project
Despite the scorching weather, we had plenty of people ready to don the VR headset and to try out our demos. The only problem we faced was keeping the battery level up 😀
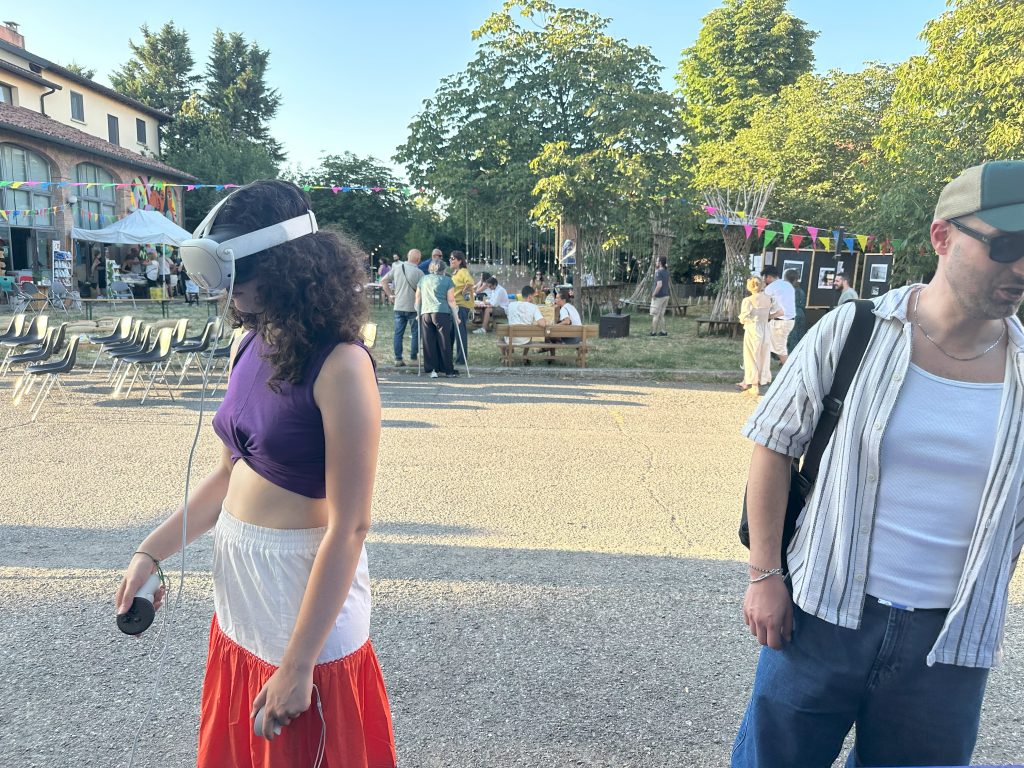
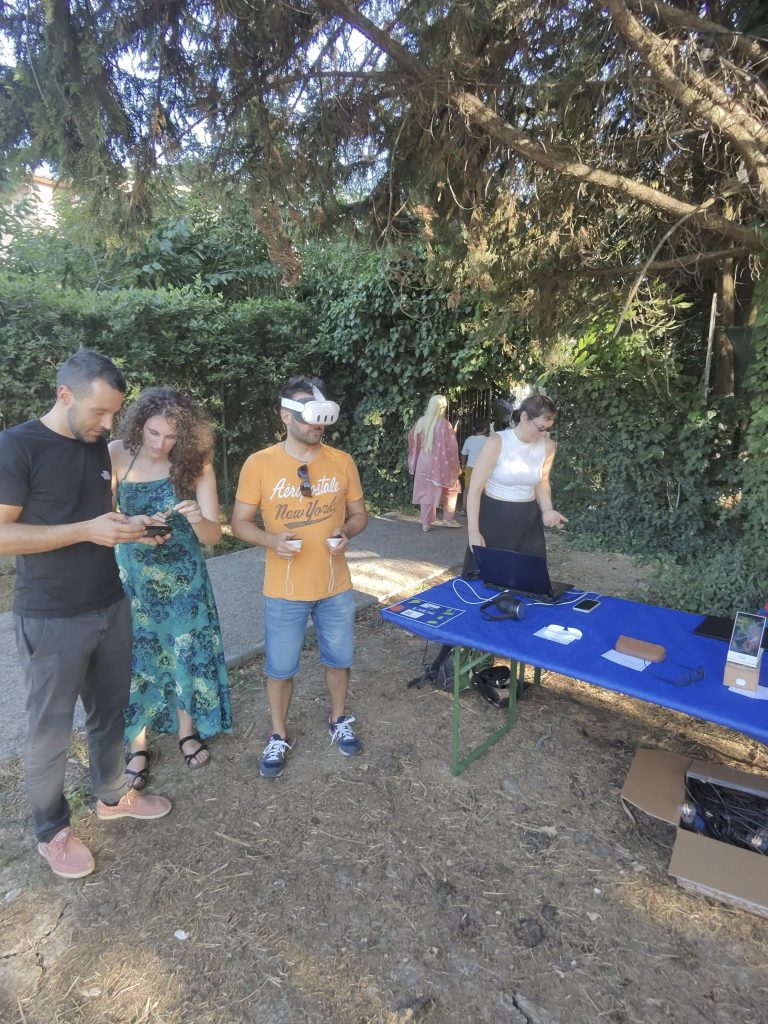
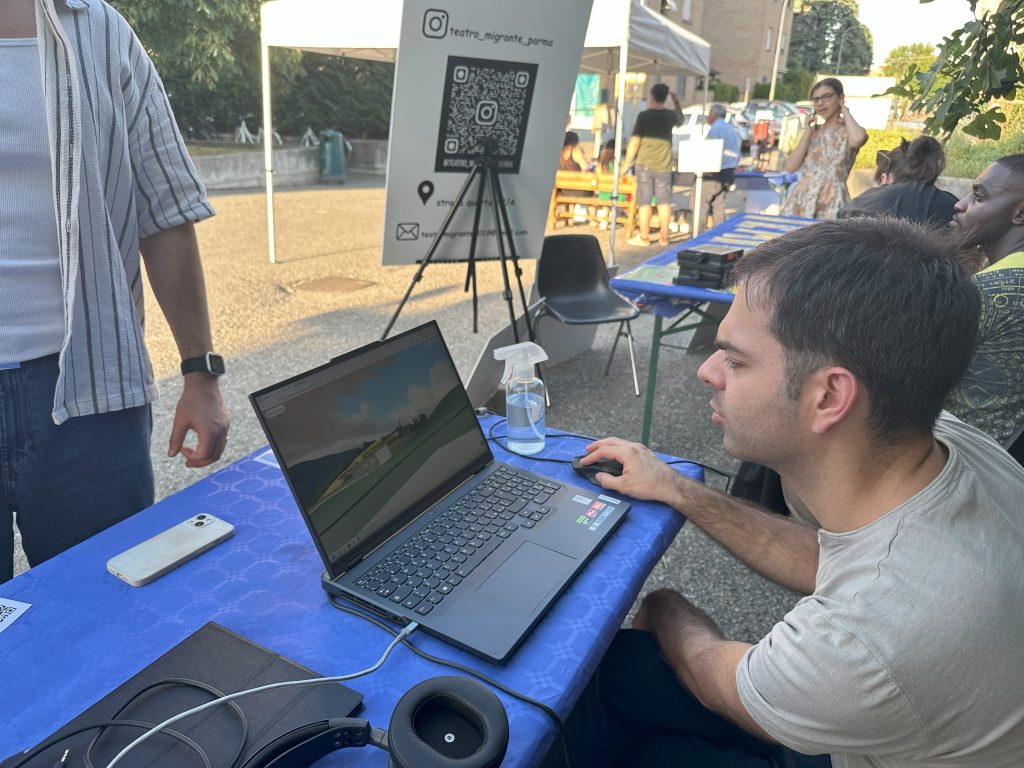
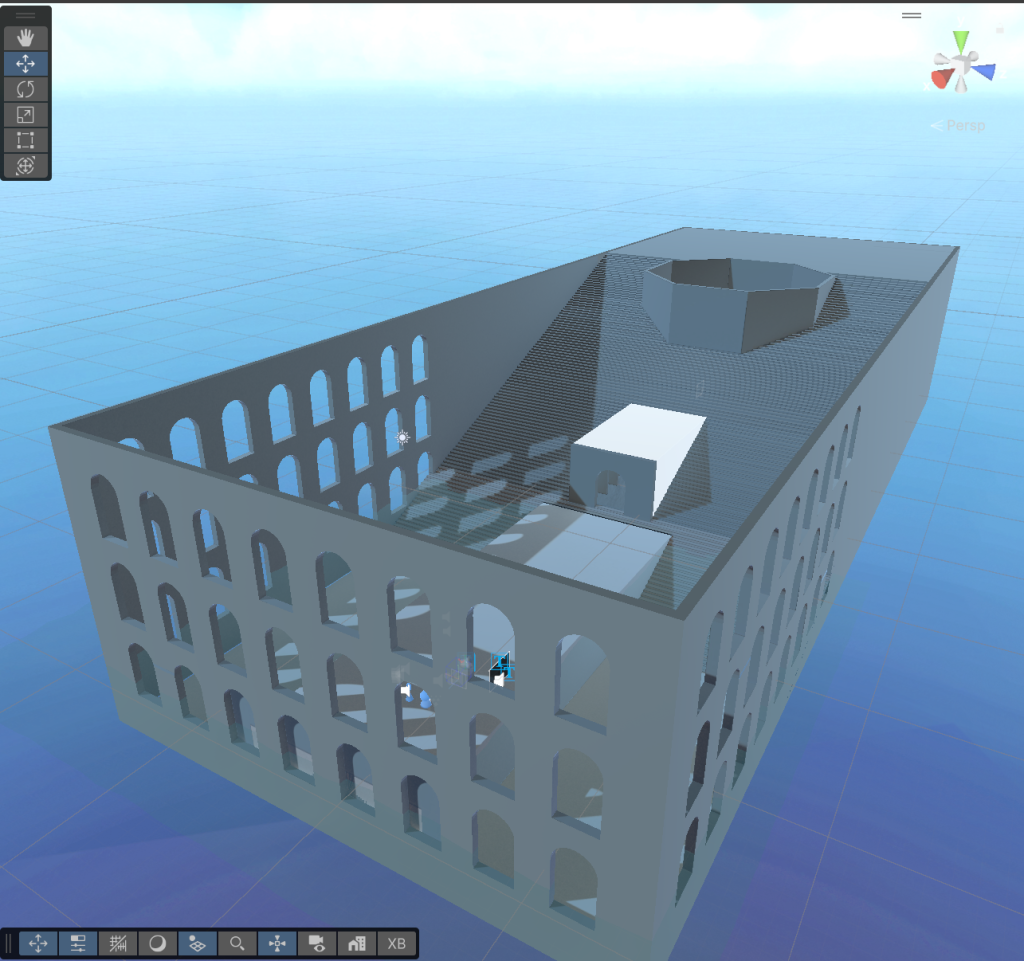
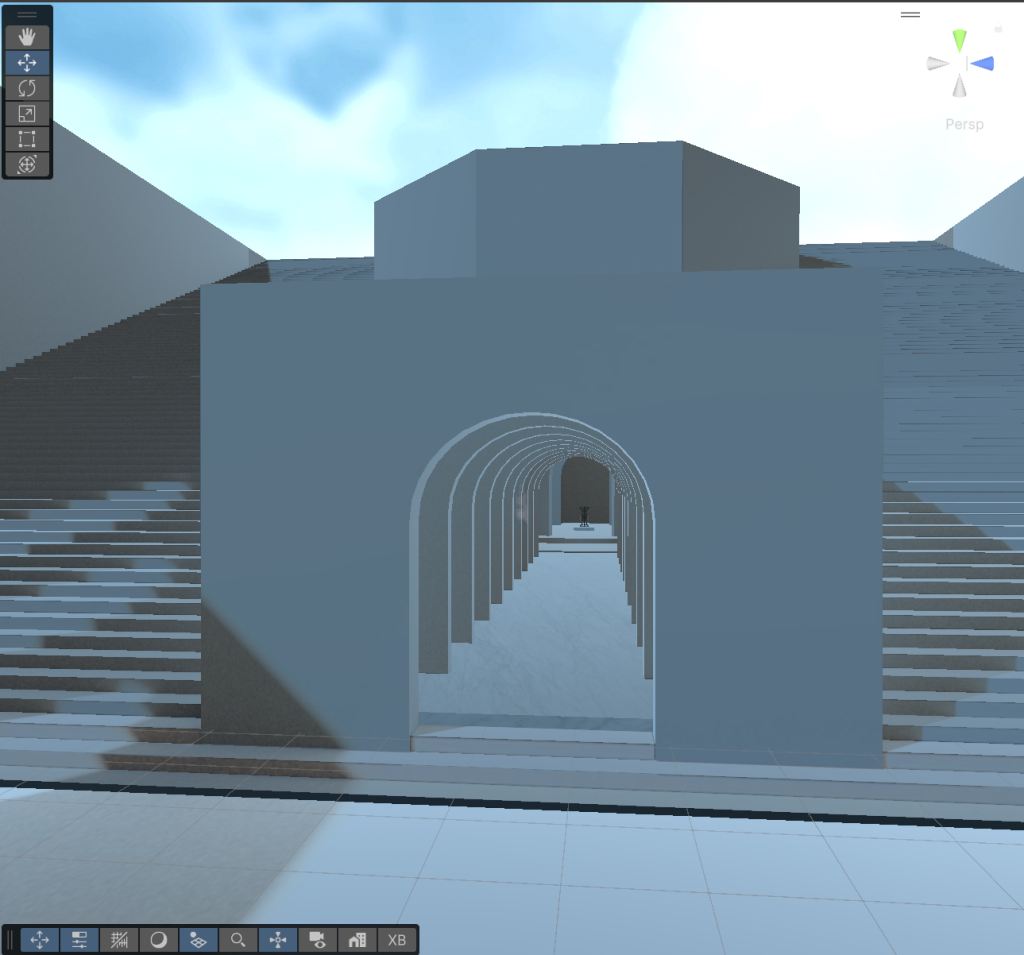
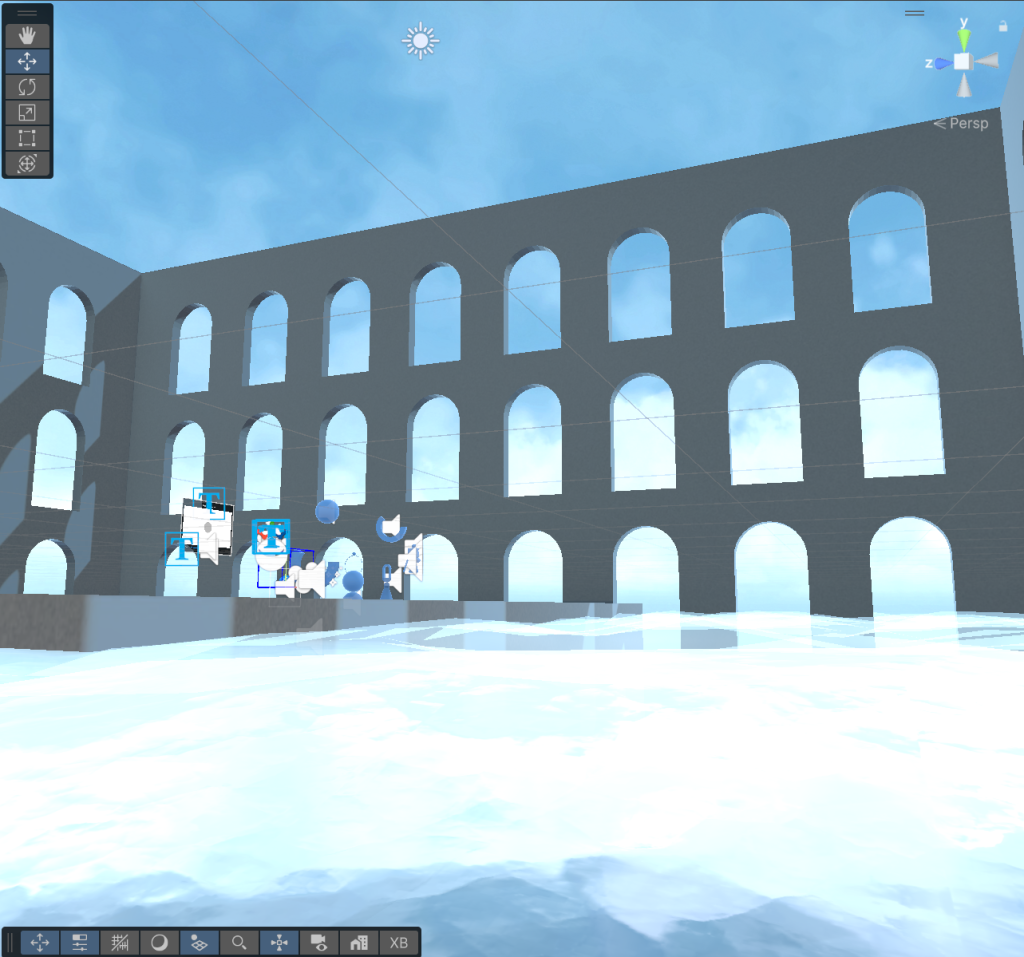
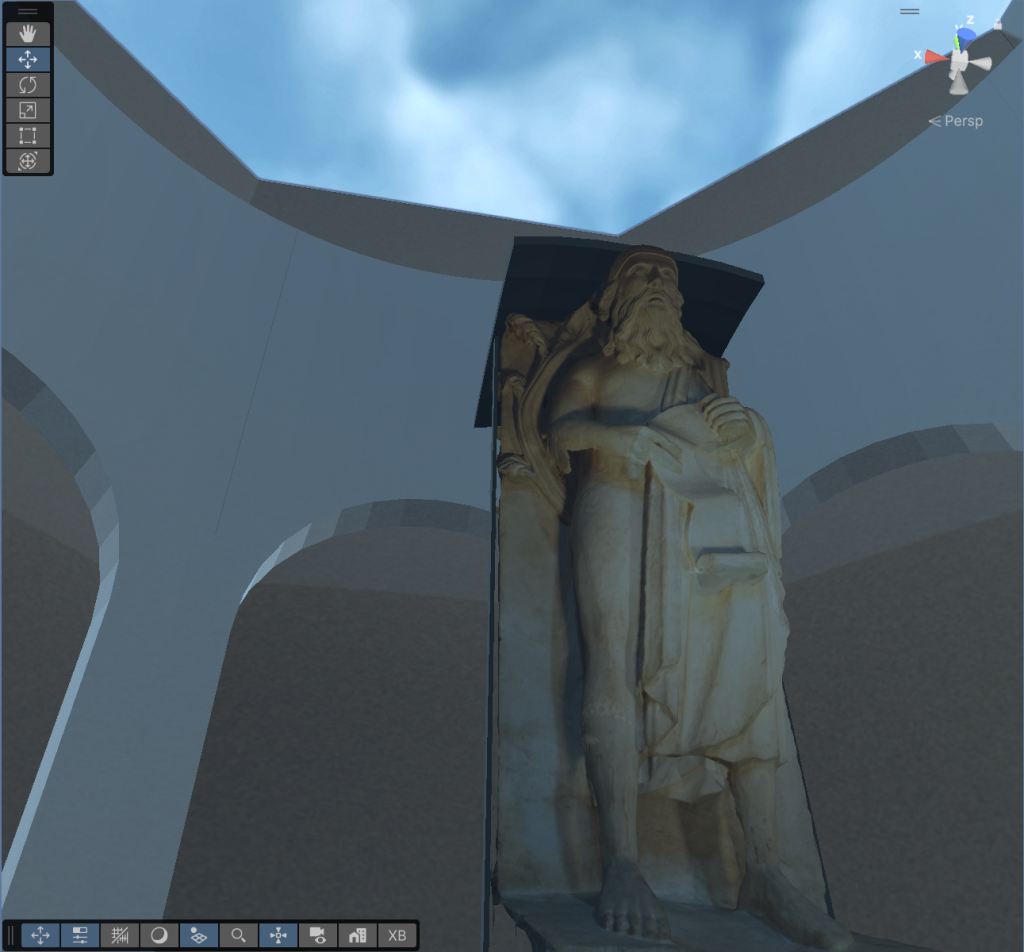
Kids particularly enjoyed climbing the stairs, then throwing themselves into the void, they were universally delighted by the sensation, which I personally consider stomach-turning 😀
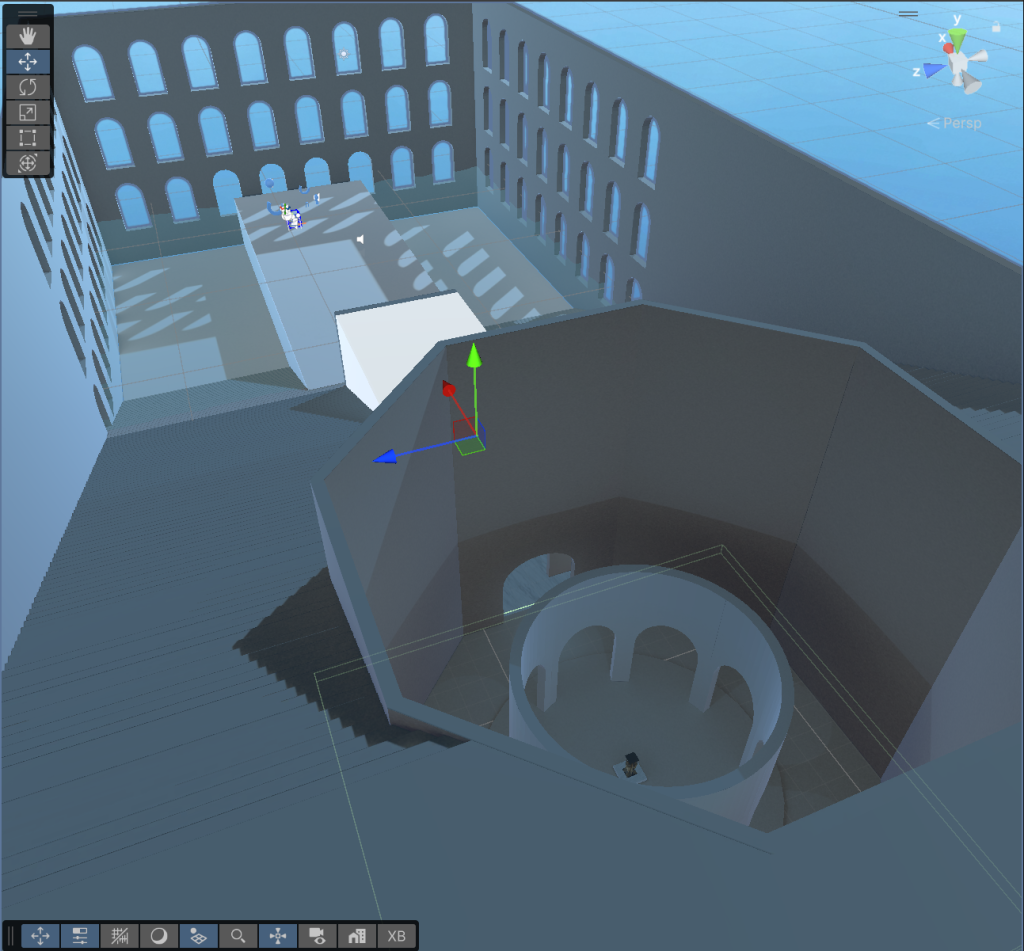
We’ll have to sign up for more in-person demos, they’re just so much fun!
-
New mesh reduction tools
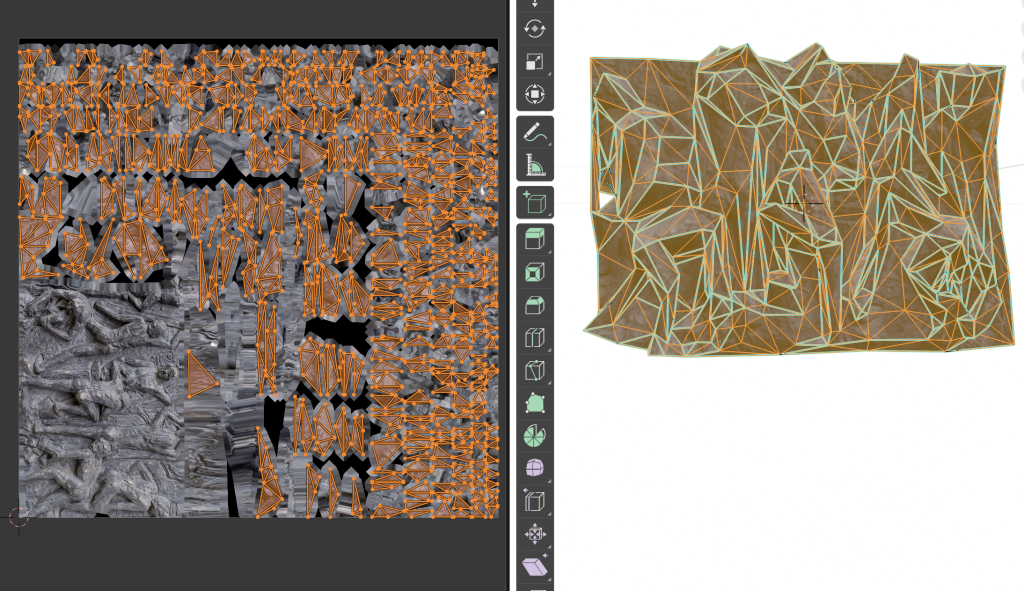
Holo Lab released this new Blender add-on that does a pretty job at reducing most photogrammetry models: https://github.com/HoloLabInc/ModerateWeightReductionTools
It does fail on the more topologically challenged ones, but that is to be expected. As an example this 25MB model:
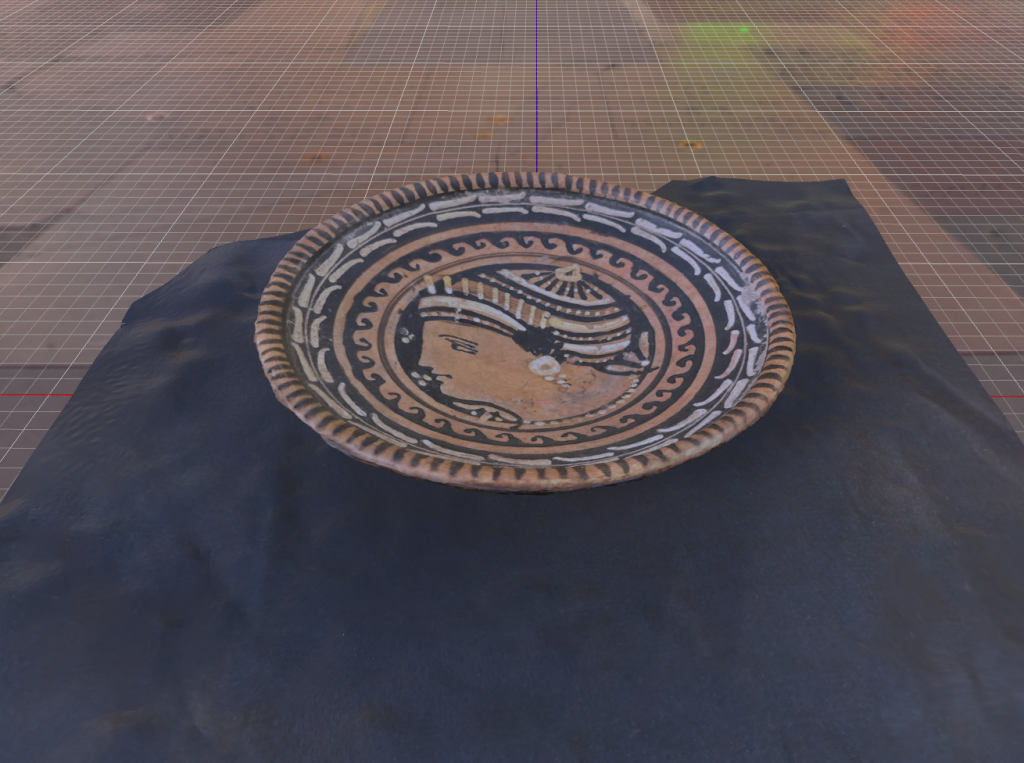
Was reduced to this, which is just 295kB.
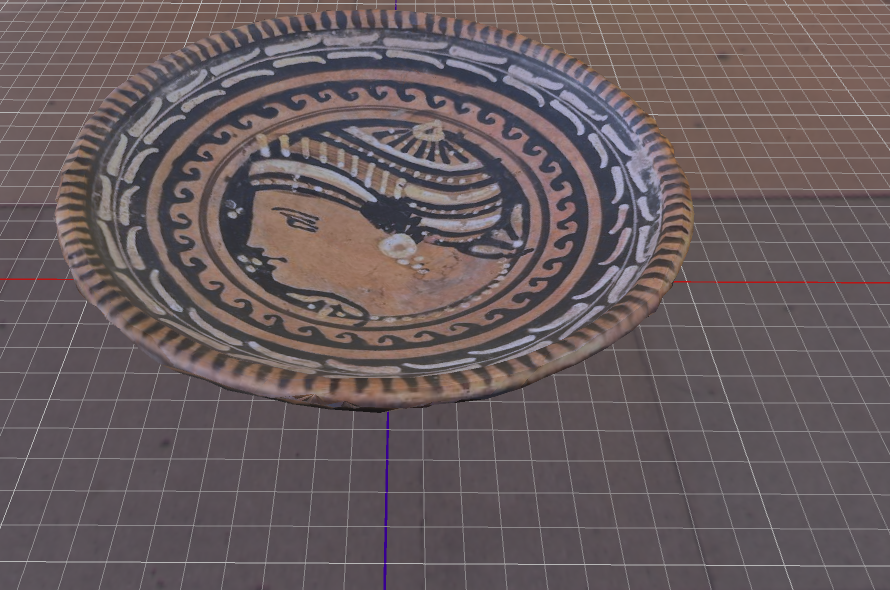
I did remove the black background by hand, though.
The interesting thing is that it added Sharps to edges automatically, you can see them in cyan.
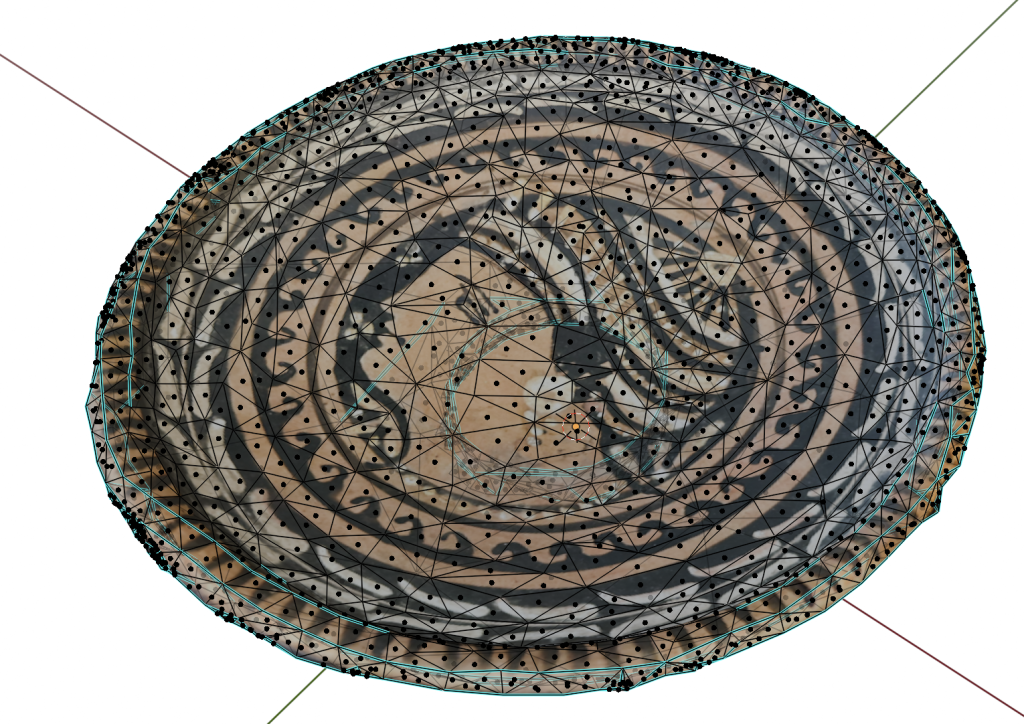
Of course the other interesting announcements in this field were Nvidia’s Meshtron and Microsoft’s Trellis (try it on hugginface), both of which do really interesting mesh generation.
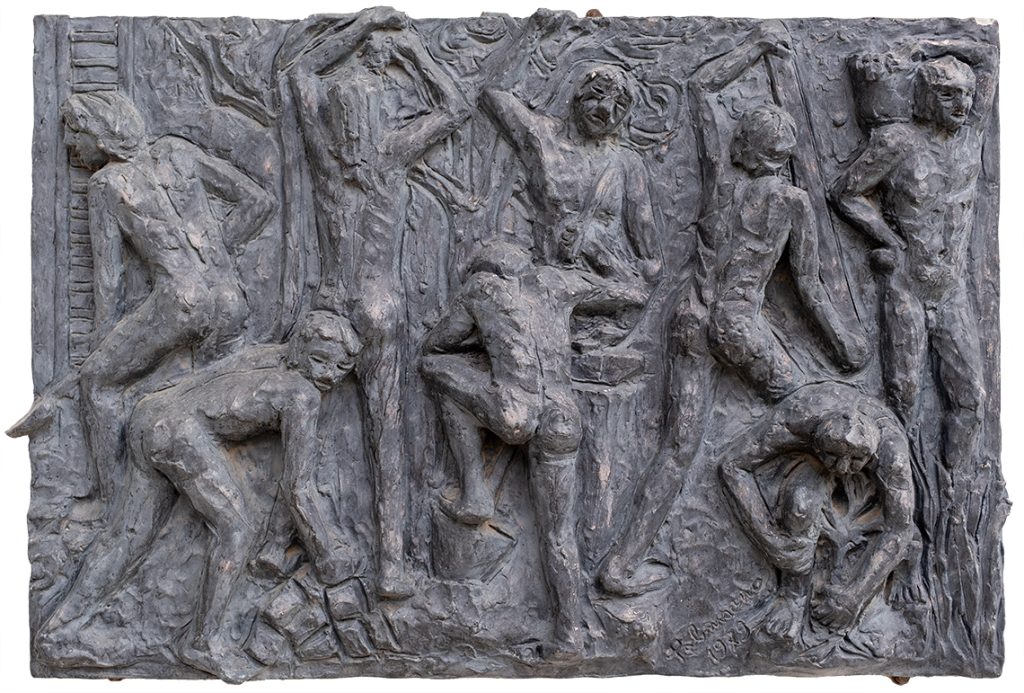
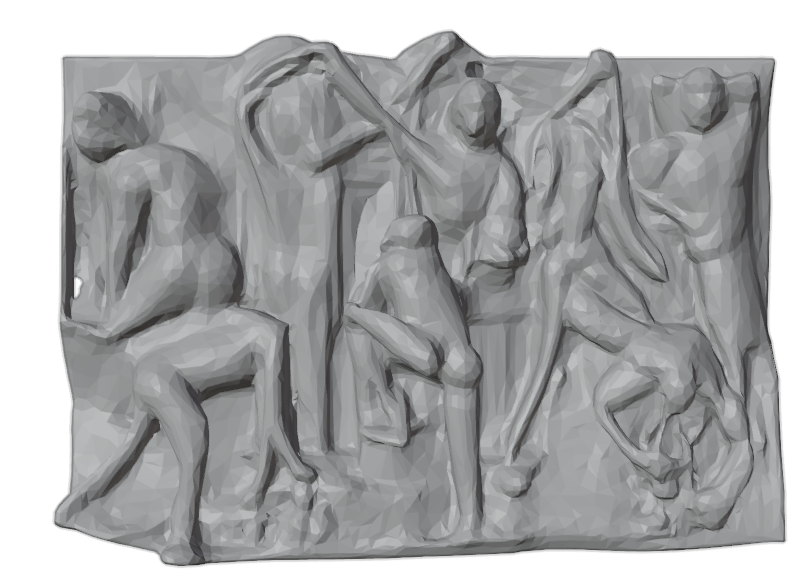
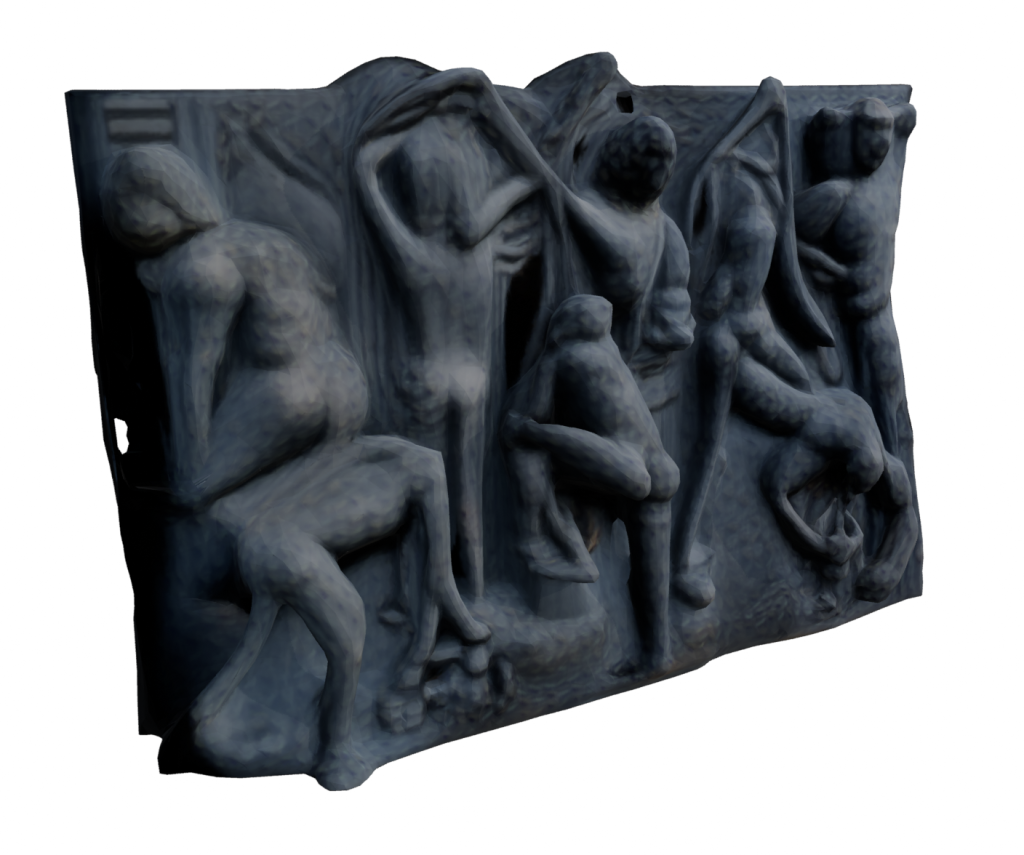
Of course for our requirements we cannot simply throw generative AI at the problem and hope for the best, we need to carefully represent the actual objects. But just as a try, we did try to throw an image of a bas-relief at Trellis. It created a plausible (but incorrect) result with a low-res texture. We tried throwing the original image on it as a texture, and it almost looked like it worked, until we tried moving the point of view.
This is the original photo, it’s Il Lavoro by Pietro Palmisano, from the BCC Arte & Cultura catalogue.
Generated model, with no texture:
With the AI-generated texture
With the original texture applied:
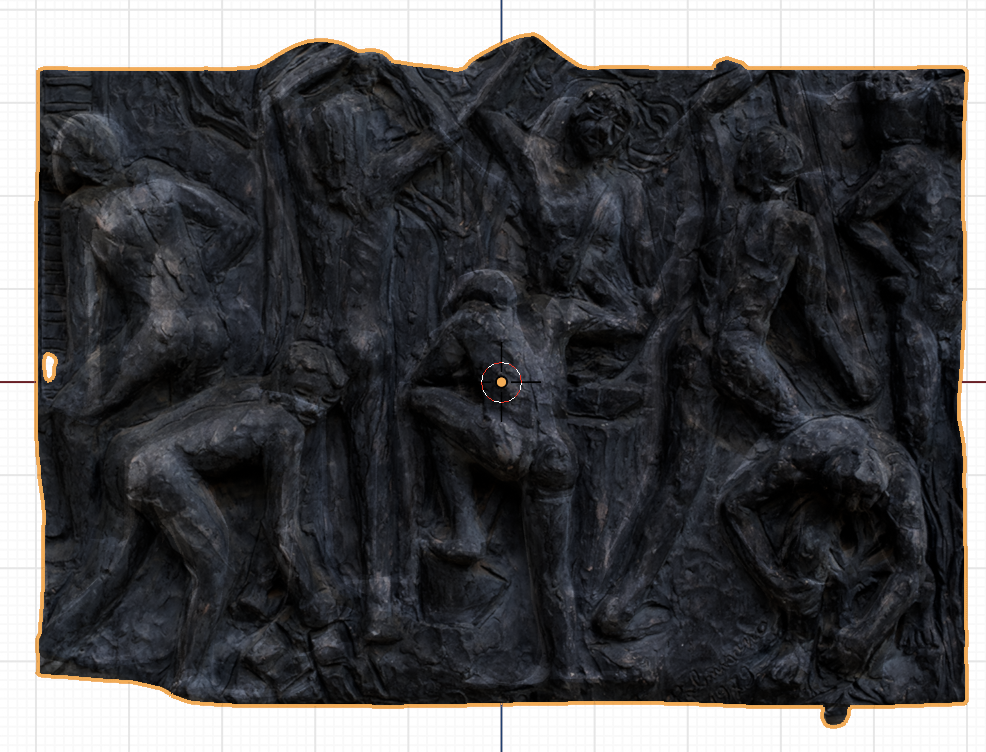
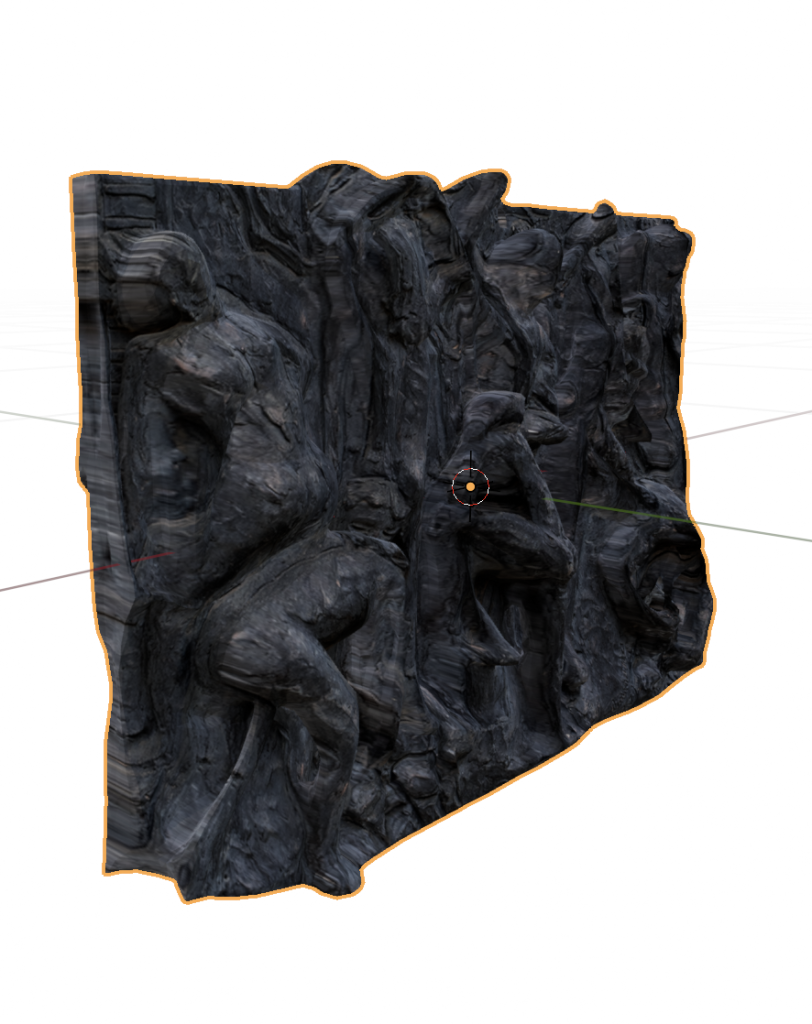
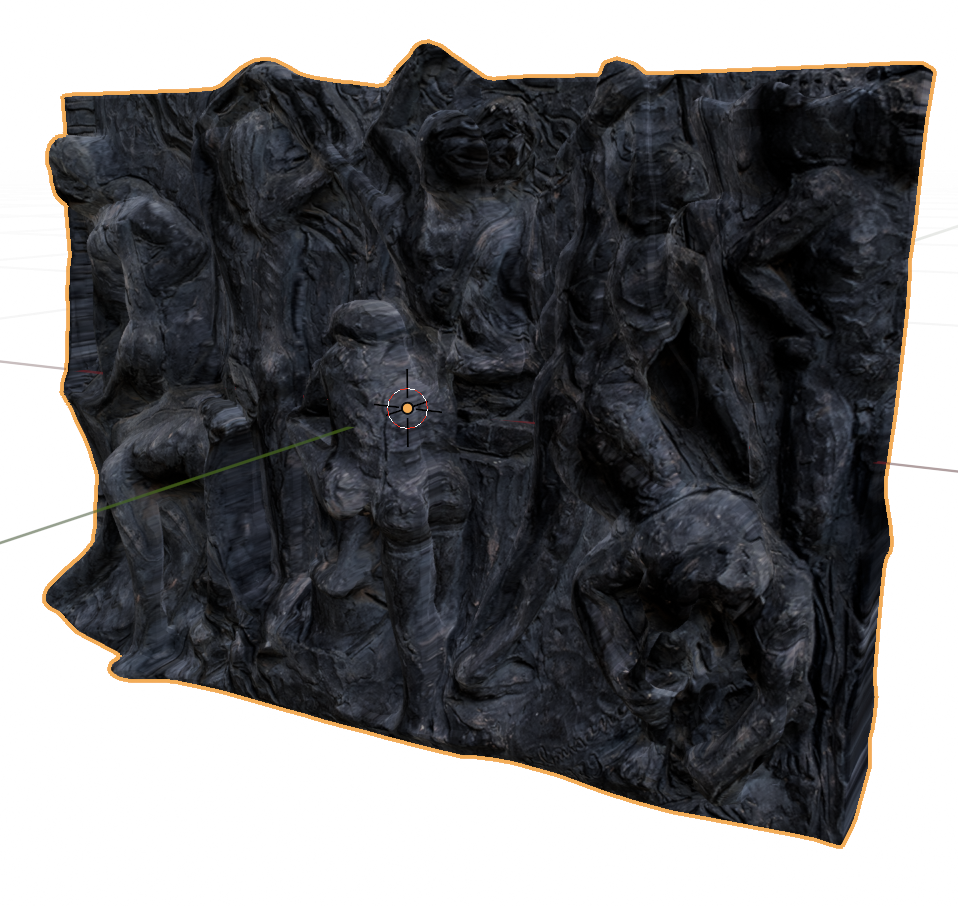
It’s simultaneously very impressive, and not any good. We could try to salvage it by sculpting the most egregious parts, and we could do way better on the texture mapping.
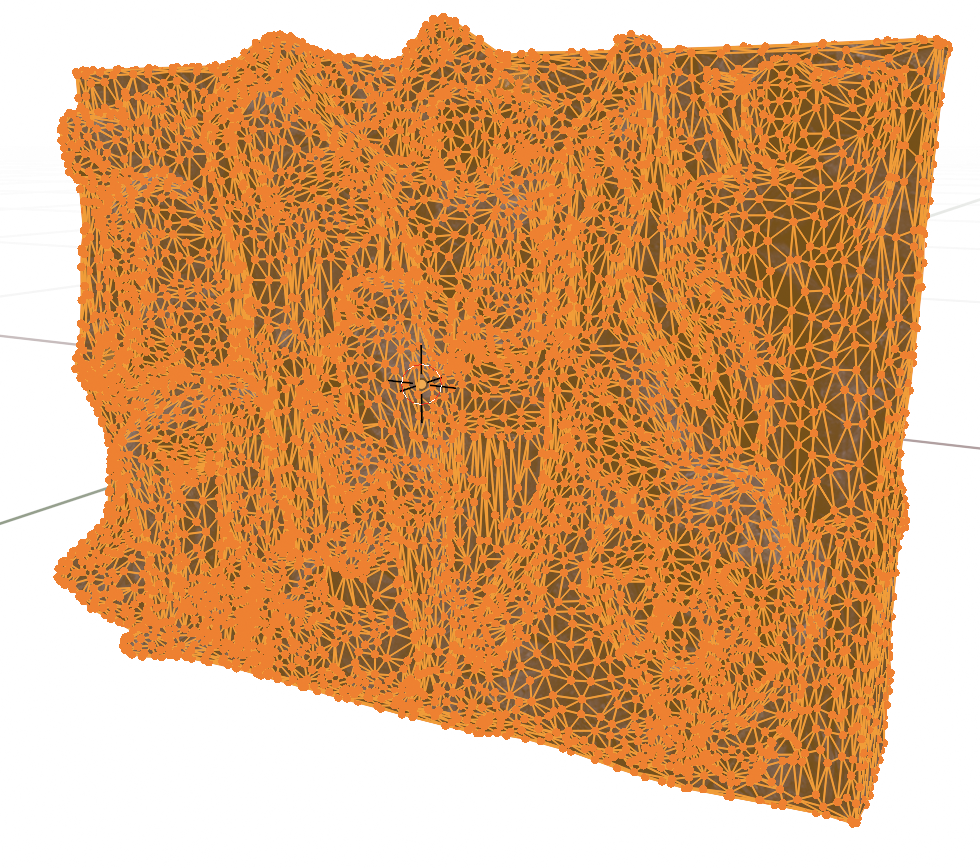
The geometry is really quite dense, we could try combining Trellis with Moderate Weight Reduction Tools.
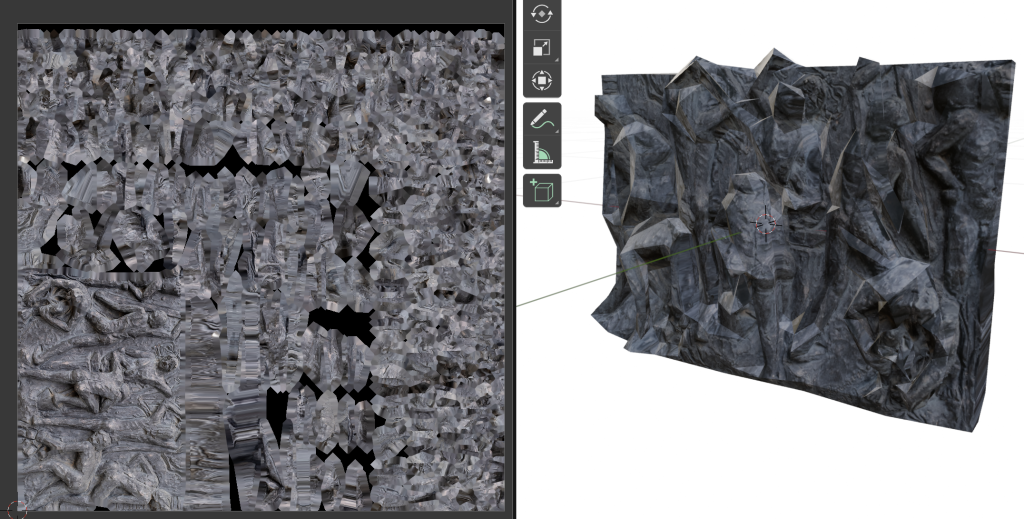
That really broke down. The geometry became visibly spiky, but the texture is just all wrong, it did not expect our “Project from View” trick.
-
Tech tip: recover from “ERROR MOOV atom not found”
Today we had to give a video presentation for the technically unannounced BCC Arte & Cultura project, and that involved a whole lot of Blender animation renders. One of them, a long one that took hours in Cycles, crashed at the very end. We were exporting in mp4 format, which is easy to import in video editors, but is quite hard to recover if the file is not terminated correctly.
VLC wouldn’t open it, and FFMPEG threw a “ERROR MOOV atom not found” warning, and then was unable to process any data.
With no time to spare for another render pass, we found this forum thread: https://www.videohelp.com/software/recover-mp4-to-h264
It’s a tiny and self-explanatory command-line utility, that saved us and gave us a usable file in seconds.
The only problem is that it’s Windows only.
-
Preparing immersive media for the Festival Day
In one week our work on the BCC Innovation Festival will culminate in an hybrid event, whose physical manifestation will be held in the Salone delle Colonne: an impressive looking immersive room in Rome’s EUR district.
We are tasked with producing audiovisual material that shows off our immersive experiences in a context that is still immersive, but not interactive. In practice this means producing 360 videos, which have fewer rendering constraints (they don’t have to be executed in real time on random devices), but in which the visitor is less able to look around and explore.
We’ll make sure to share this video when it is done, but for now I want to share how we managed to preview how the projection was going to look, without going all the way to Rome to try the system out in advance.
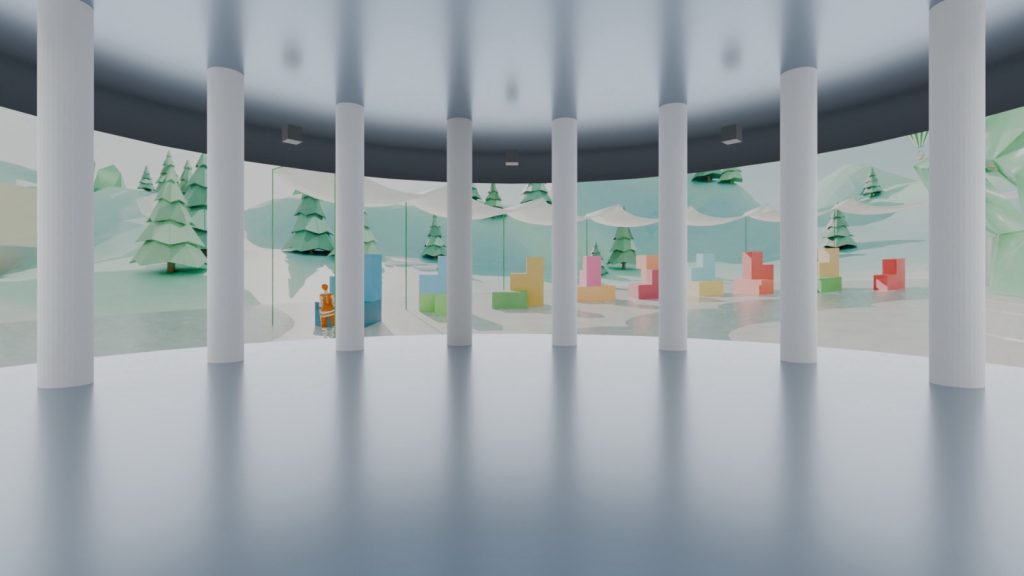
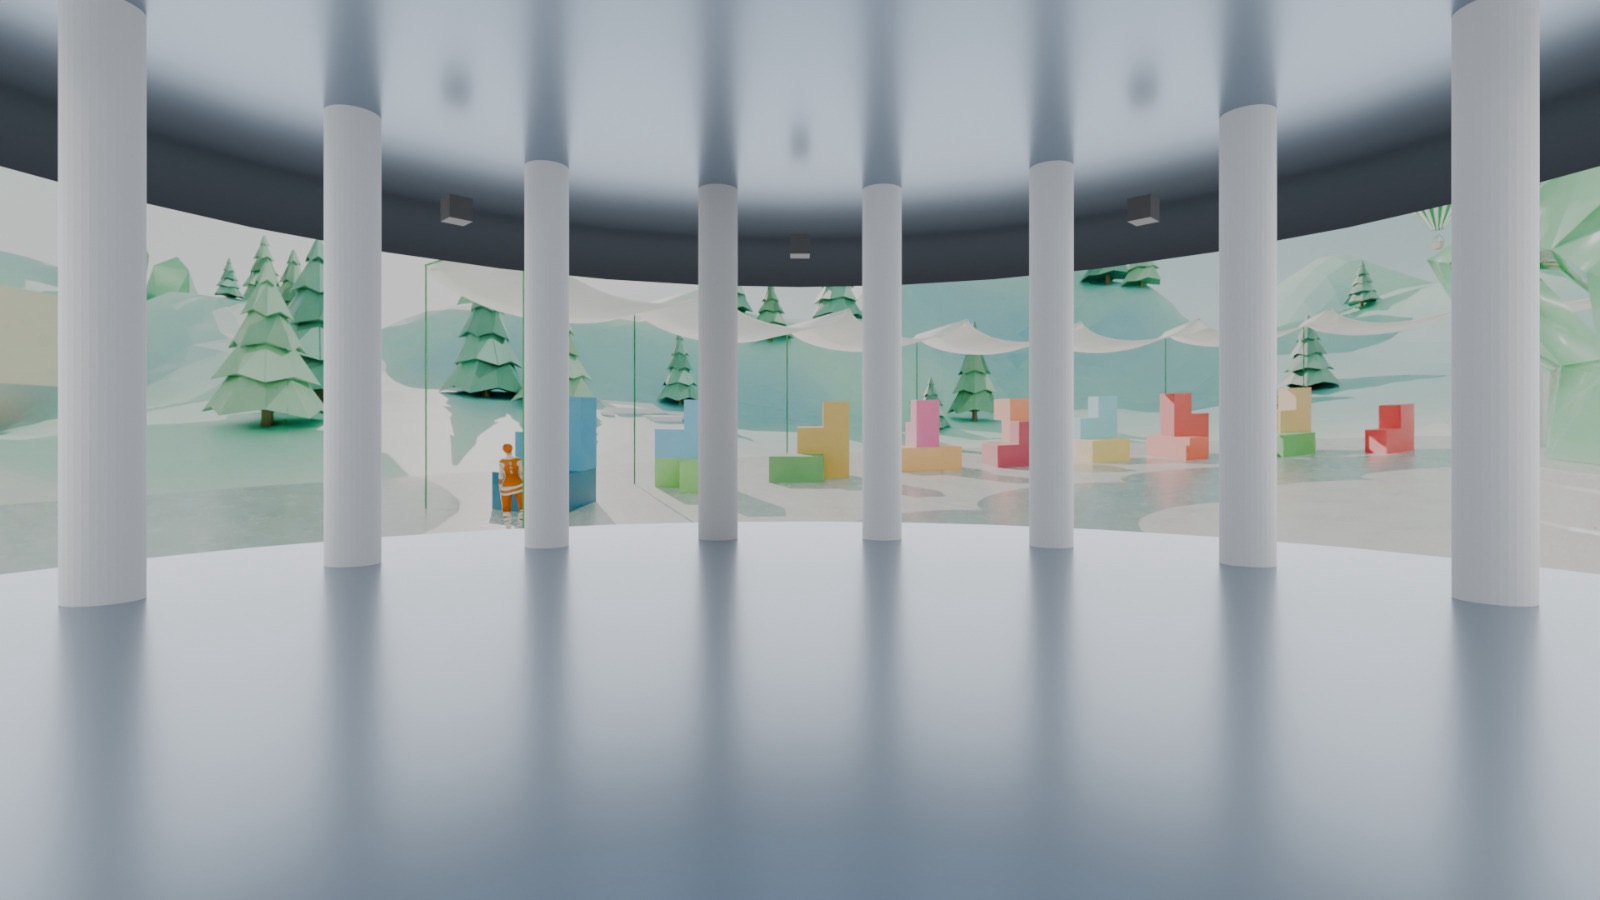
A quick render of the Salone delle Colonne First of all we took the floor map of the space, which was available as a PDF on the venue’s website, we imported into Blender and we modelled a very simple mockup, using just cylinders for the walls and columns, and planes for the ceiling and floor.
We also put in cubes to represent the positions of video projectors, but we didn’t bother to scale them correctly. We also didn’t model the sort of “steps” with which the ceiling lowers towards the sides of the room, as they don’t interact with the projection geometry.
So far this was all straightforward modelling, the only somewhat non-obvious thing we did was mapping the 360 video onto the screen.
We added a new material on the walls cylinder, with an Image texture obtained with an equirectangular camera in our Innovation World Blender scene. (Note: equirectangular cameras only seem to work in Cycles)
Going into the UV Editing screen in Blender we put a seam on a vertical edge of the screen, and we did an UV > Unwrap. Then we selected all faces, and scaled them on the UV side until the seam matched perfectly. We can then change the center of the projection by moving the UV faces on the X and Y axes.
We put the resulting Blender file and a GLB on our site, and we also stuck it on Sketchfab for ease of use. We should do a three.js version in which users can load their own files and play around with the projection parameters.
Geometrically the problem is that the equirectangular video we make in Blender goes from +90 to -90 degrees on the vertical axis, while in the Salone delle Colonne there are something like 29 degrees of vertical elevations, if we look from the center of the room. Actually considering a standing spectator it’s something like +18 to -9 degrees.
This is of course assuming that the projection has been setup correctly in the room itself. I think ideally the venue should provide examples files, but after all it is a very new installation.
Similarly the projectors themselves are very advanced, they have an automatic edge and overlap system that we’re very curious to see in action, but it is not quite clear what the logical resolution of the system is.
Very interesting stuff!
Edit: I’ve found this article with more technical information on the room’s video system: https://www.sistemi-integrati.net/proiezione-immersiva-di-grande-impatto-nel-salone-delle-colonne-di-roma/
Edit 2: brief video render
-
BCC Innovation World
The other large project we’ve been working on for the past few month is the immersive component of BCC Innovation Festival, the startup festival held by BCC ICCREA. This is a very large conglomerate of what are basically Credit Unions, when translating it into English.
Immersive identity
The concept developed by our clients’ communications department was centered on a low poly theme, and in particular on a low poly version of Rodin’s The Thinker. We created a 3D version of this low poly concept, and we put it in a scrollable three.js webpage, which was then embedded on the homepage of the festival for the vast majority of the festival’s duration. (It has now been replaced with a countdown to the pivotal Festival Day, which is on the 20th of September).
We’ve also created a webAR version (using <model-viewer>), to see the Thinker in your space, which has been featured on the festival’s promotional posters.
We also made 3D printable versions, which were supposed to be handed out to the winners, kind of like Oscar statues, and a massive version that another contractor was supposed to cut out of polystyrene foam, but they were both canceled for cost reasons. As I write this, we’re seriously considering just building a massive cardboard Thinker and bringing it to the Festival Day. It wouldn’t be profitable, but boy would it be cool.
Immersive Experience
Using FrameVR, we built a 3D world in which all the information about the festival, including the live event during the Festival Day, can be experienced immersively. It’s a webXR experience, so all you need is a browser, it runs on smartphones, computers, and XR headsets. It runs pretty great on both the Quest 2 and the Quest 3.
World building
We designed the environment to foster a sense of exploration. Due to platform limits it was pretty hard to build real interactions, so we basically ended up building a walking simulator. You can walk around, find information about the festival, and most importantly interact with other visitors. People can talk with spatial audio, share whiteboards, stream videos, share their own screens, add 3D models or images. They can personalize their avatars (including with Ready Player Me), and control them through their webcams or through their VR setups.
The whole environment is built in a low poly style, both to match the Thinker and to optimize performance on low-end devices. Apparently there are quite a bit of those among the computers given to our clients by their corporate IT.
Scattered around the environment are some large stones with the same material as the Thinker. Currently we don’t have it enabled to increase signal to noise ratio, but we also tried assigning sounds to each stone, that would trigger when someone walked next to them, creating an harmonic progression.
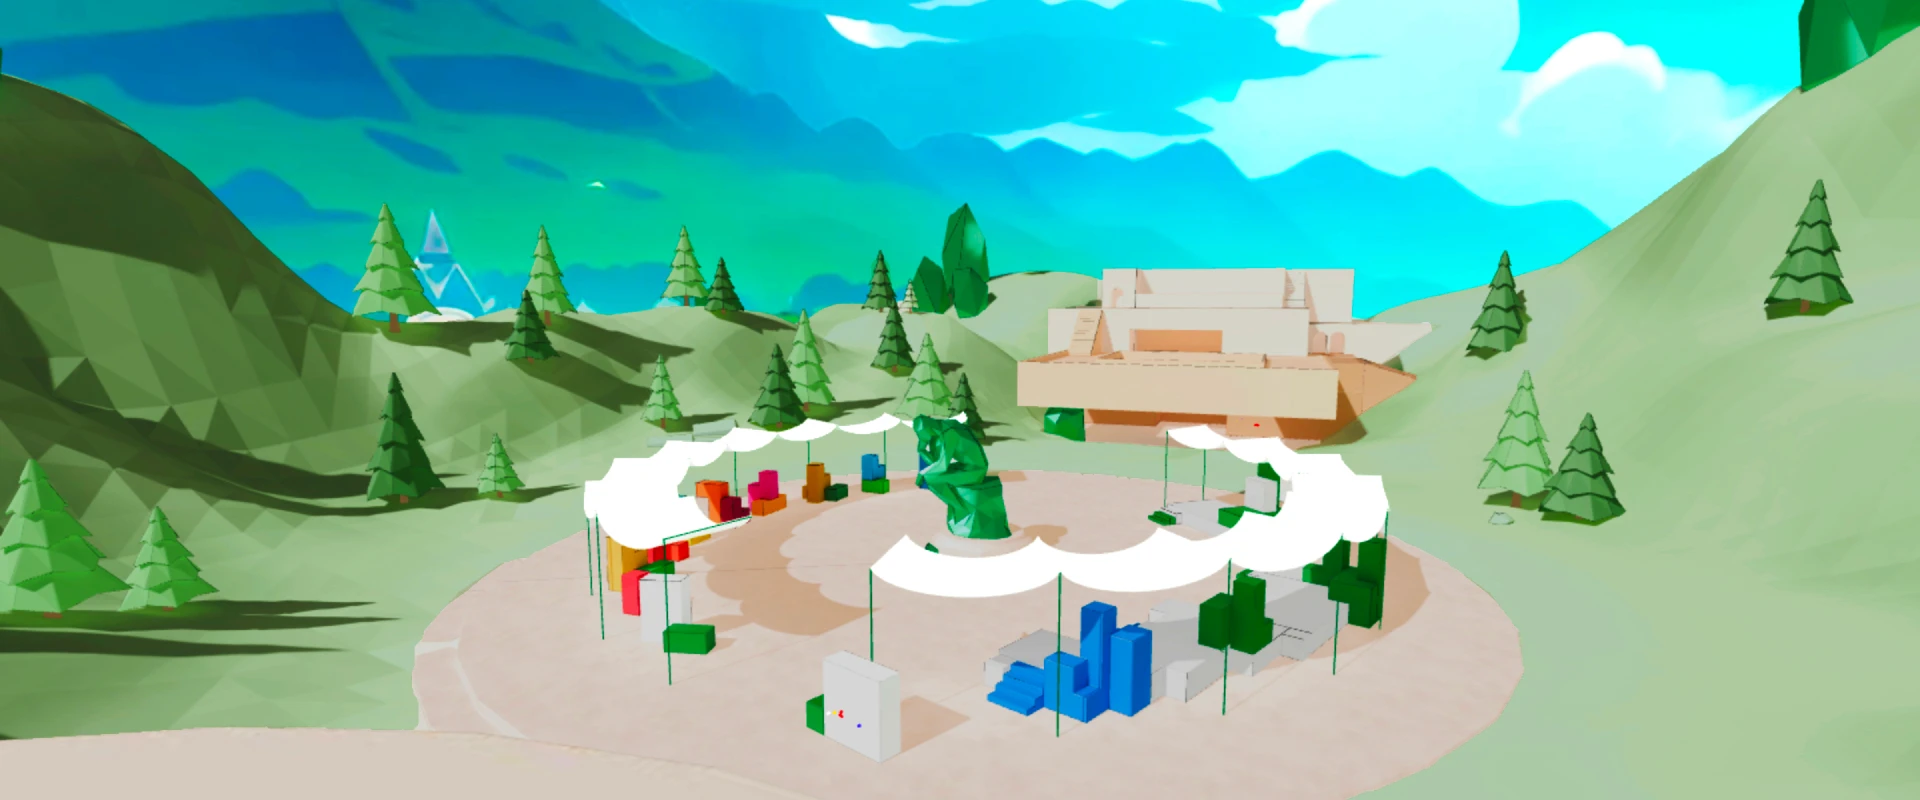
Users start their journey in a small hexagonal corral, filled with a festival timeline and a clickable map. We worry that the clickable map undercuts the sense of wonder and exploration, but it also makes moving around much quicker. Following the path one can reach a panoramic platform, or what we called the Innovation Square, a large concrete circle sitting in a rather wide valley, where a large Thinker acts as a centerpiece.
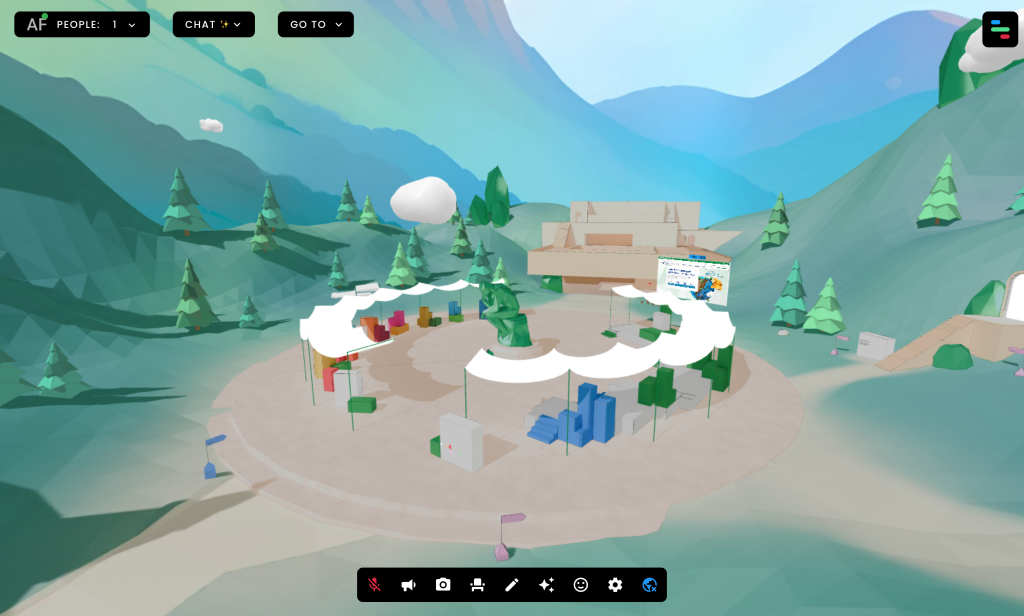
On the left you can find information about the UN 2030 Agenda for Sustainable Development objectives that all candidate startups (Champions in the BCC lingo) have to pursue in some way.
On the right you can find information about the festival itself, and about the institutional partners.
At the far end you can see a large building, creatively denominated “Innovation Building”. It was originally designed as a very permeable space, allowing access from different directions, and ideally the flow of people would be visible from the outside in.
Innovation Building
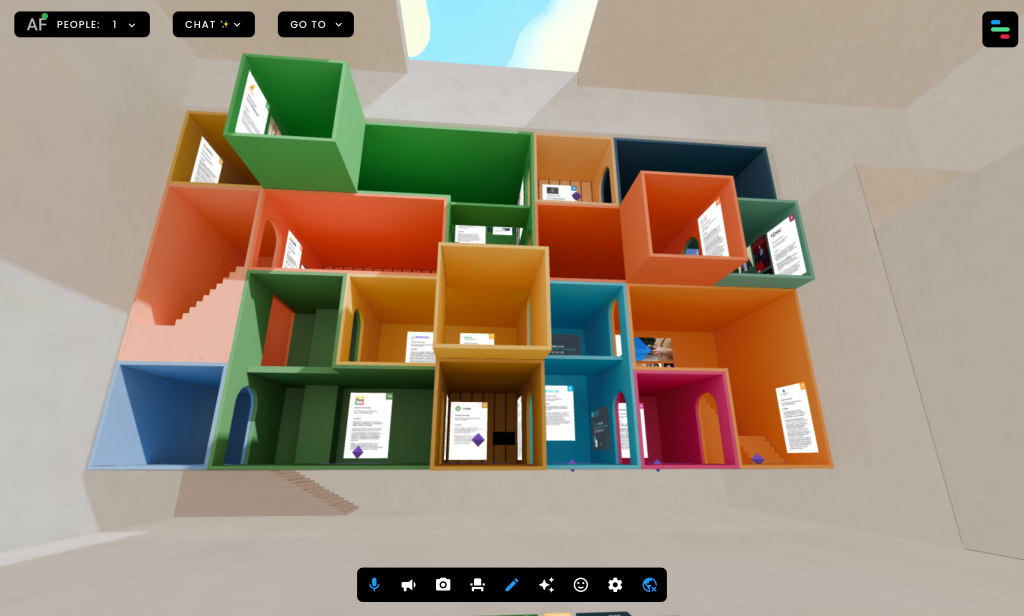
Inside the building itself we had to showcase the startups. They were originally supposed to be 20, but they ended up being 30. They’re classified by UN objectives. This “bento” shape is replicated in two small maps, one on the floor and one on the opposite building, which allow visitors to understand the layout, and to click on them to teleport to the cube they want to visit.
The startups were allowed to send text, images, video, and 3D models to showcase what they’re working on. Sadly, nobody ended up having any 3D material, despite the fact that several worked on domain areas where having a 3D representation would come in quite handy. Quite a few startups provided video, and the spatial audio works great at letting multiple people watch them without interfering with other visitors.
Coming Soon
We also built an Auditorium used for startup-only seminars, and we’ll soon have more to share about the Festival Day, and about the performance of the FrameVR platform.
-
TIL-post: point cloud processing
We’re working on a small archeo-acoustics project, whose starting point is a LiDAR-obtained point cloud in LAS format. This is the first time we’ve worked with this kind of data, so I’m writing down the data processing steps.
There is a complete tutorial on handling point clouds in Blender by Florent Poux: https://youtu.be/DCkFhHNeSc0
In order to visualize the data, my first attempt was using Blender, with this plugin: https://github.com/nittanygeek/LiDAR-Importer
You only need to pay a bit of attention about the Python path while installing it, especially if you have multiple versions installed, but the provided instructions are perfect. We were able to see points in Blender, and to get a general idea for the shape of the cave, but getting from there to an actual mesh is non-trivial.
Instead, we found a short tutorial for doing the same thing using CloudCompare.
As a super short summary: open your point cloud in CloudCompare, select it, convert it to a mesh by going to Plugins>PoissonRecon. You can also choose between the color actually captured for each point, or this density heatmap: red is maximum information density, blue is the minimum.
In the next steps we’ll need to convert the mesh to quads (using Blender), import the model into Ramsete, then assign materials to each face and run the simulation. In order to properly calibrate the model we’ll need to know the specifics of each material, or ideally even perform actual acoustics measurements, like we did for the Tindari paper.
-
Launching BCC Innovation World
We started this company by winning the Bain award at the original BCC Innovation Festival, back in 2022. In a bit of a homecoming, we were tapped to provide immersive services for the next edition of the Festival.

Il Pensatore: an immersive landing
Following the concept from BCC’s own creative department, we created a low-poly version of Rodin’s Le Penseur. In the original concept art the statue was 3D printed, clearly showing the signs of a filament printer. Our own version was materialized with a resin printer:

This model became a sort of leitmotif of the whole immersive experience. We changed the texture to a brushed metal in the corporate green, and we provided the client with renders for web and print channels.
We then proceeded to make this model available in webAR, using the model-viewer library. This will be used in an upcoming promotional campaign, asking the public to share pictures of the statue in their environment, a bit like we did with the whale for the Leverans comic.
We then created the scrollable section of the festival homepage, using a threejs scene embedded in an iframe. All semantically meaningful elements were implemented as standard DOM elements, the 3D is purely decorative, but it does not detract from the accessibility of the content.
Check it out on the Festival home page.
Innovation World
We also built a virtual world on framevr. The design goal was to let users interact in a shared explorable space. We’re pretty proud of the work our architect did, and there is some technically clever work on object instancing, but we’ll have here write a whole post on the matter. Keeping to the high level concept, we have a pretty linear progression from the starting point to the exhibition area, gradually disclosing information to the visitor no matter what path they choose.

We worked pretty hard to balance visual quality with performance, and we can now confidently state that it will work on whatever device you use.
Geodesic rocks in the same material as the Pensatore were inserted throughout, and to tie the concept together we made this short video (pretty early in the process, a lot of the environment is missing):
Please do check out BCC Innovation World, we’ll be expanding it a lot in the next few months.
-
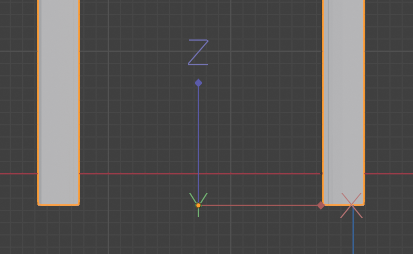
TIL: manually set object origin in Blender
This one is pretty basic: in order to change the origin of an object you can right click and choose one of the options:

Or you can set it manually, just go into Edit Mode, then at the top right of the viewfinder go to Options, Transform, Affect Only Origins.
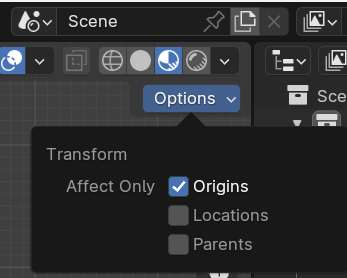
This allows you to move the origin to wherever you want, without affecting the object. Dont’ forget to apply transforms (ctrl+A) when you’re playing around with this stuff.